

226 products
226 products
Sale
Quick view

Sale
Quick view

Sale
Quick view

Sale
Quick view

Sale
Quick view

Sale
Quick view

Sale
Quick view

Sale
Quick view


Alchemy 1-2023 - Universal Tank Decal-BW
Regular price $100.00
Shipping calculated at checkout.
Special Order Item (may take approximately 2-3 weeks before shipping if we don't have it in stock at the time of your order)

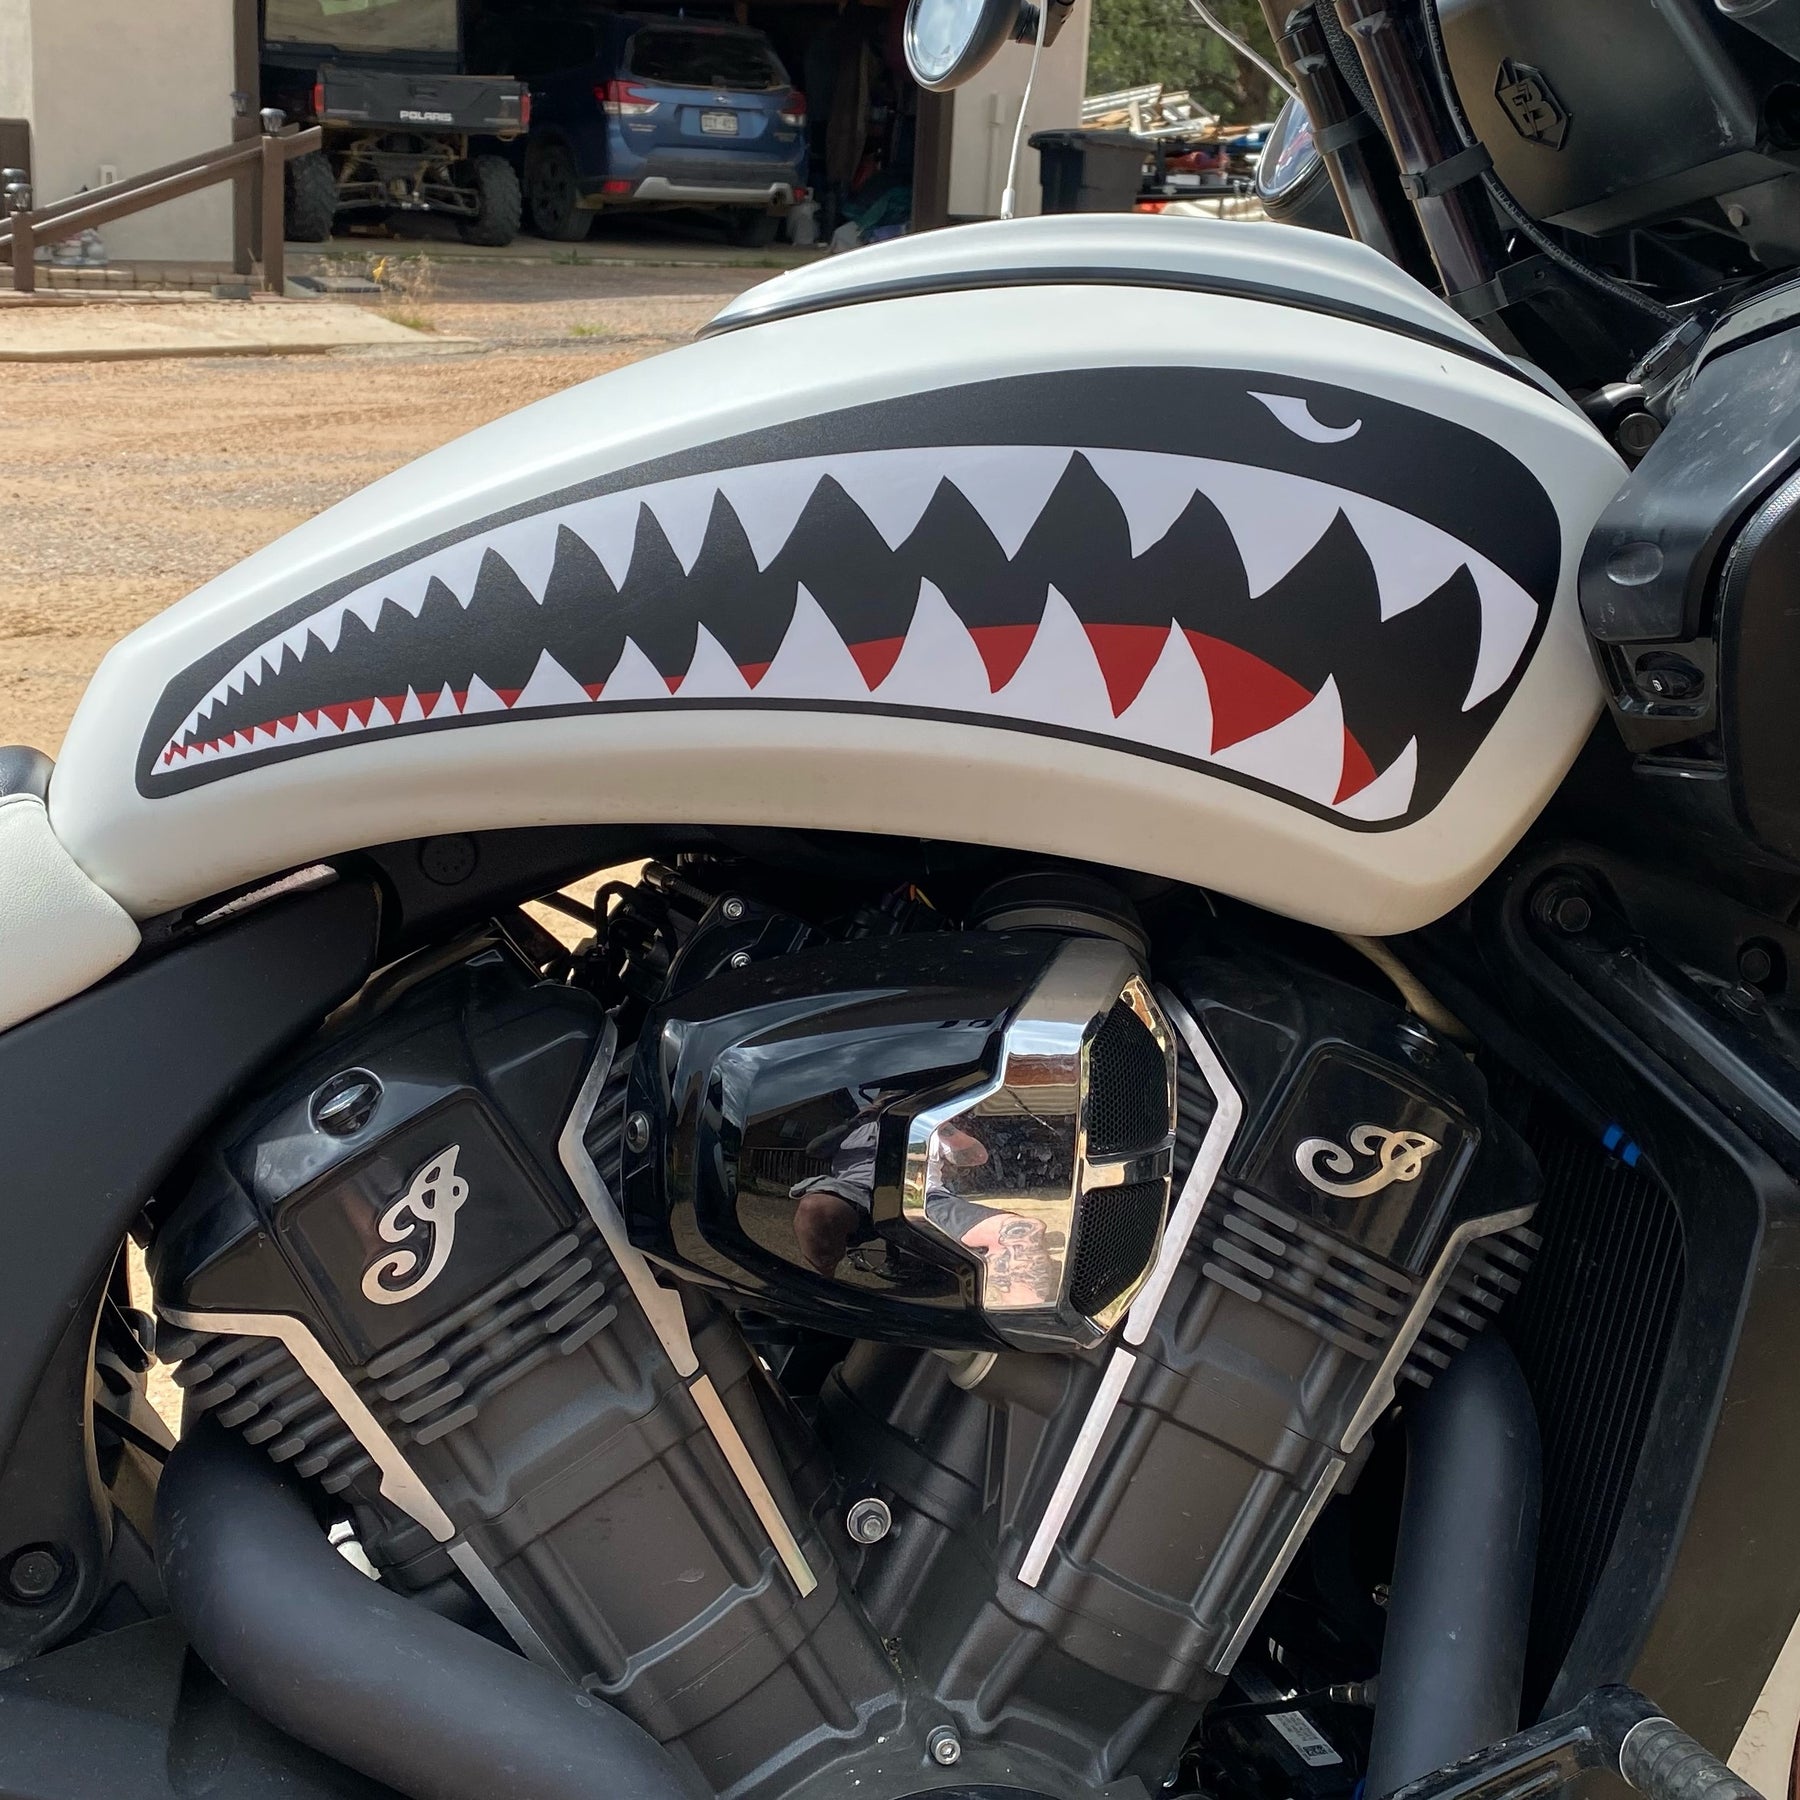
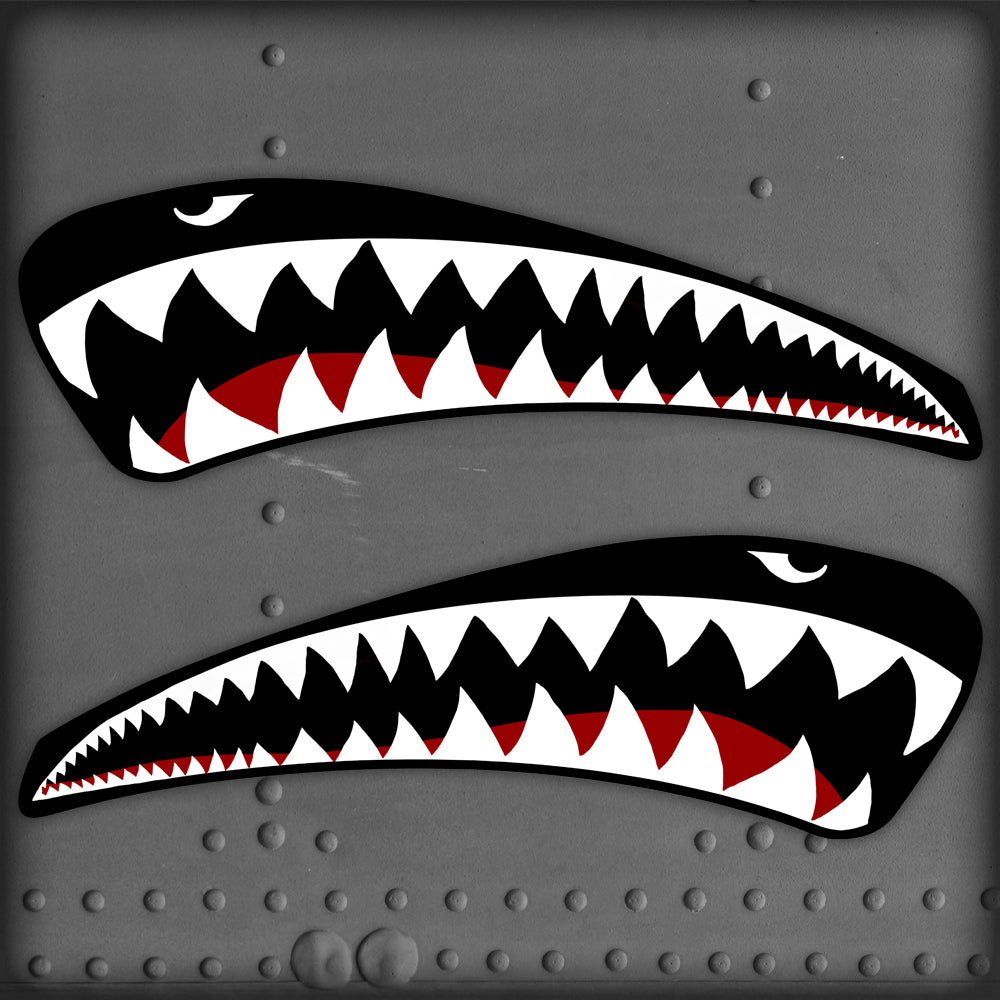
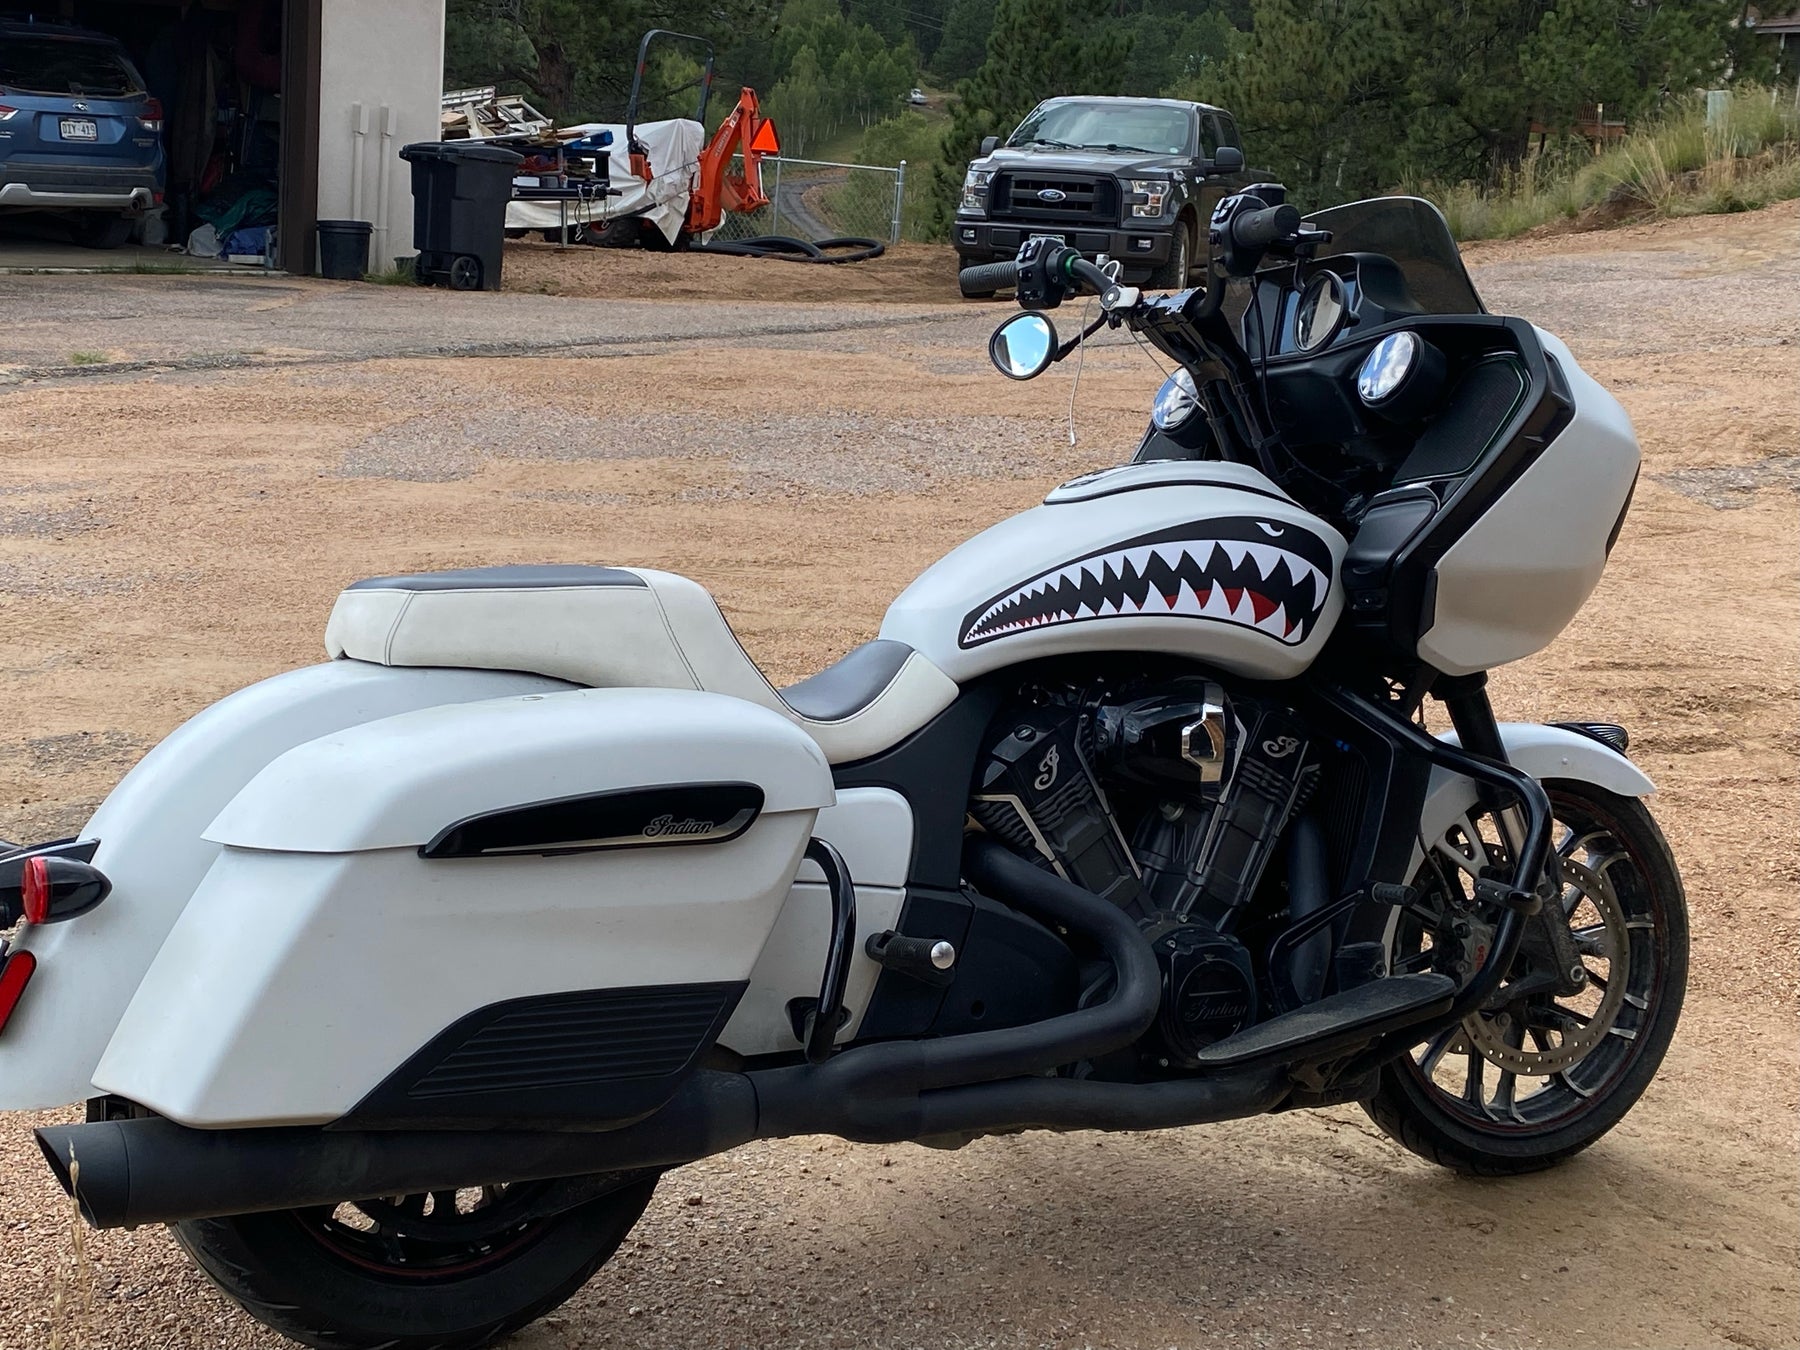
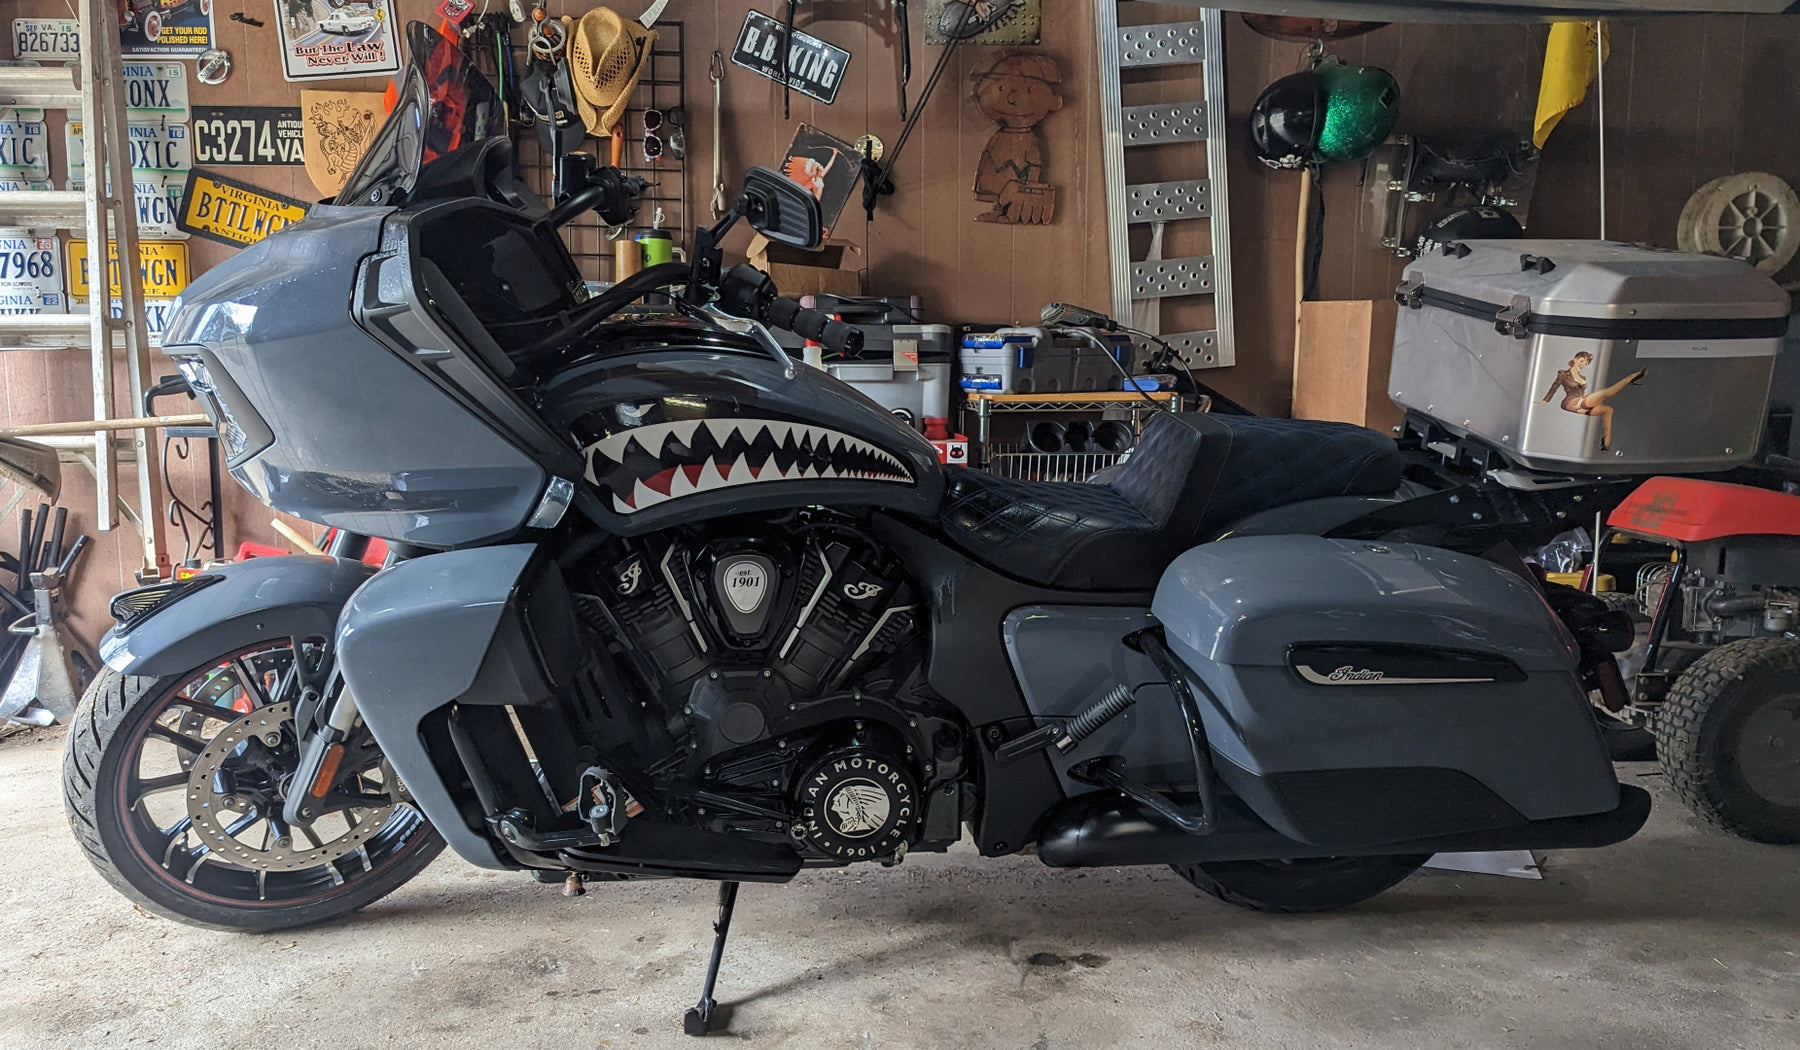
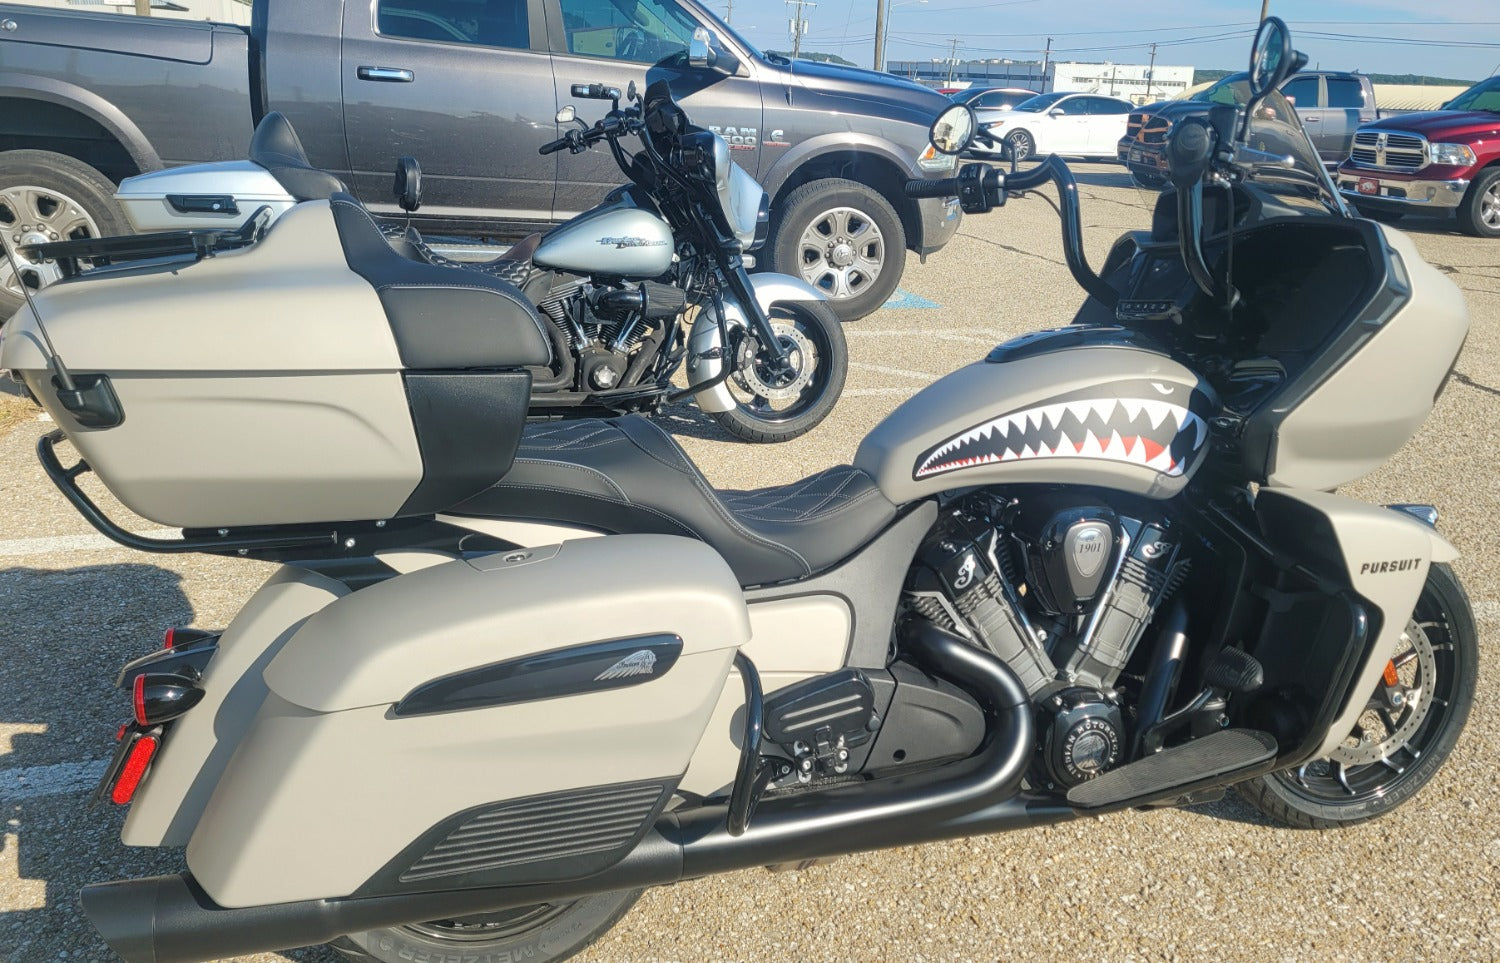
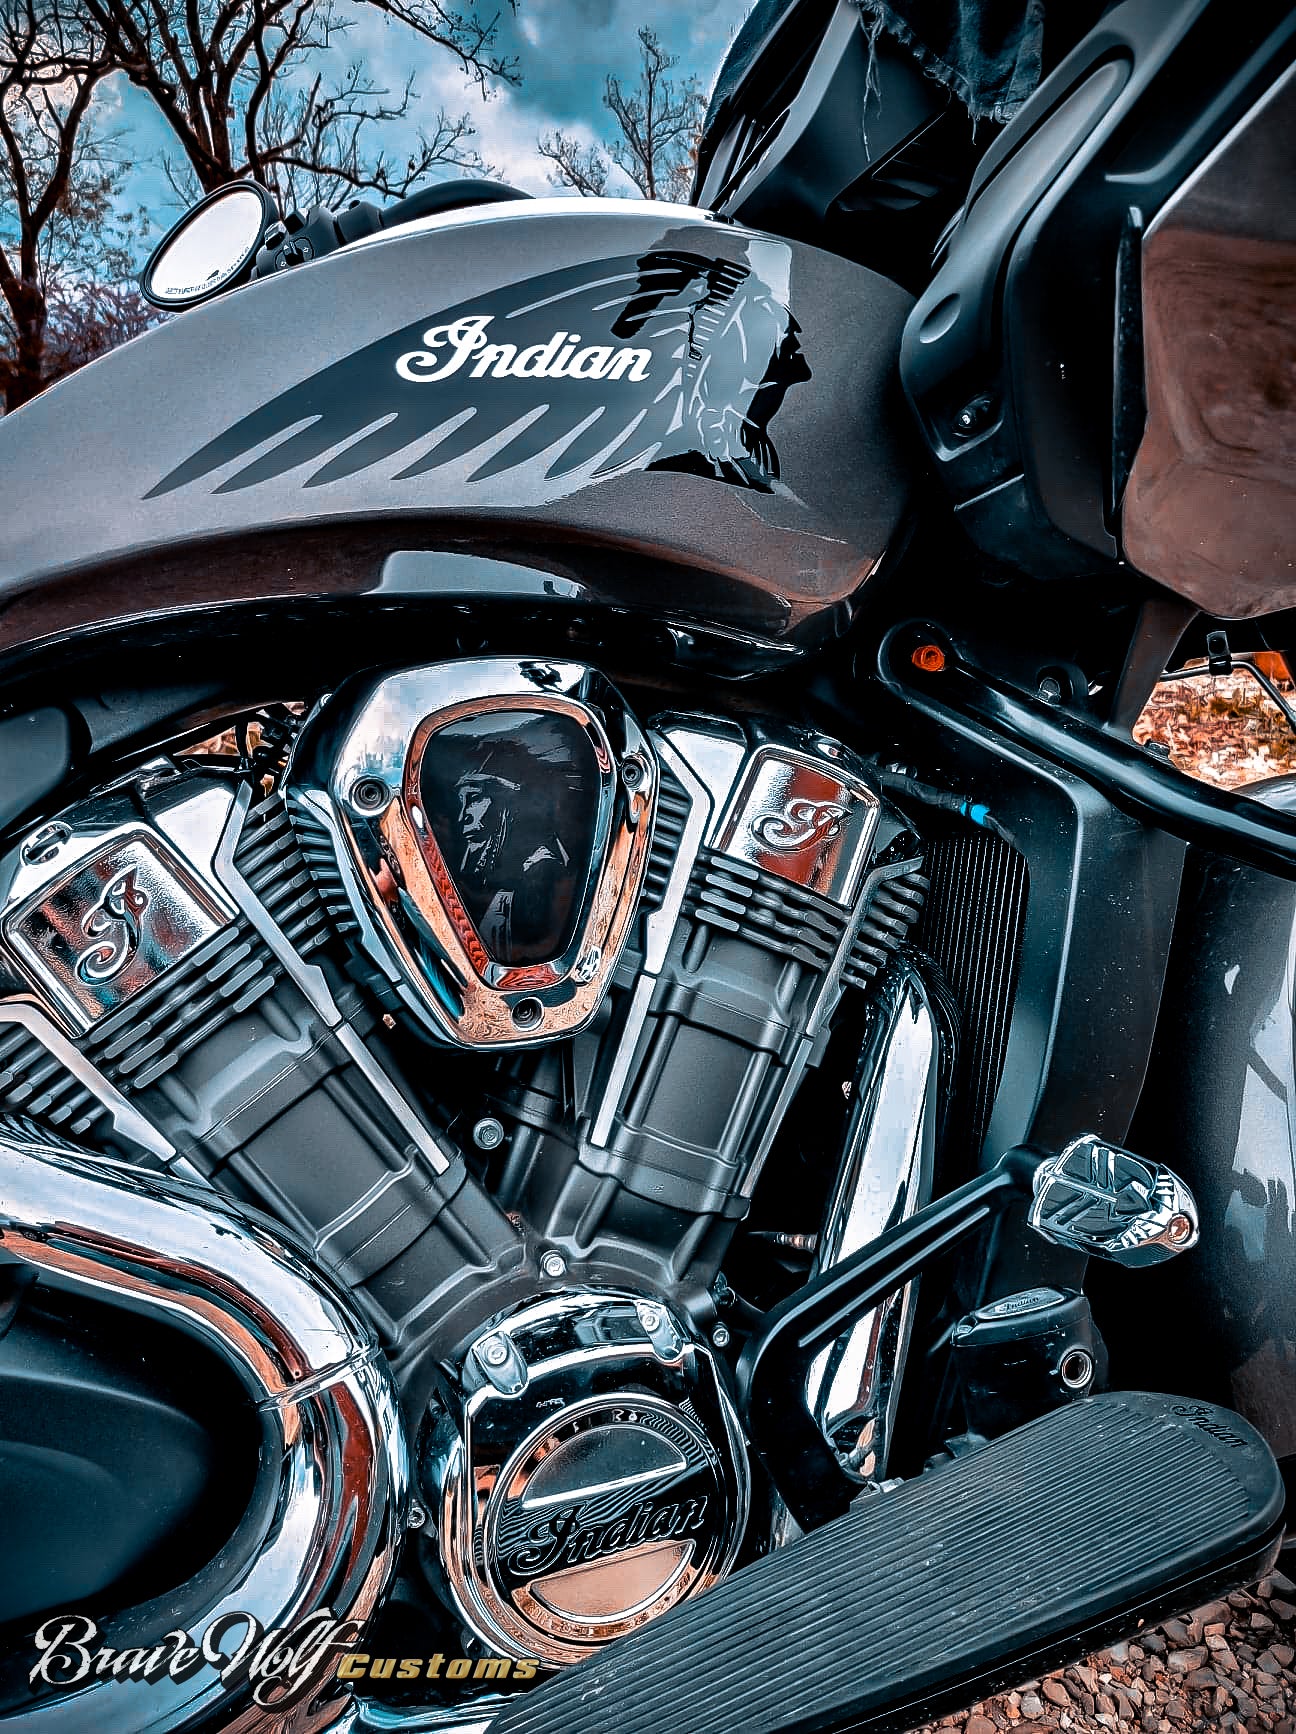
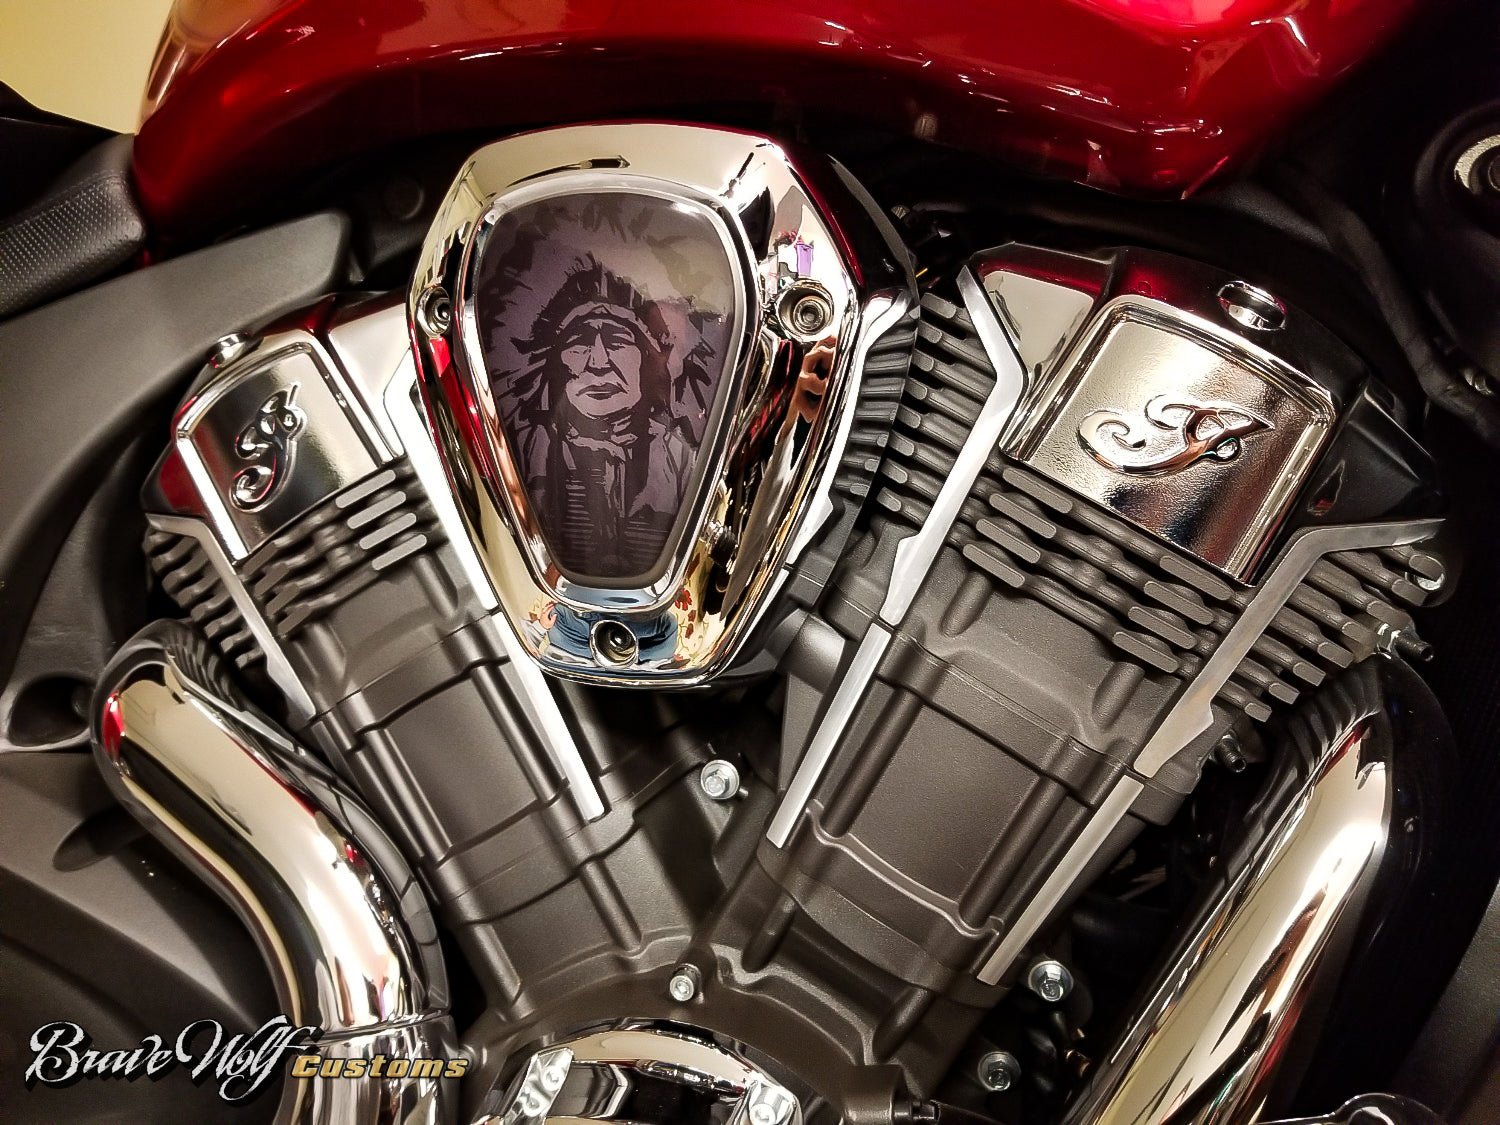
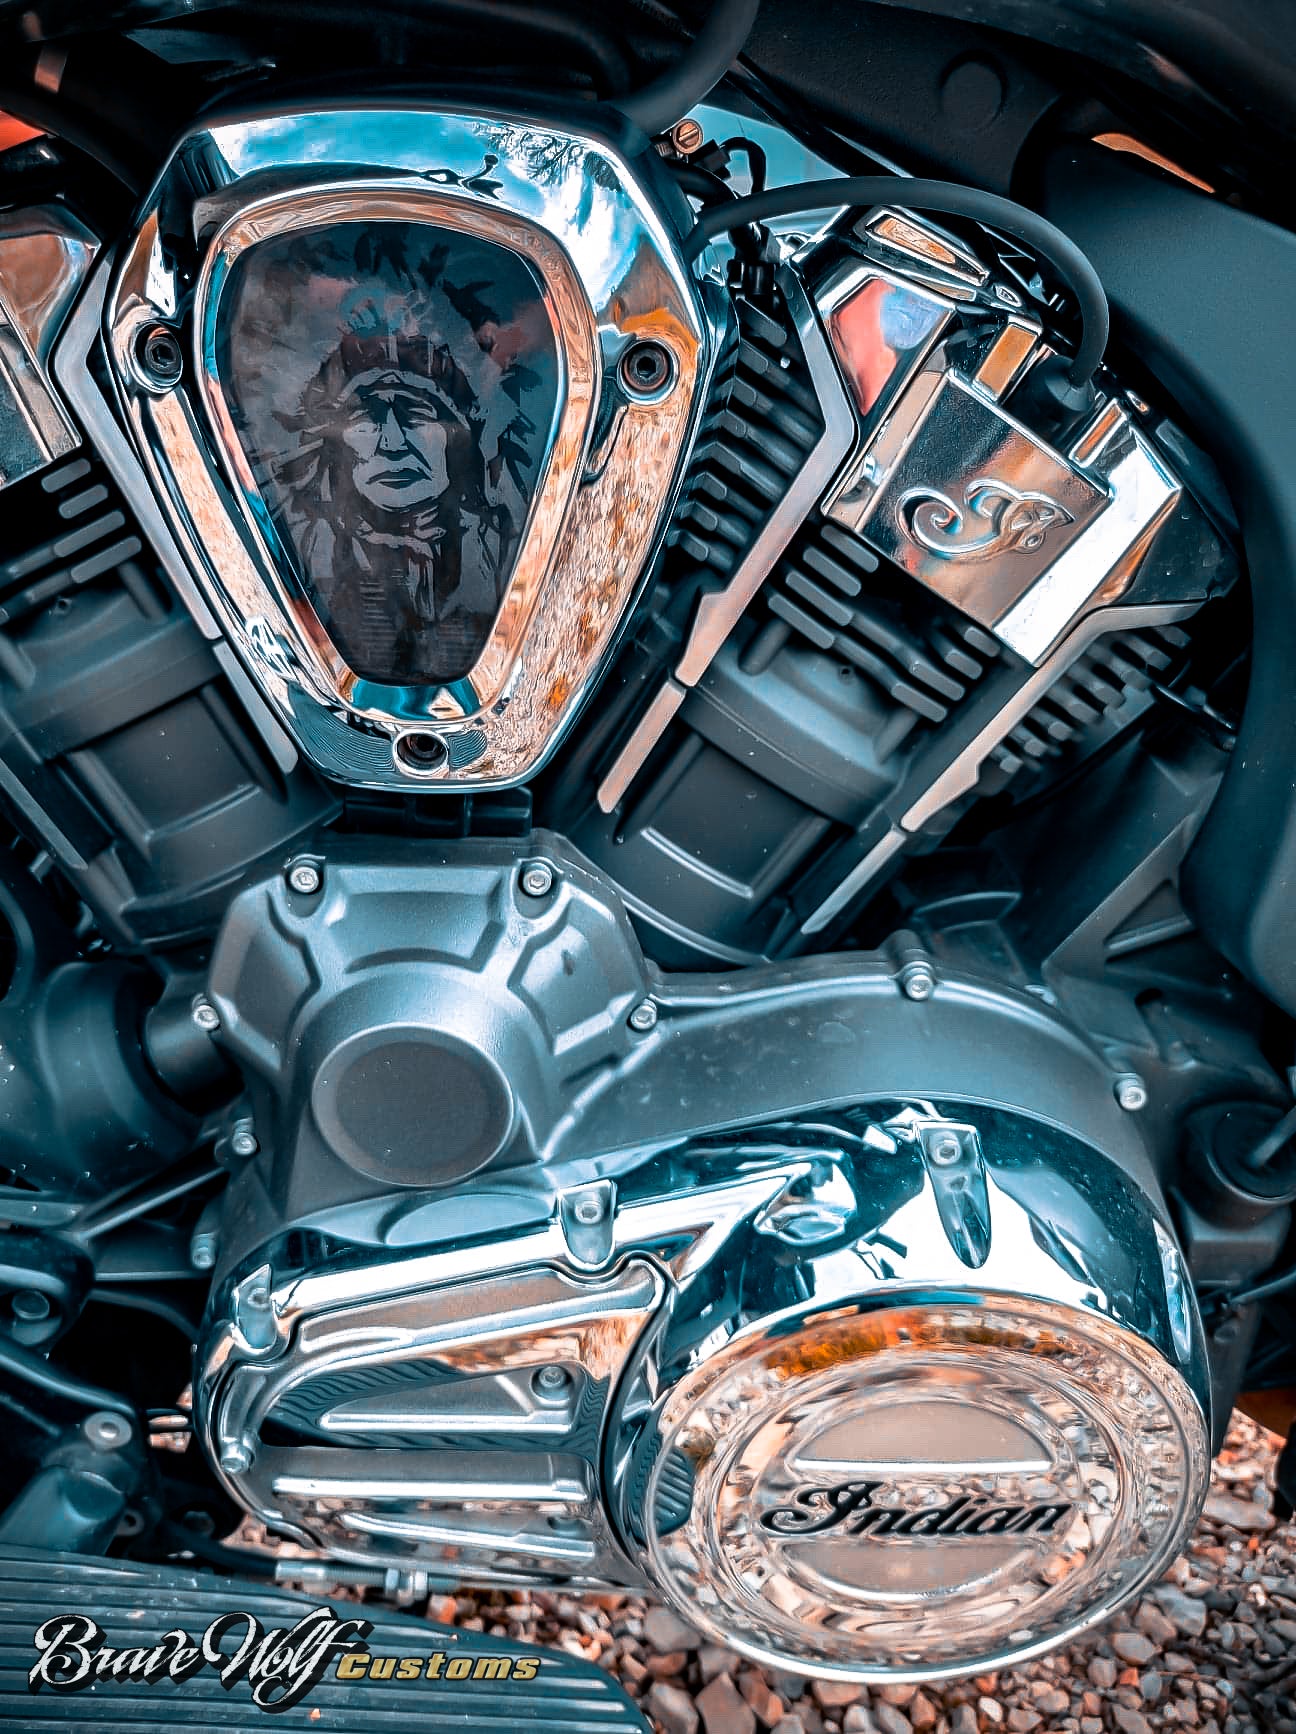
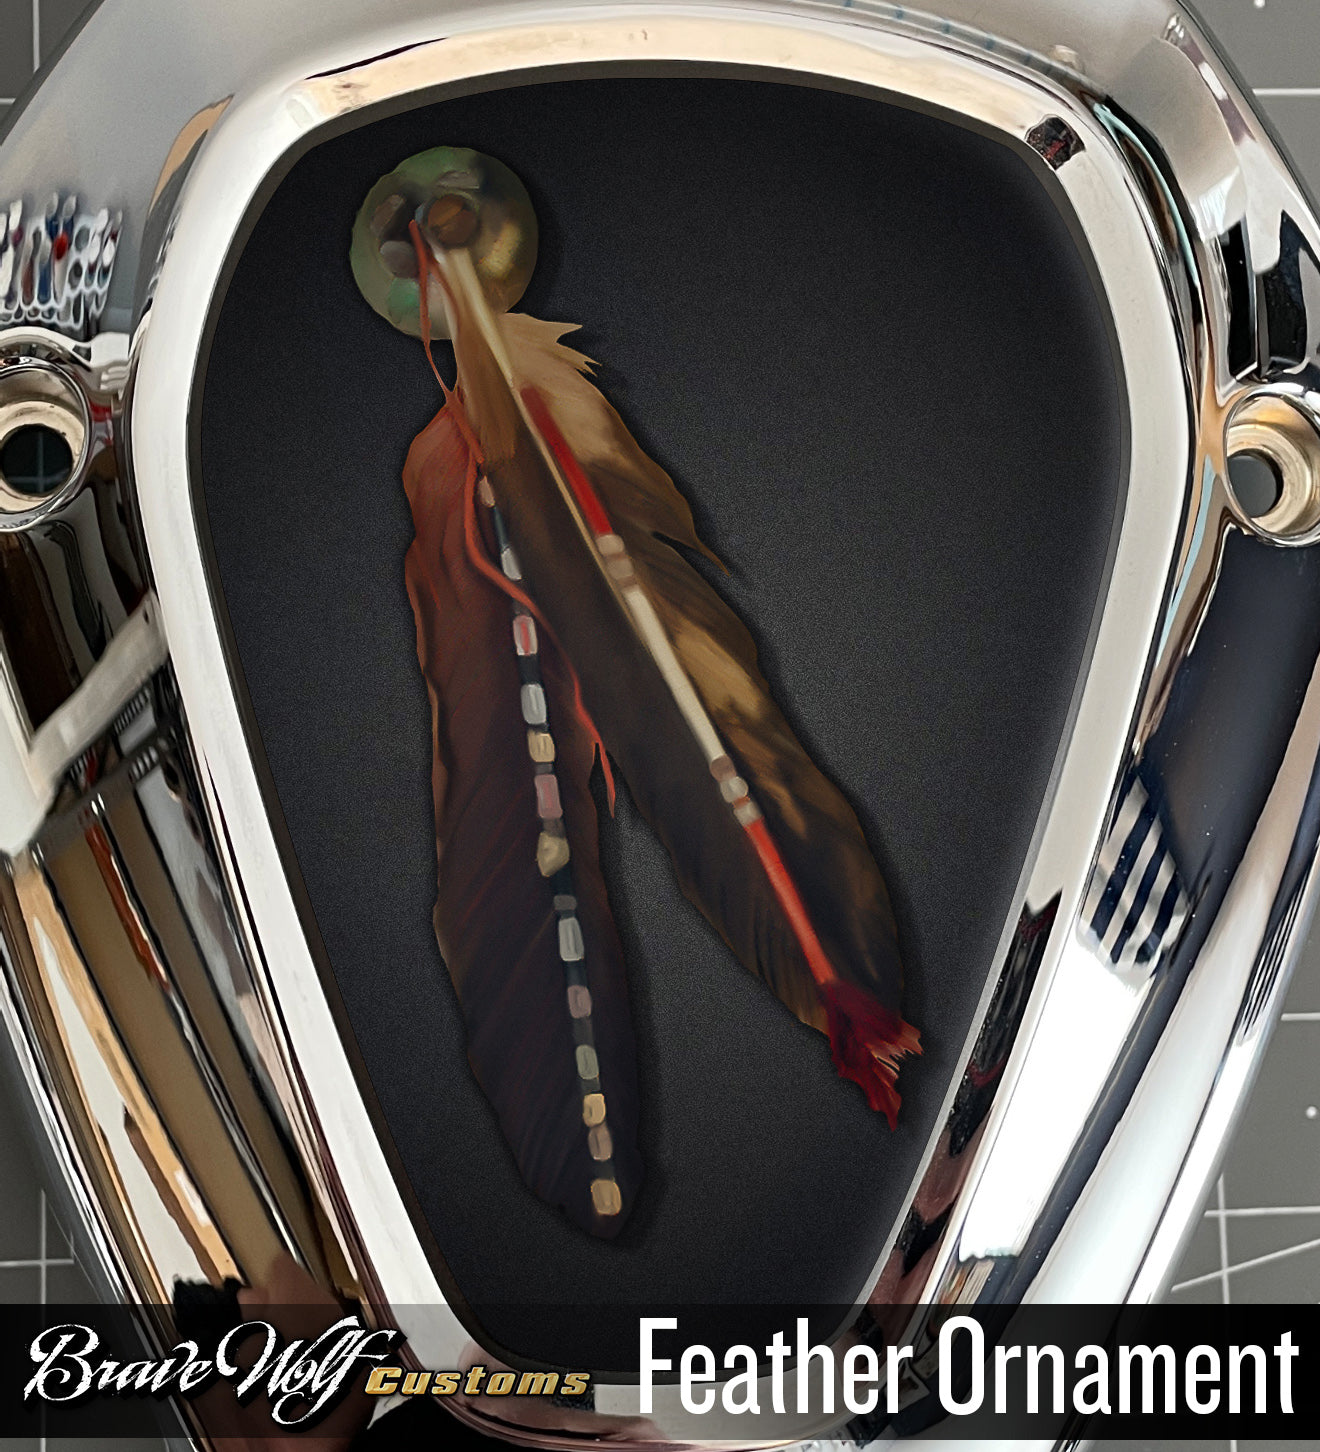
“Alchemy 1-2023" Universal Tank Decals for all Brands and Models of Motorcycles
There's a potion, a fix for that ailment you have. A cure for your boredom, a tincture to revive your spirit after a long week of work. It's called "riding a motorcycle". And that's what "Alchemy" represents.
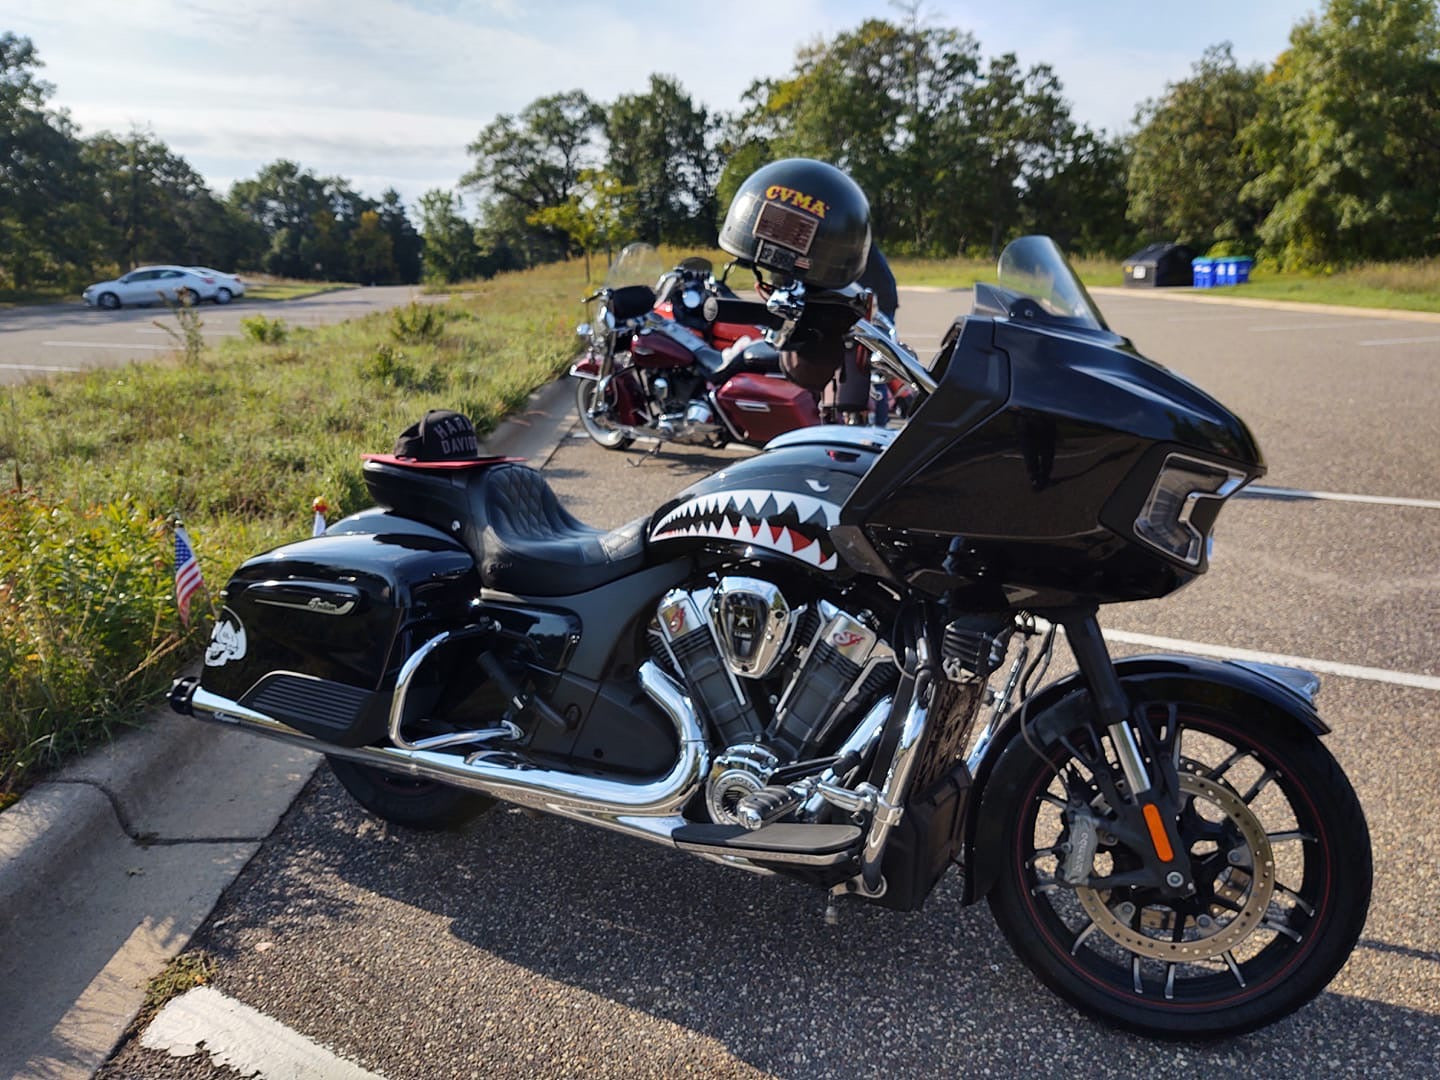
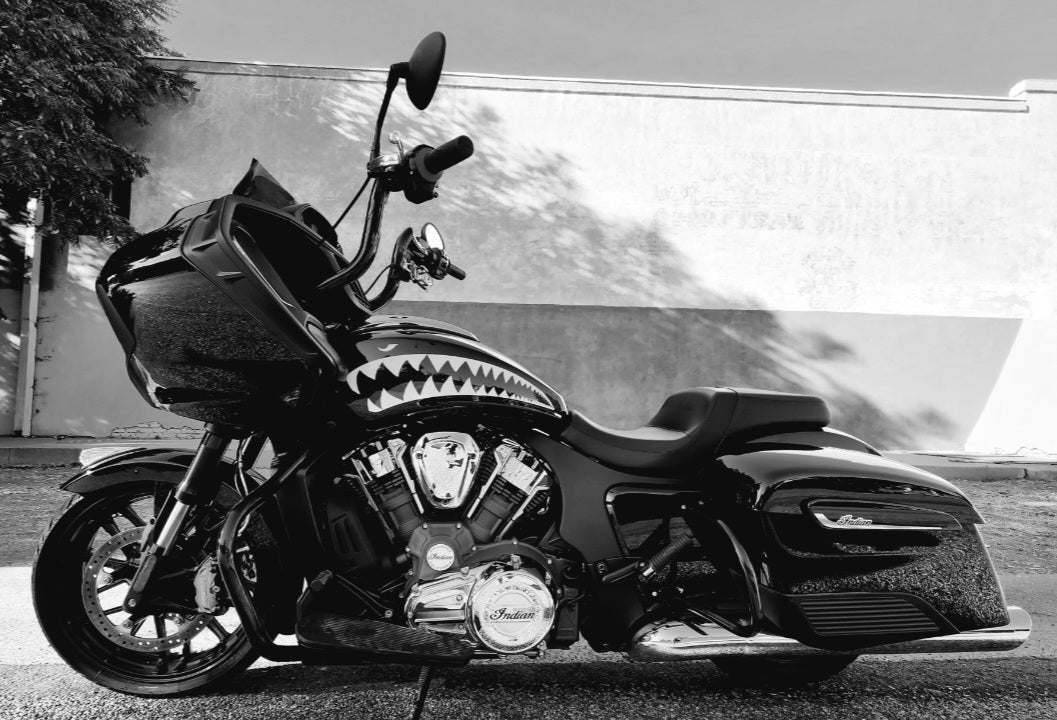
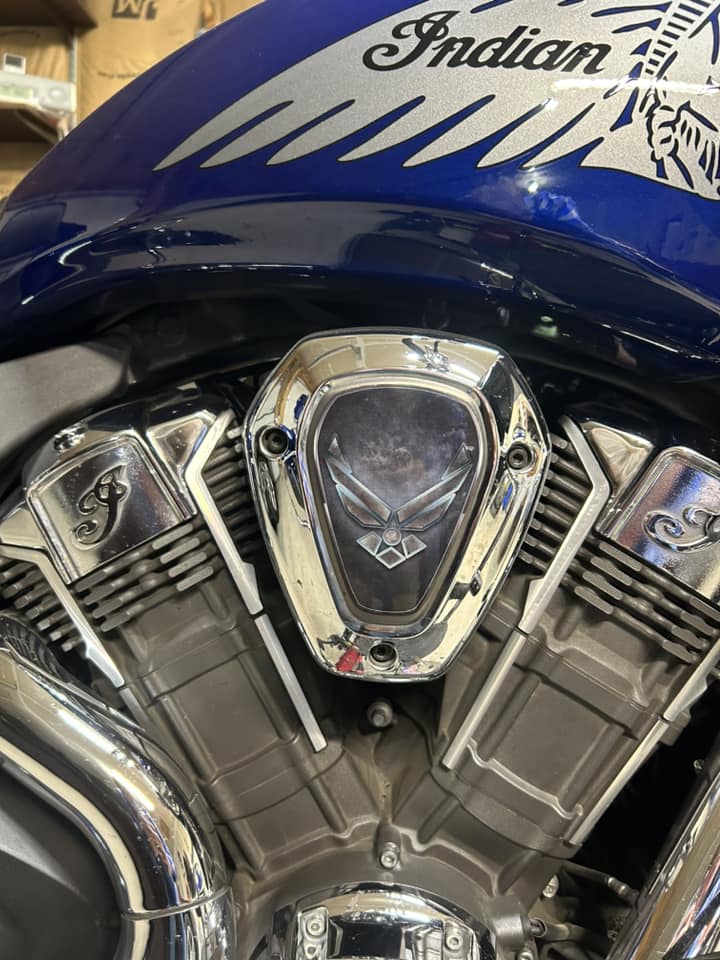
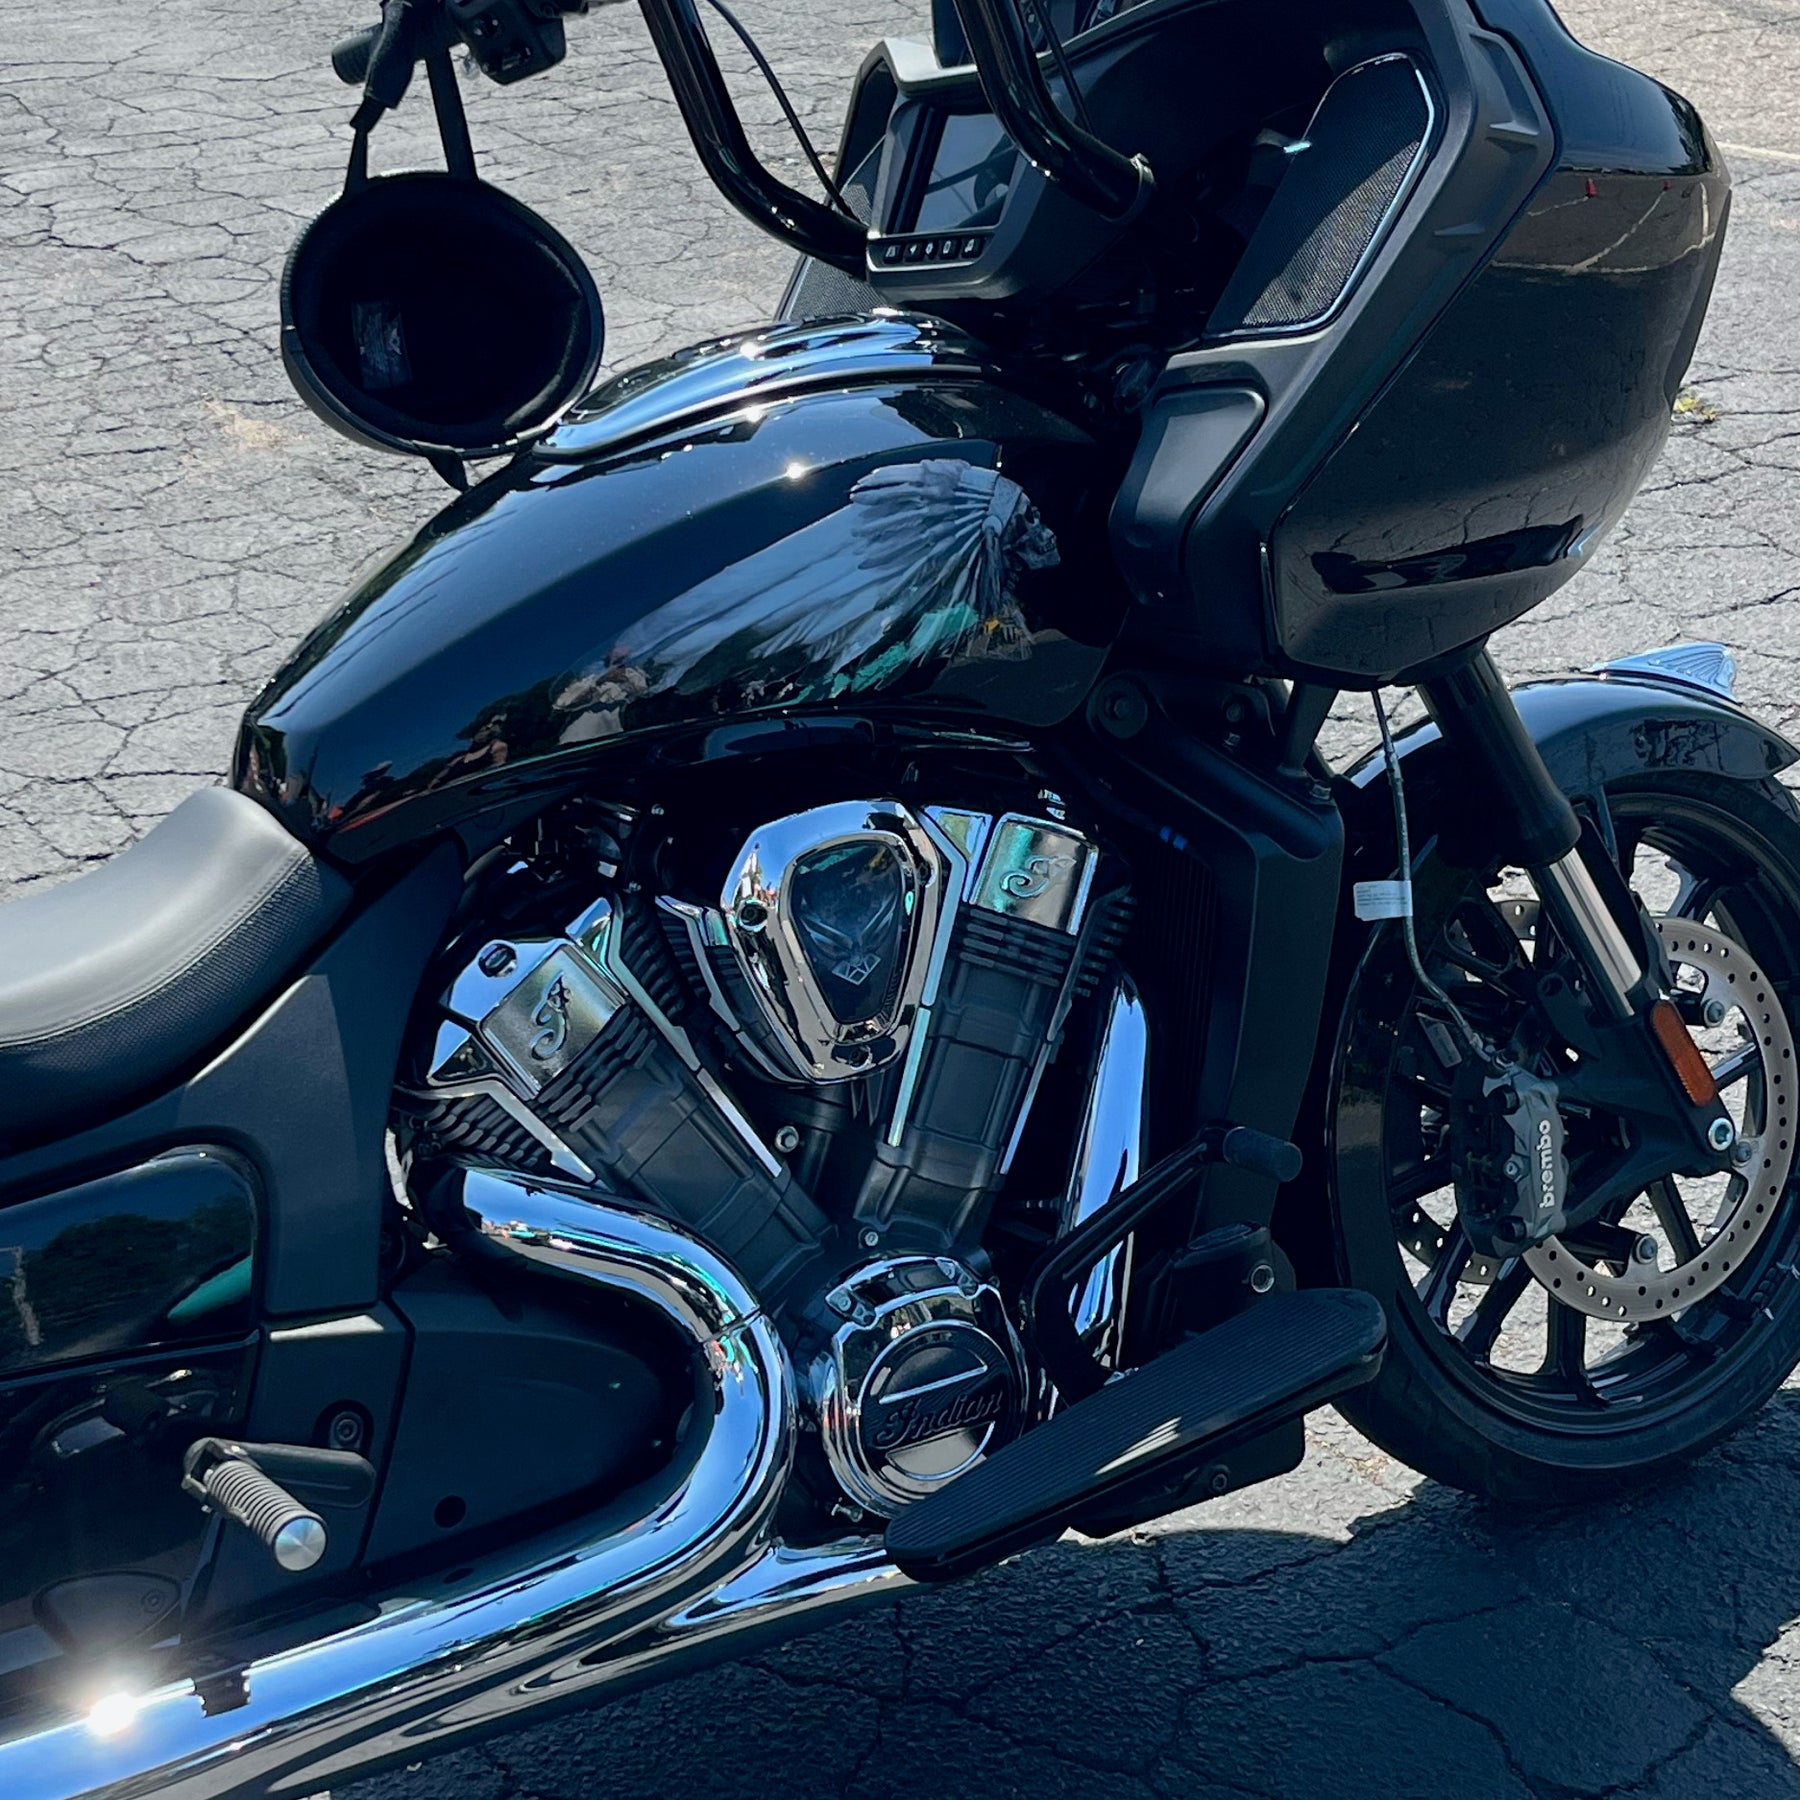
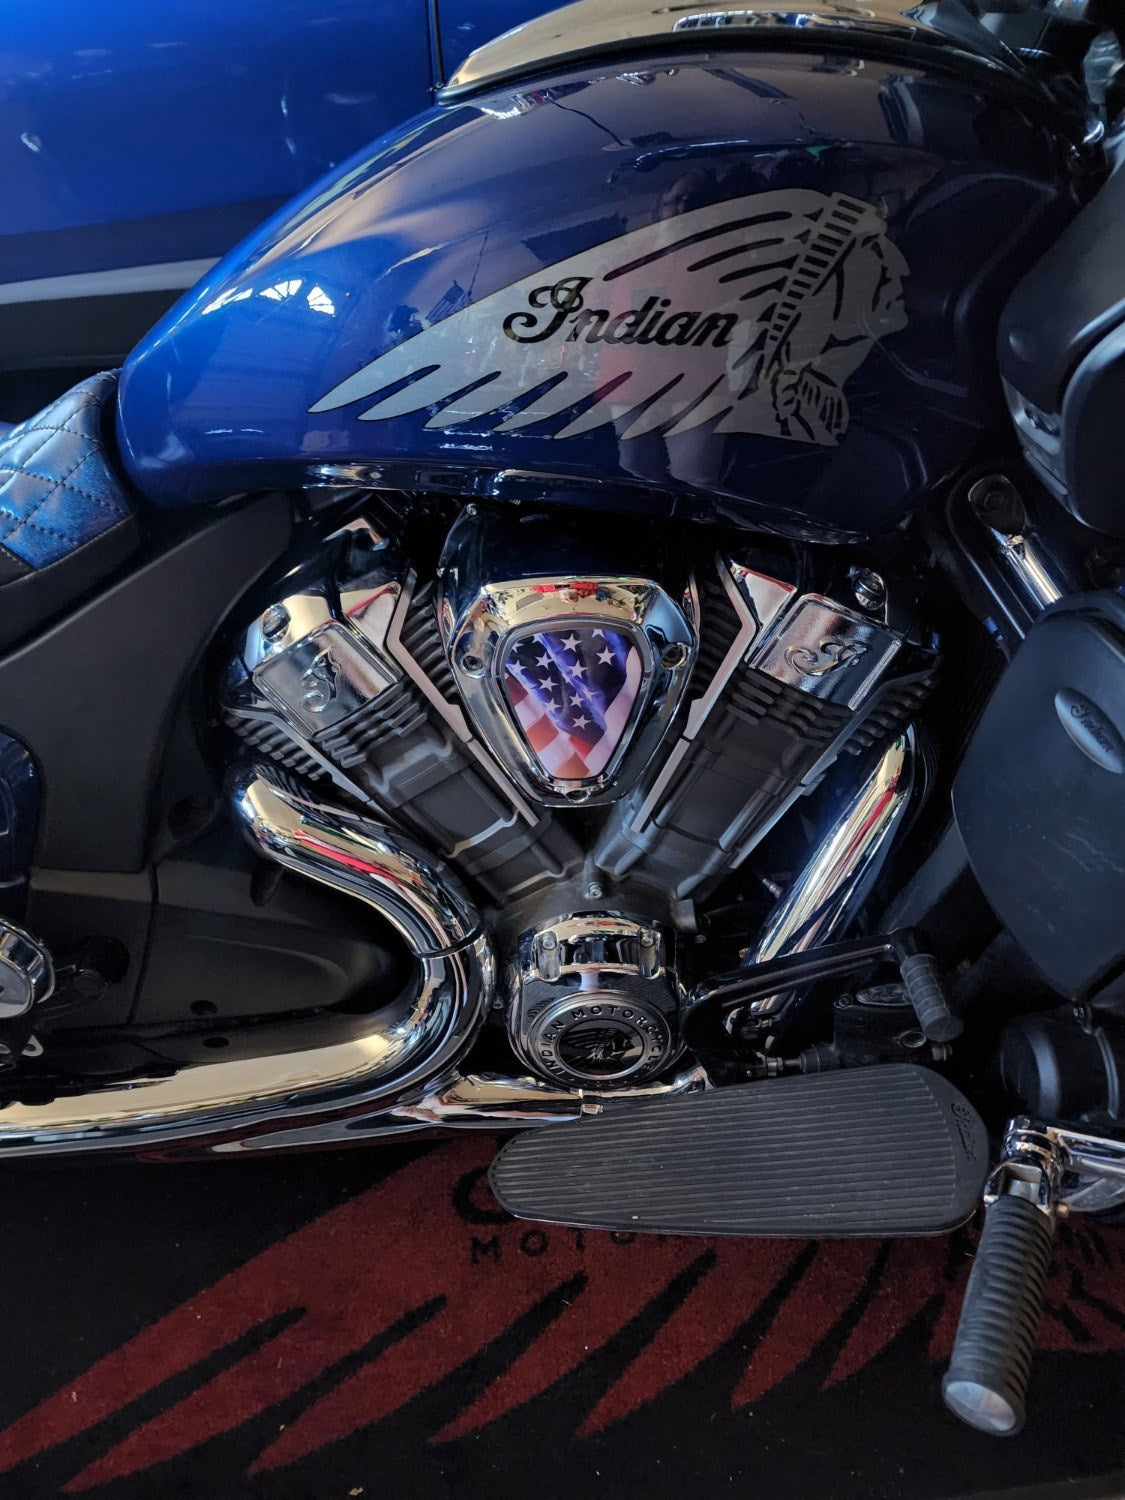
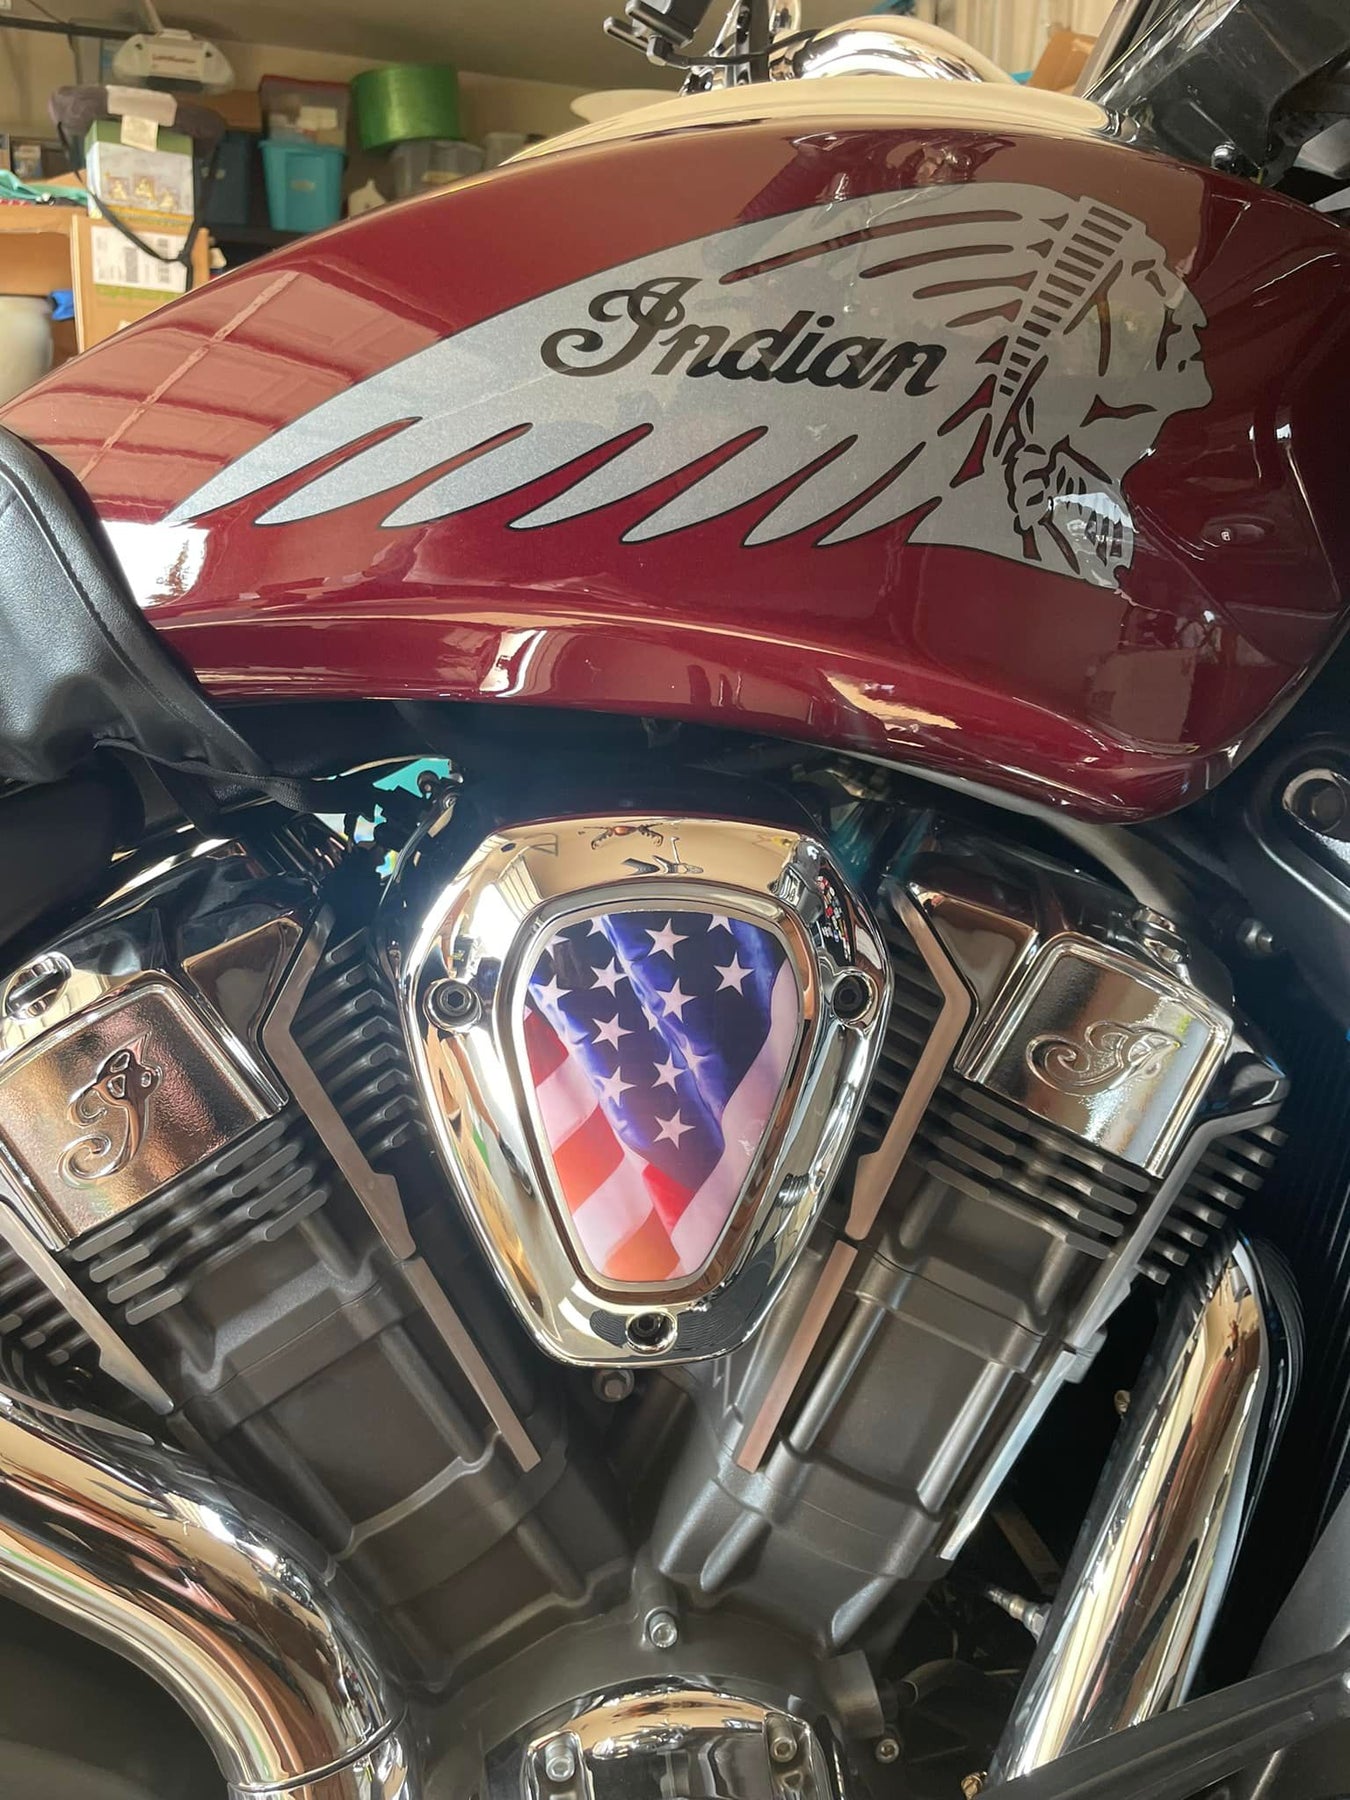
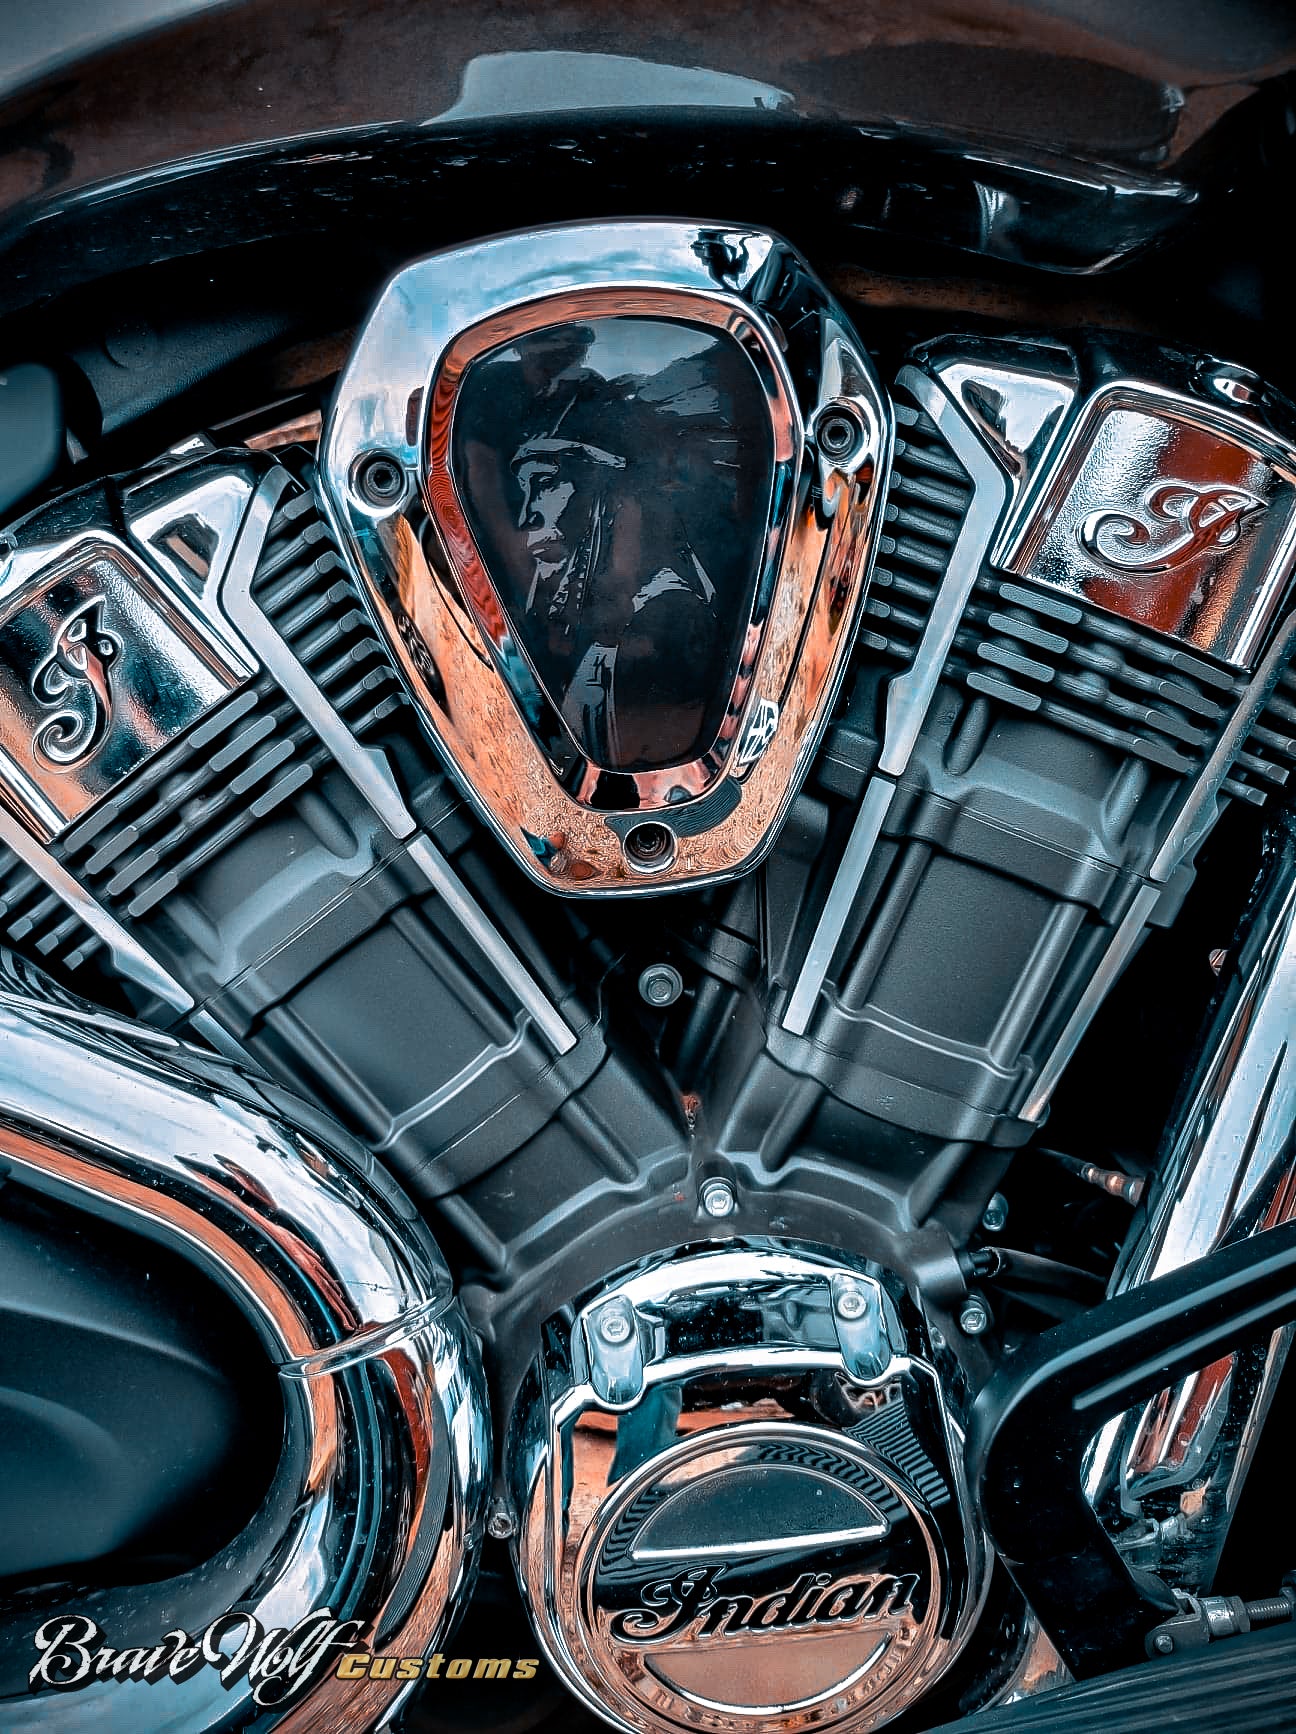
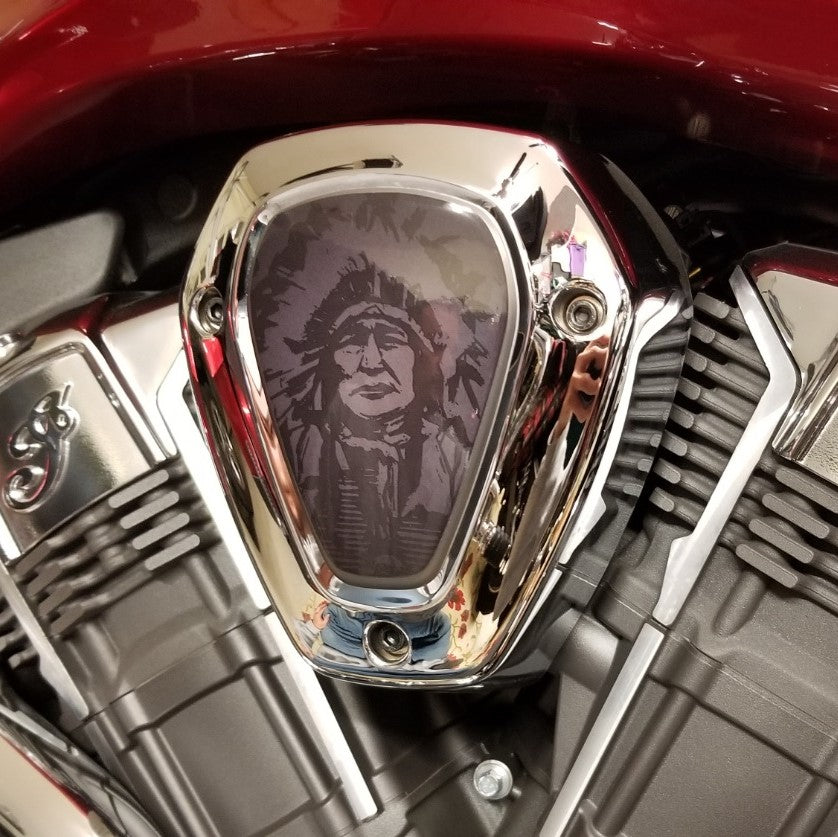
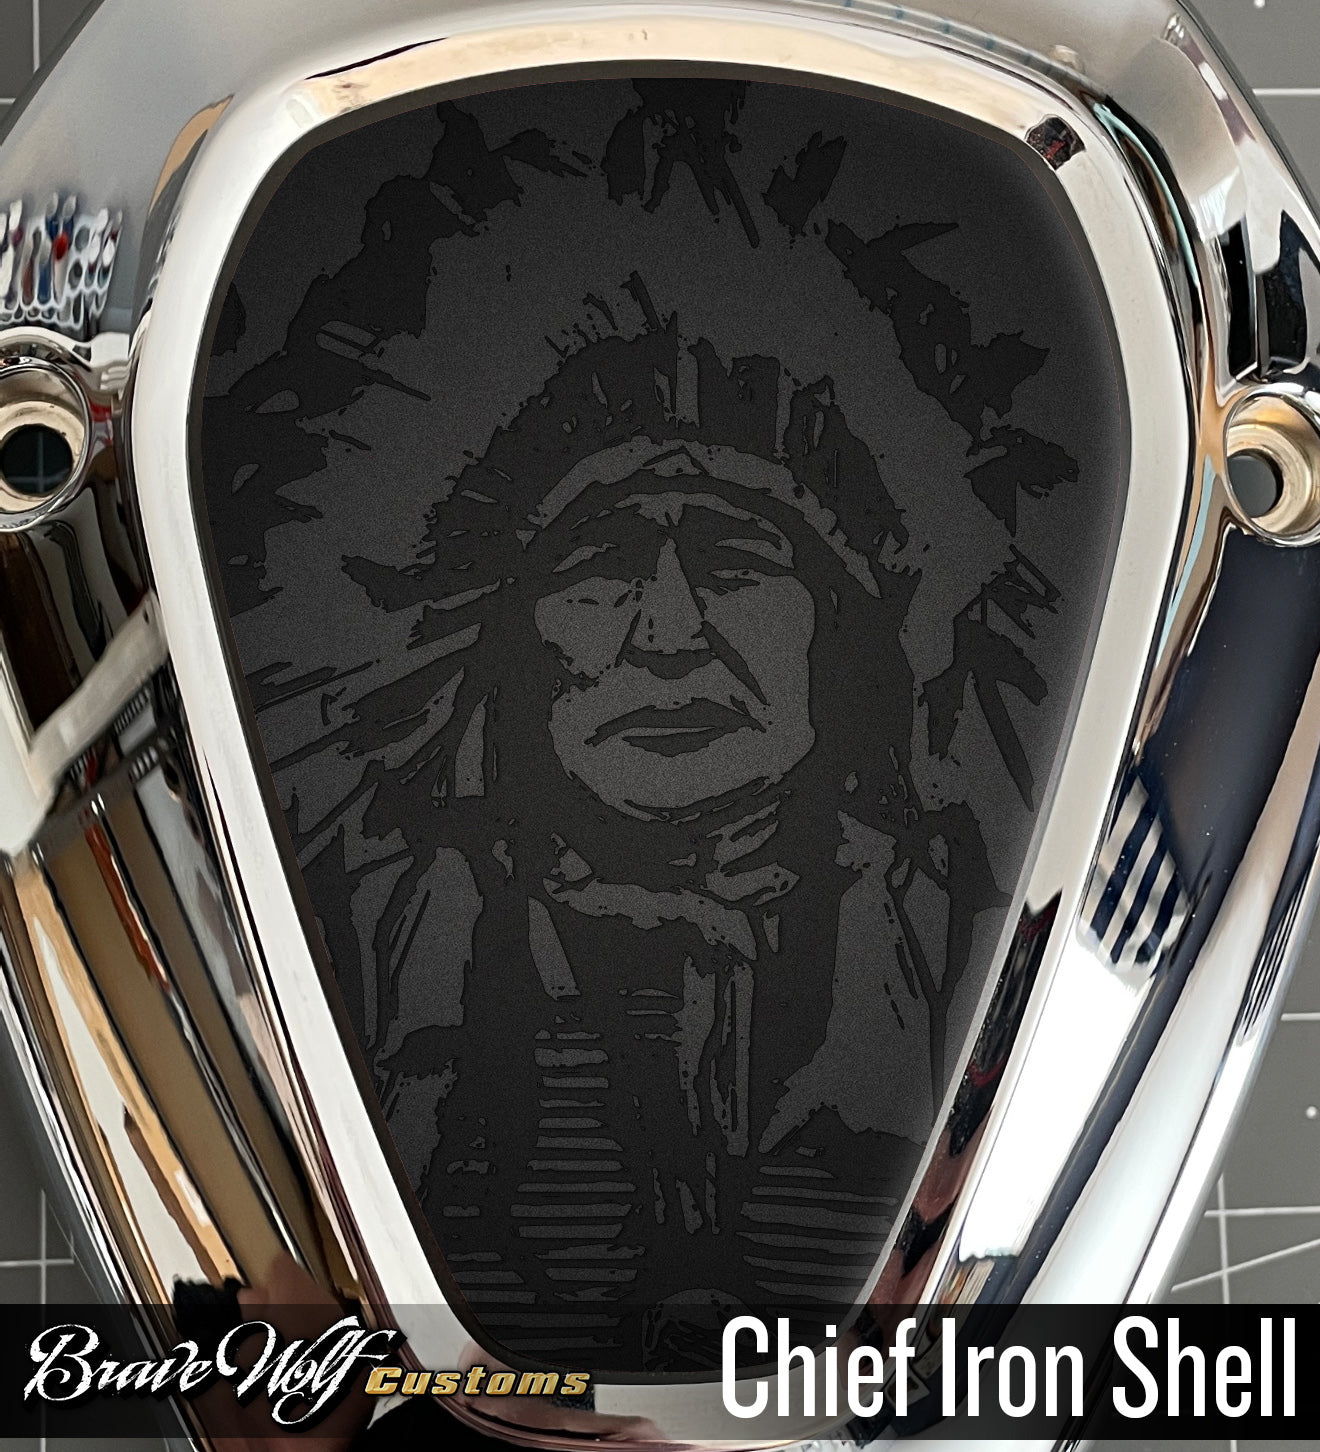
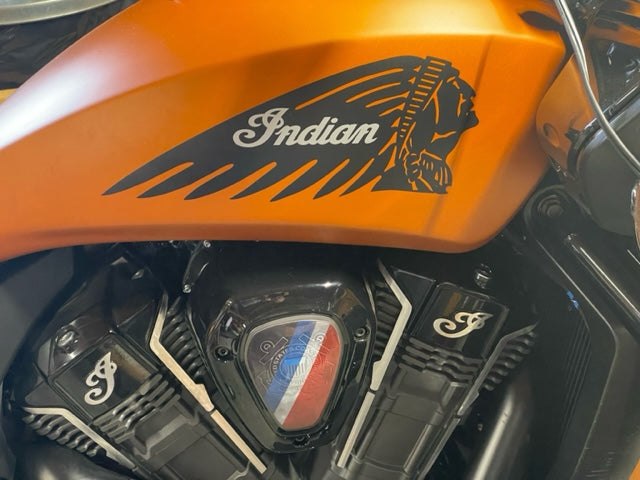
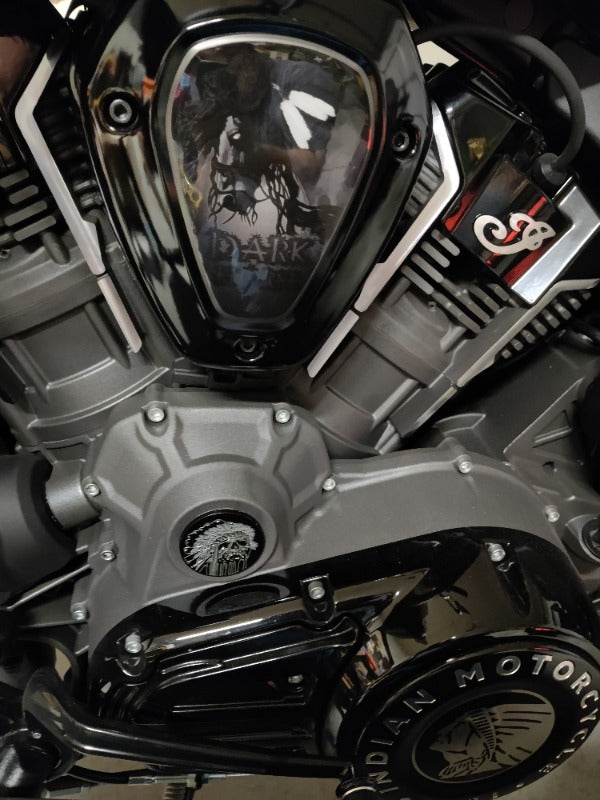
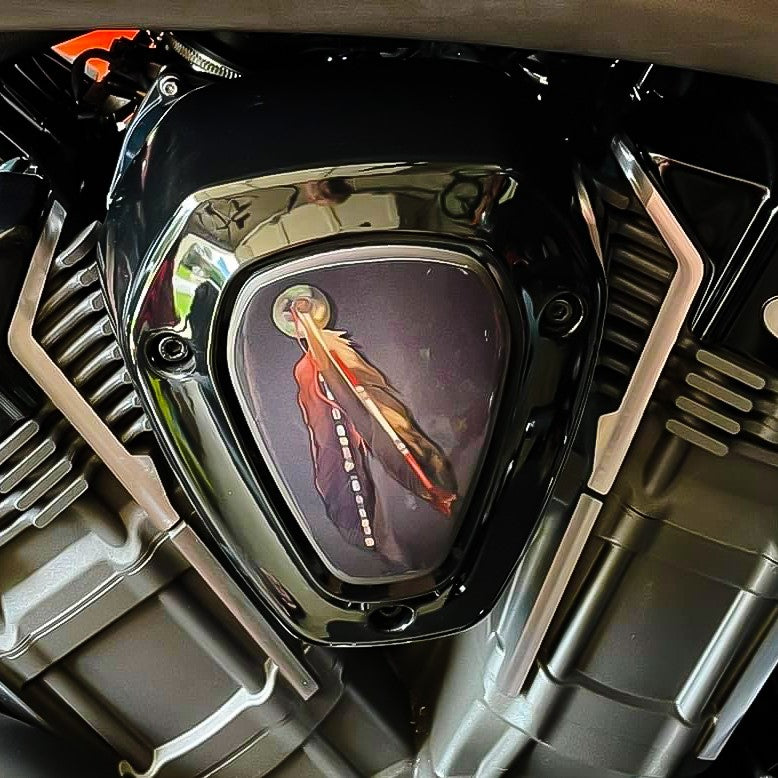
These decals were designed to cover the original headdress on Indian Motorcycles but can be used by any brand or model of bike.
If you have an Indian Scout, we recommend purchasing our Scout version which is slightly smaller in order fit on the tank side without extending over the border.
Size: 6.15 inches x 14.9 inches

Fitment over OEM headdress logo

These decals are designed for all brands/models of motorcycles. Check the measurements to ensure a proper fit on your bike before ordering. If your tank already has a graphic, we can’t guarantee these decals will cover it completely. To verify fit and coverage, print out the template below, cut it out and tape it to your tank. (Print out template will be added soon)
How To Install: <-Visit our How To page for videos
Weatherproof HD Gloss finish vinyl decals are self adhesive. We recommend using the wet method to install these decals: A spray bottle with water and dish soap can be used to wet the surface and the back of the decal, allowing you to slide the decal into place. Once you have it aligned properly, use your thumbs to push the moisture out from behind the decal, working from the center outwards to the edges and it will adhere to your bike. Using the wet method allows the decal surface to evenly distribute over the curved surface. A hair dryer to apply heat will make the process easier since the vinyl becomes more soft and flexible when warm.

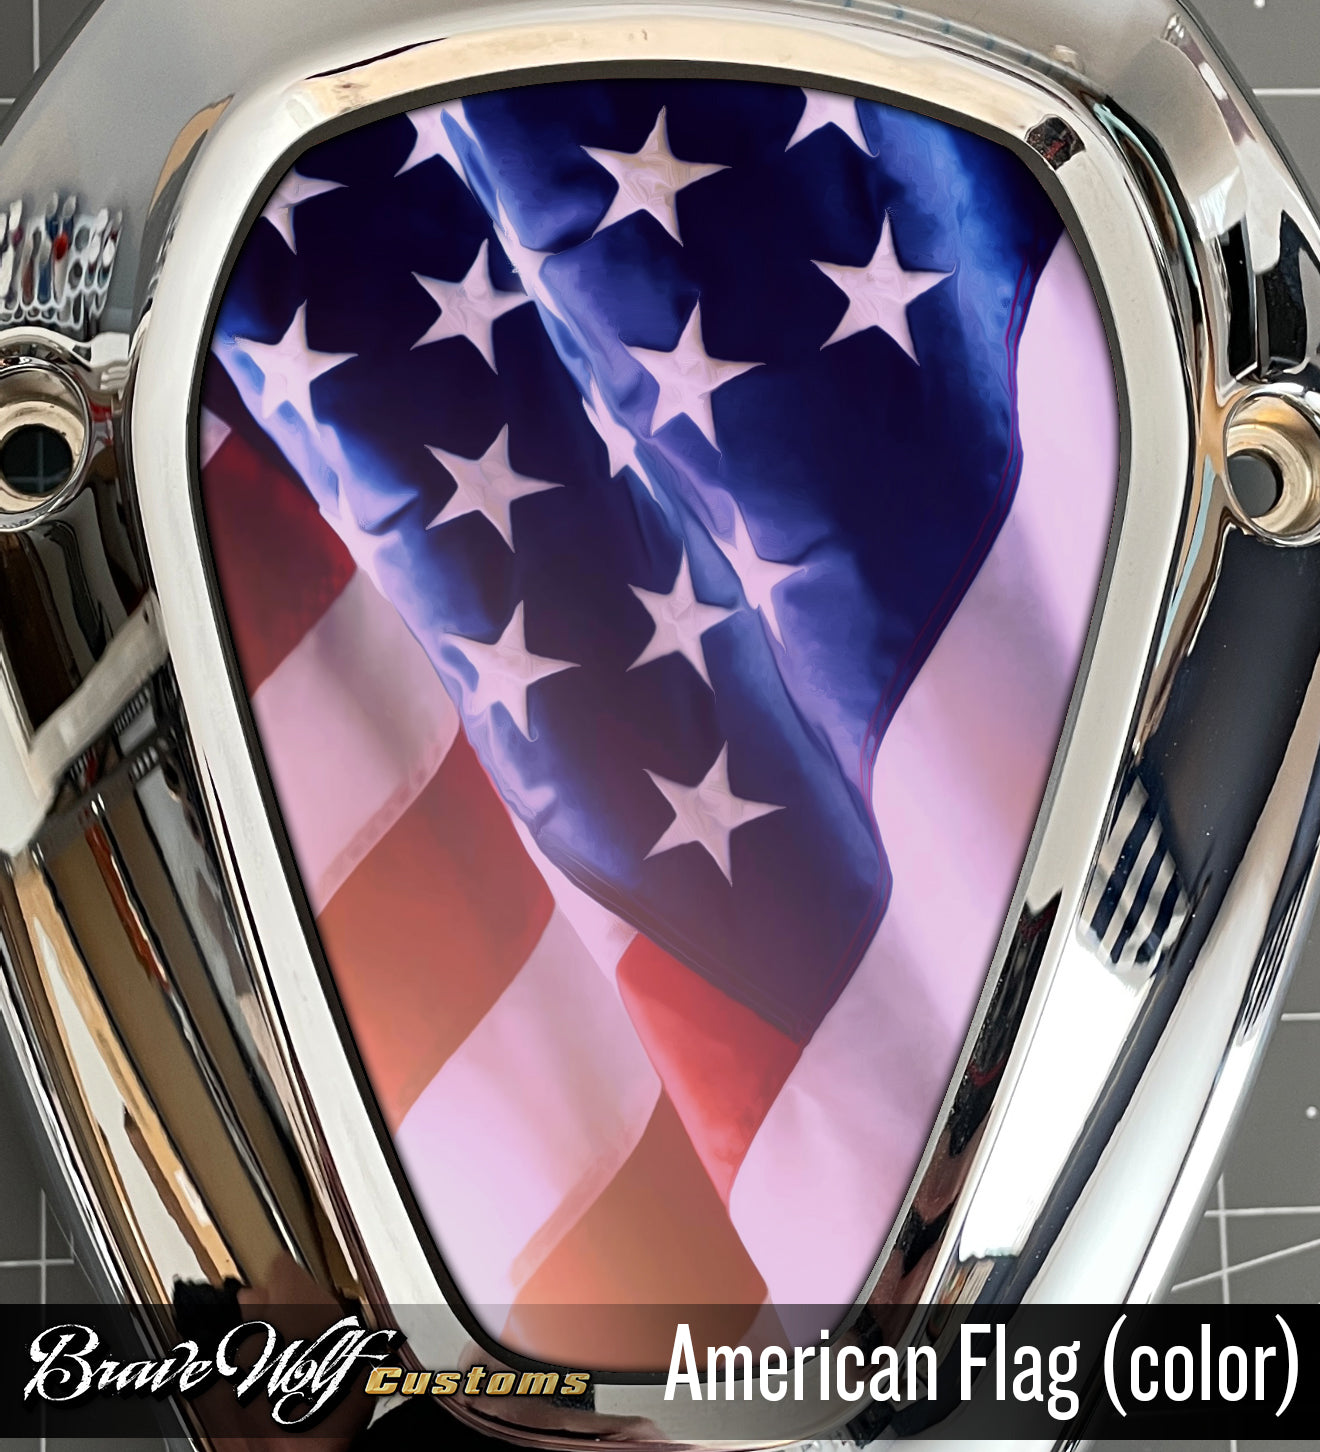
Alchemy 1-2023 - Universal Tank Decal-Color
Regular price $100.00
Shipping calculated at checkout.
Special Order Item (may take approximately 2-3 weeks before shipping if we don't have it in stock at the time of your order)

“Alchemy 1-2023" Universal Tank Decals for all Brands and Models of Motorcycles
There's a potion, a fix for that ailment you have. A cure for your boredom, a tincture to revive your spirit after a long week of work. It's called "riding a motorcycle". And that's what "Alchemy" represents.
These decals were designed to cover the original headdress on Indian Motorcycles but can be used by any brand or model of bike.
If you have an Indian Scout, we recommend purchasing our Scout version which is slightly smaller in order fit on the tank side without extending over the border.
Size: 6.15 inches x 14.9 inches
Fitment over OEM headdress logo
These decals are designed for all brands/models of motorcycles. Check the measurements to ensure a proper fit on your bike before ordering. If your tank already has a graphic, we can’t guarantee these decals will cover it completely. To verify fit and coverage, print out the template below, cut it out and tape it to your tank. (Print out template will be added soon)
How To Install: <-Visit our How To page for videos
Weatherproof HD Gloss finish vinyl decals are self adhesive. We recommend using the wet method to install these decals: A spray bottle with water and dish soap can be used to wet the surface and the back of the decal, allowing you to slide the decal into place. Once you have it aligned properly, use your thumbs to push the moisture out from behind the decal, working from the center outwards to the edges and it will adhere to your bike. Using the wet method allows the decal surface to evenly distribute over the curved surface. A hair dryer to apply heat will make the process easier since the vinyl becomes more soft and flexible when warm.

Alchemy 1-2023 - Universal Tank Decal-Red
Regular price $100.00
Shipping calculated at checkout.
Special Order Item (may take approximately 2-3 weeks before shipping if we don't have it in stock at the time of your order)
“Alchemy 1-2023" Universal Tank Decals for all Brands and Models of Motorcycles
There's a potion, a fix for that ailment you have. A cure for your boredom, a tincture to revive your spirit after a long week of work. It's called "riding a motorcycle". And that's what "Alchemy" represents.
These decals were designed to cover the original headdress on Indian Motorcycles but can be used by any brand or model of bike.
If you have an Indian Scout, we recommend purchasing our Scout version which is slightly smaller in order fit on the tank side without extending over the border.
Size: 6.15 inches x 14.9 inches
Fitment over OEM headdress logo
These decals are designed for all brands/models of motorcycles. Check the measurements to ensure a proper fit on your bike before ordering. If your tank already has a graphic, we can’t guarantee these decals will cover it completely. To verify fit and coverage, print out the template below, cut it out and tape it to your tank. (Print out template will be added soon)
How To Install: <-Visit our How To page for videos
Weatherproof HD Gloss finish vinyl decals are self adhesive. We recommend using the wet method to install these decals: A spray bottle with water and dish soap can be used to wet the surface and the back of the decal, allowing you to slide the decal into place. Once you have it aligned properly, use your thumbs to push the moisture out from behind the decal, working from the center outwards to the edges and it will adhere to your bike. Using the wet method allows the decal surface to evenly distribute over the curved surface. A hair dryer to apply heat will make the process easier since the vinyl becomes more soft and flexible when warm.


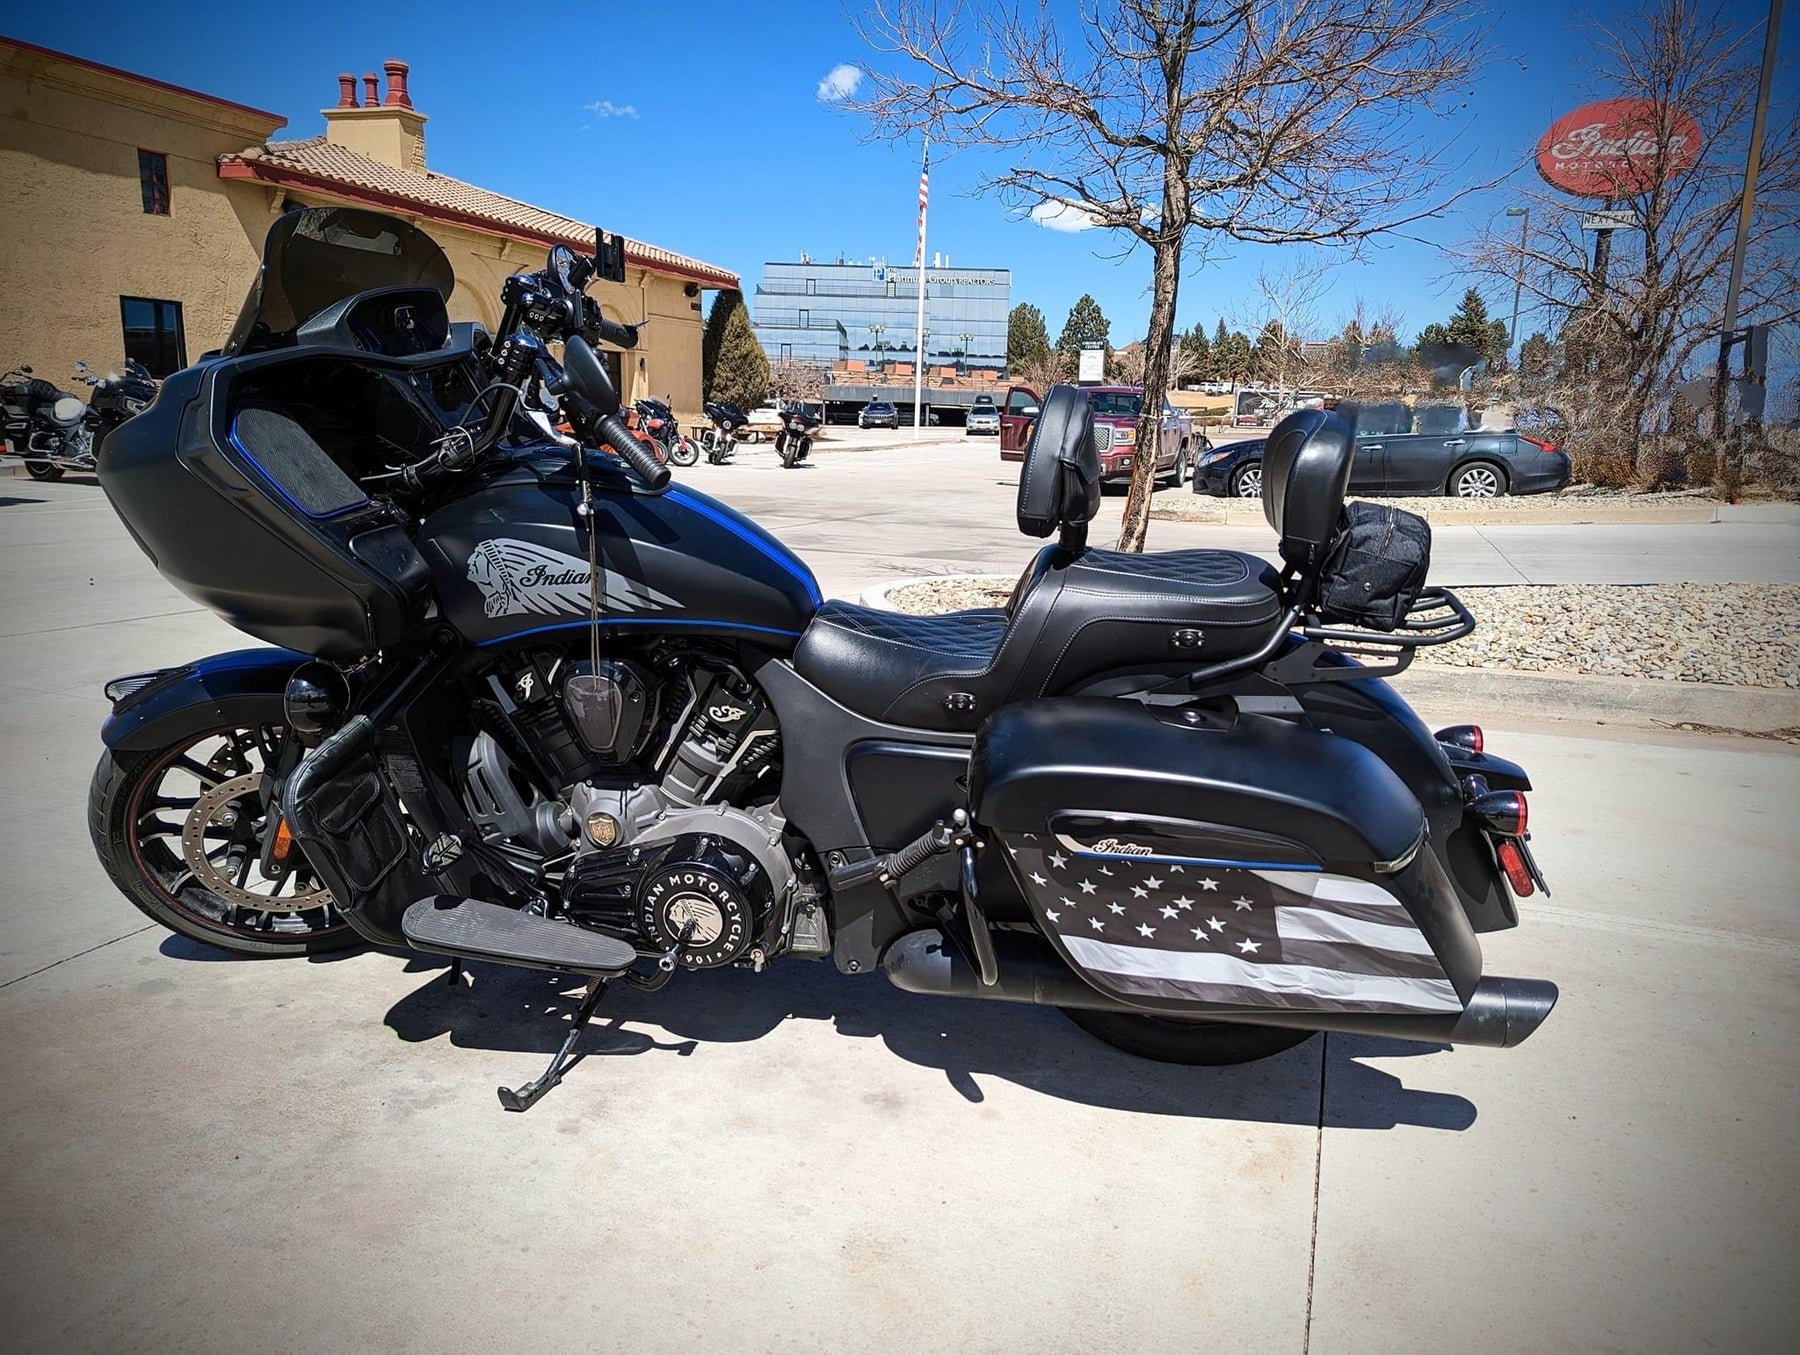
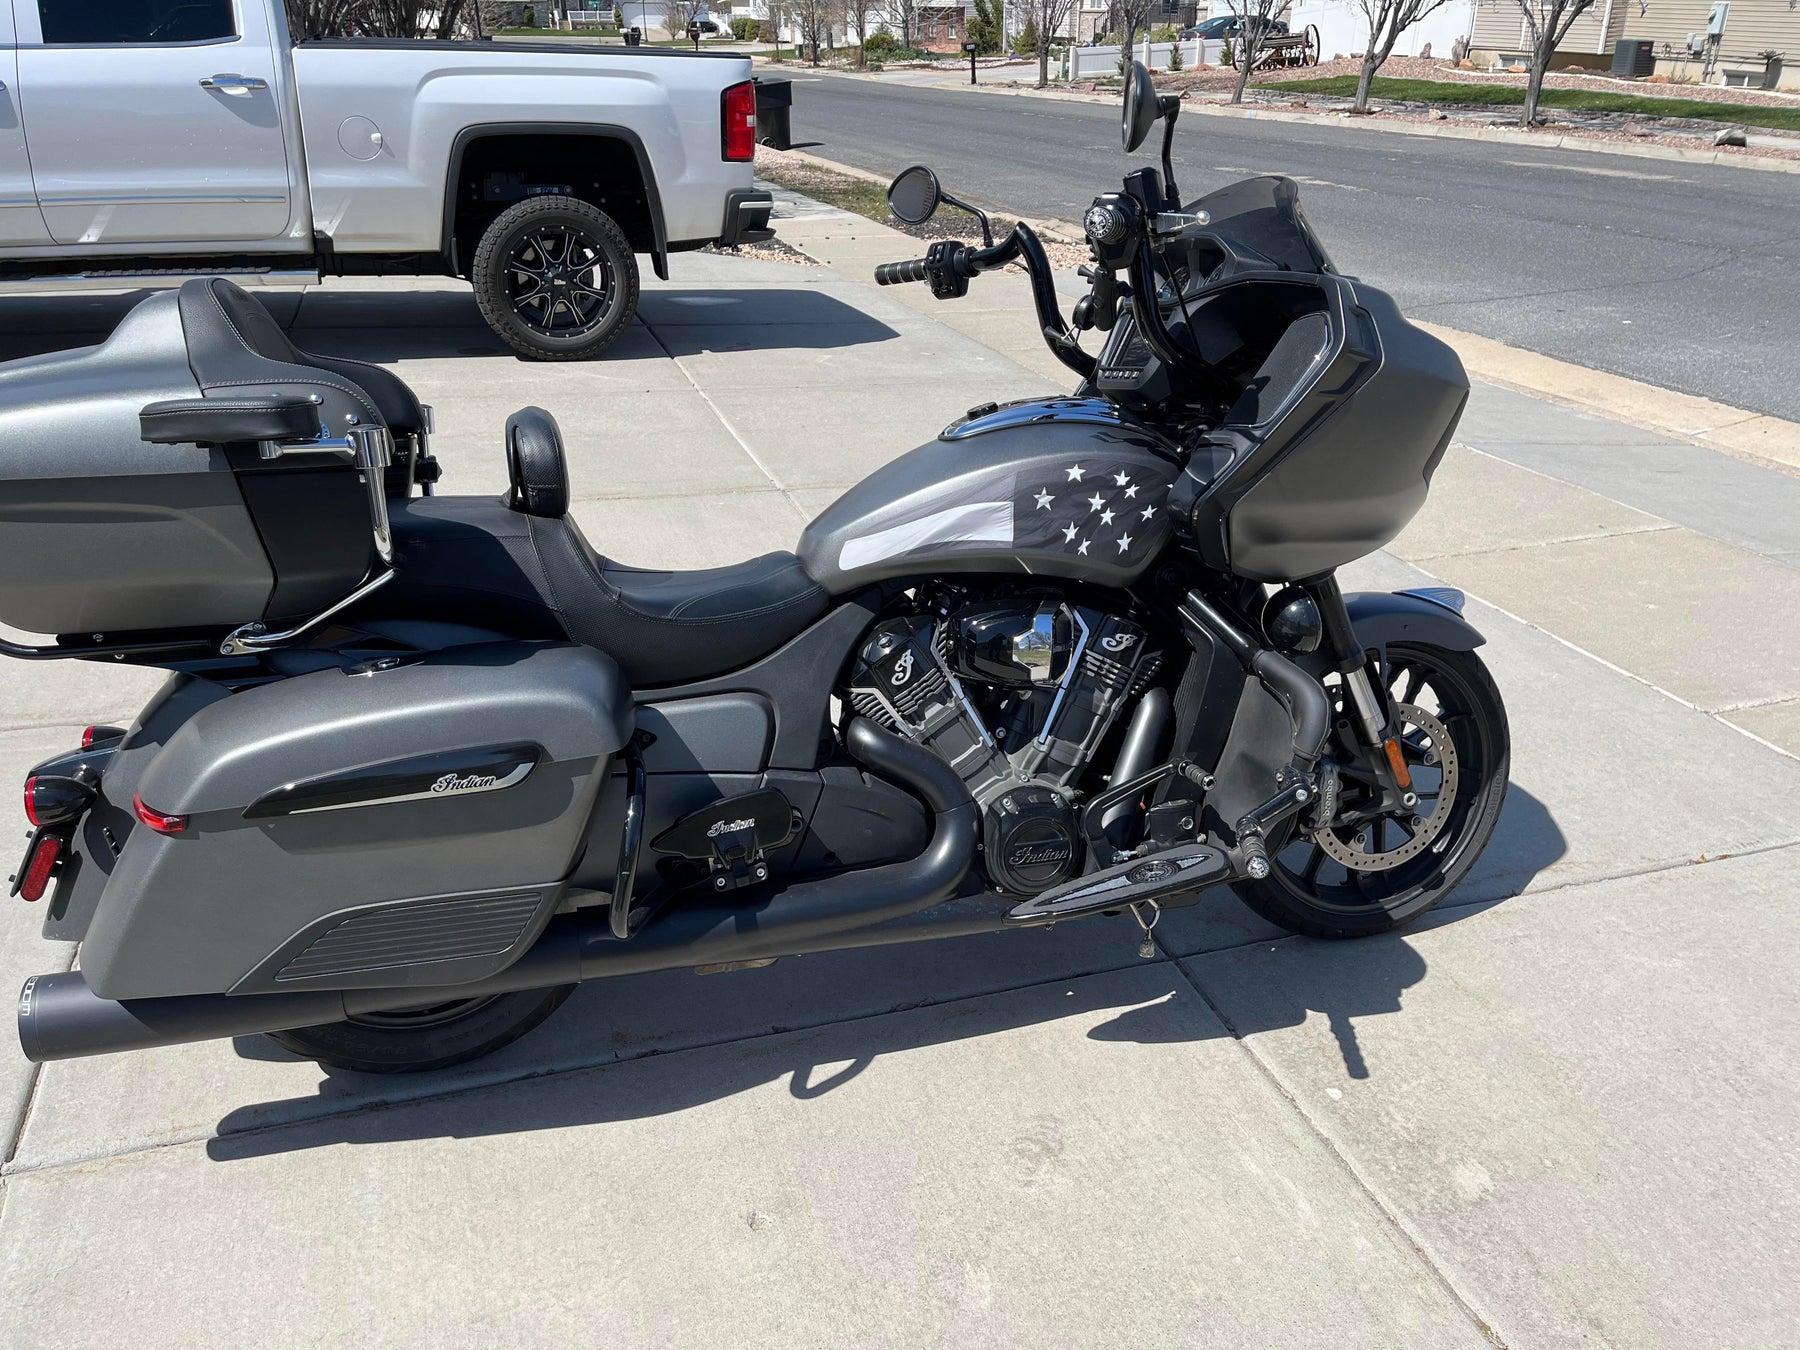
American Flag - New Style Saddlebags
Regular price $150.00
Shipping calculated at checkout.
Special Order Item (may not always be in stock and could take approximately two weeks before shipping)
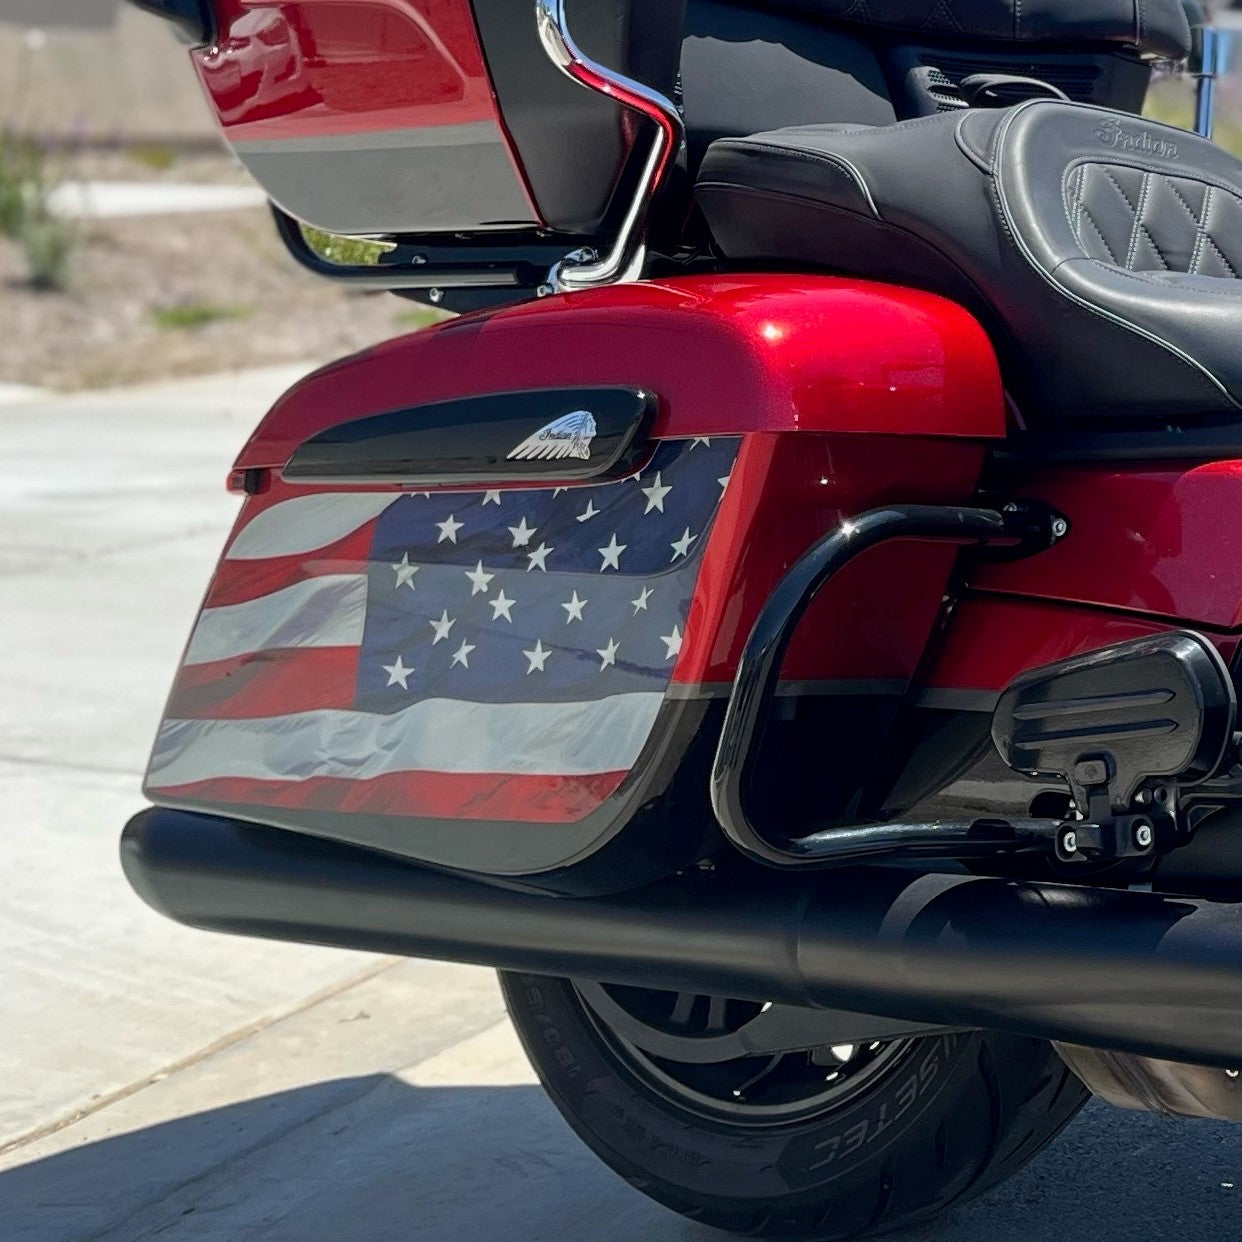
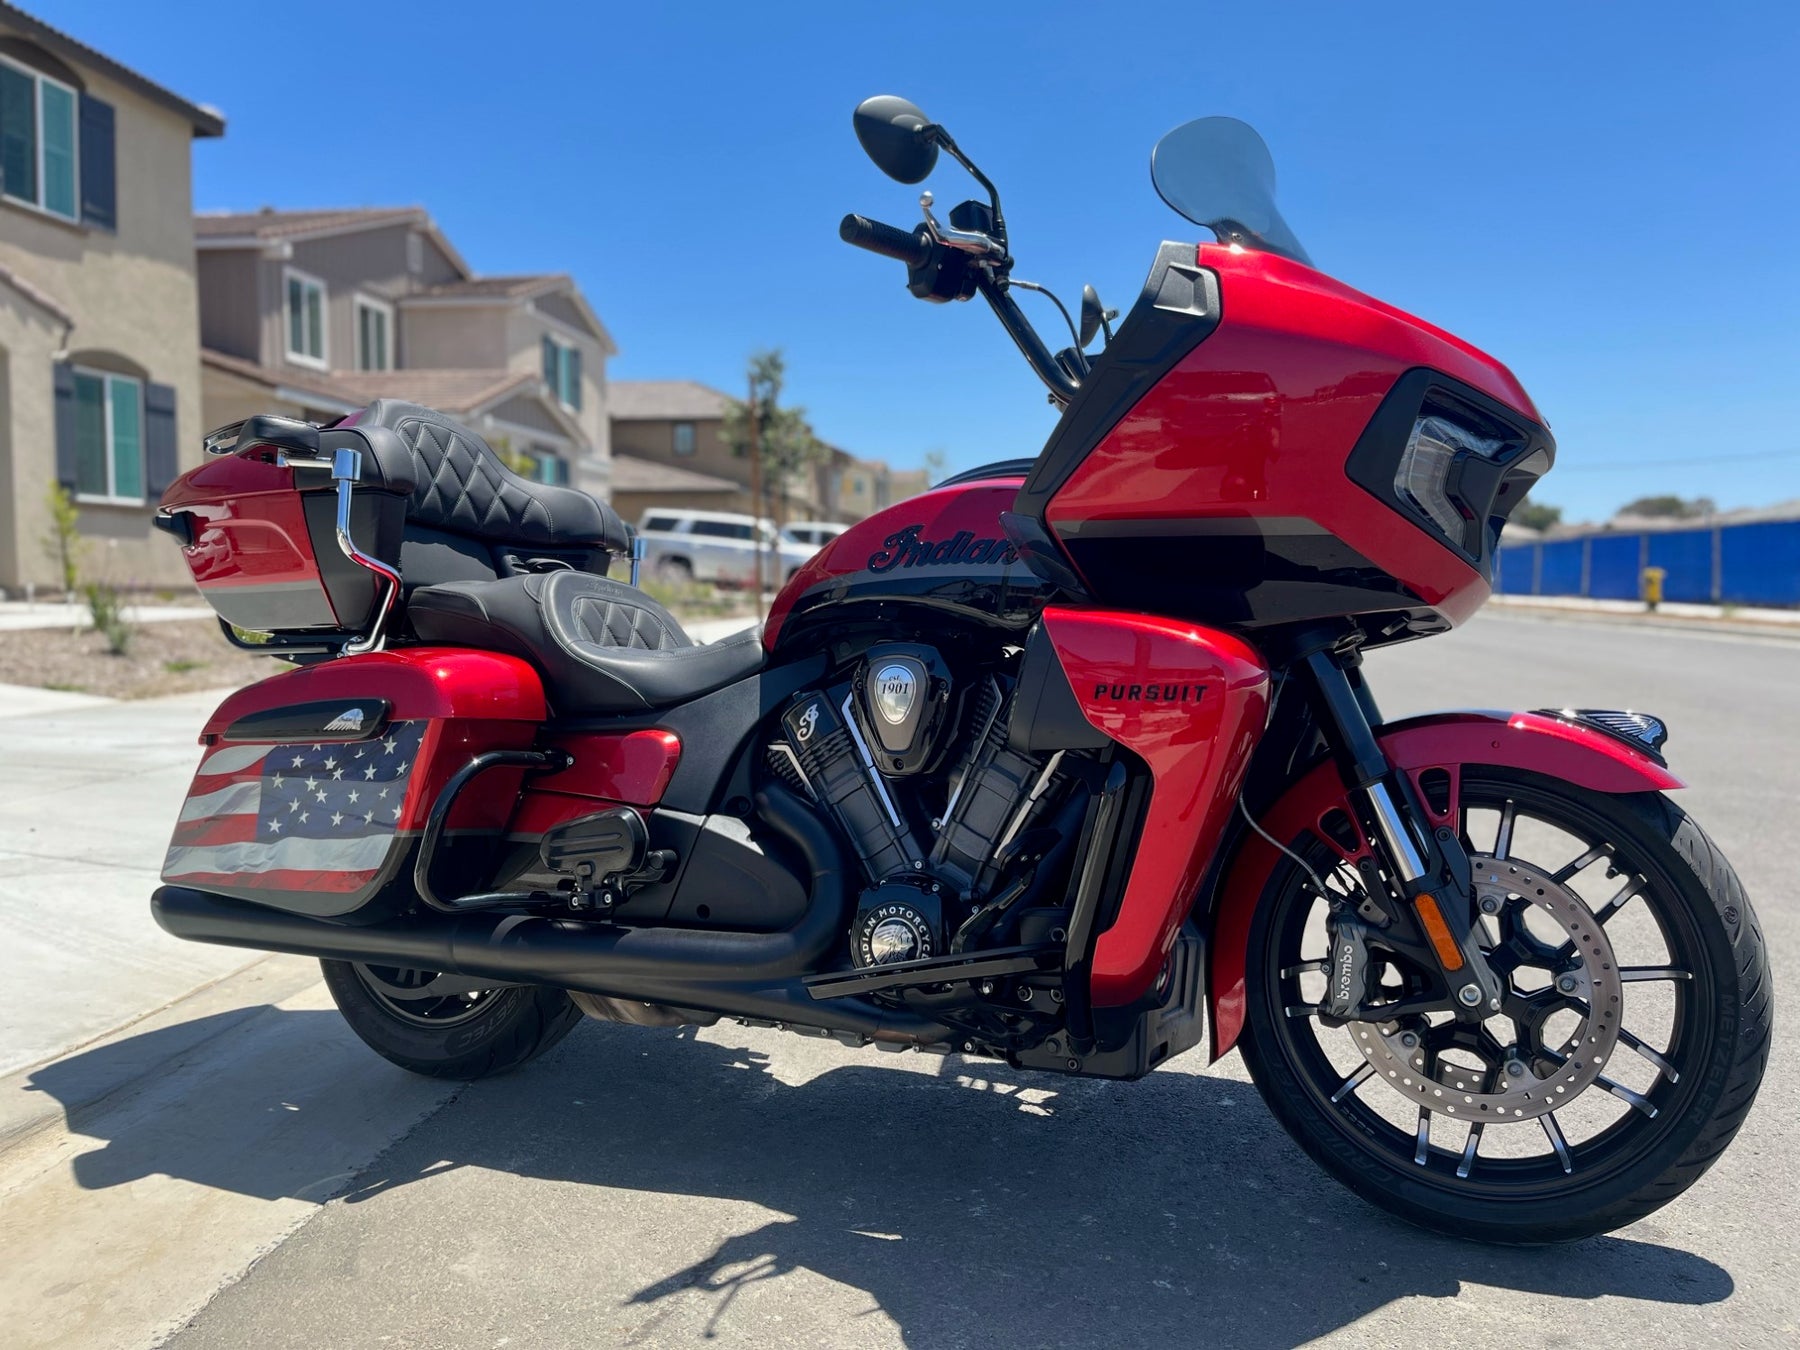
American Flag Decal Set for new style Indian Saddlebags
Size: Fits the side of the left and right saddlebag for the newer style (non-rounded) Indian hard bags. For models that have the plastic bag guard on the front/bottom corner, the guard must be removed to use these decals. (See Mock-up images)

Weatherproof laminated decals are self adhesive.
How To Install: <-Visit our How To page for videos
We recommend using the wet method to install larger decals: A spray bottle with water and dish soap can be used to wet the tank and the back of the decal, allowing you to slide the decal into place. To get the proper soap/water mix, start with a squirt of soap into your spray bottle. Shake it up and then spray it on your hand. Rub your finger tips together. You should feel the slipperiness of the soap. If it just feels like water, add more soap and try again. Once you have it aligned properly, use a squeegee or some non-abrasive tool (even your fingers) to push the moisture out from behind the decal and it will adhere to your tank. A plastic putty scraper with a thin cloth wrapped around it will work great and prevent scratching your decals.


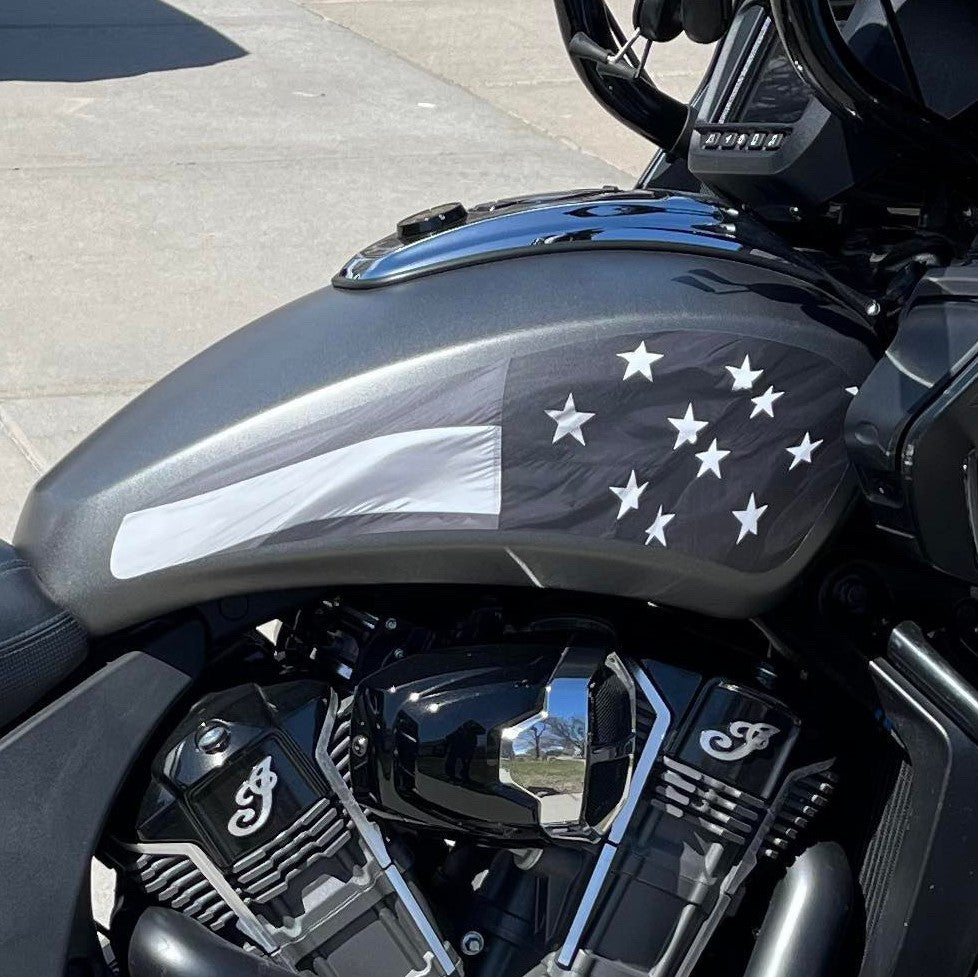
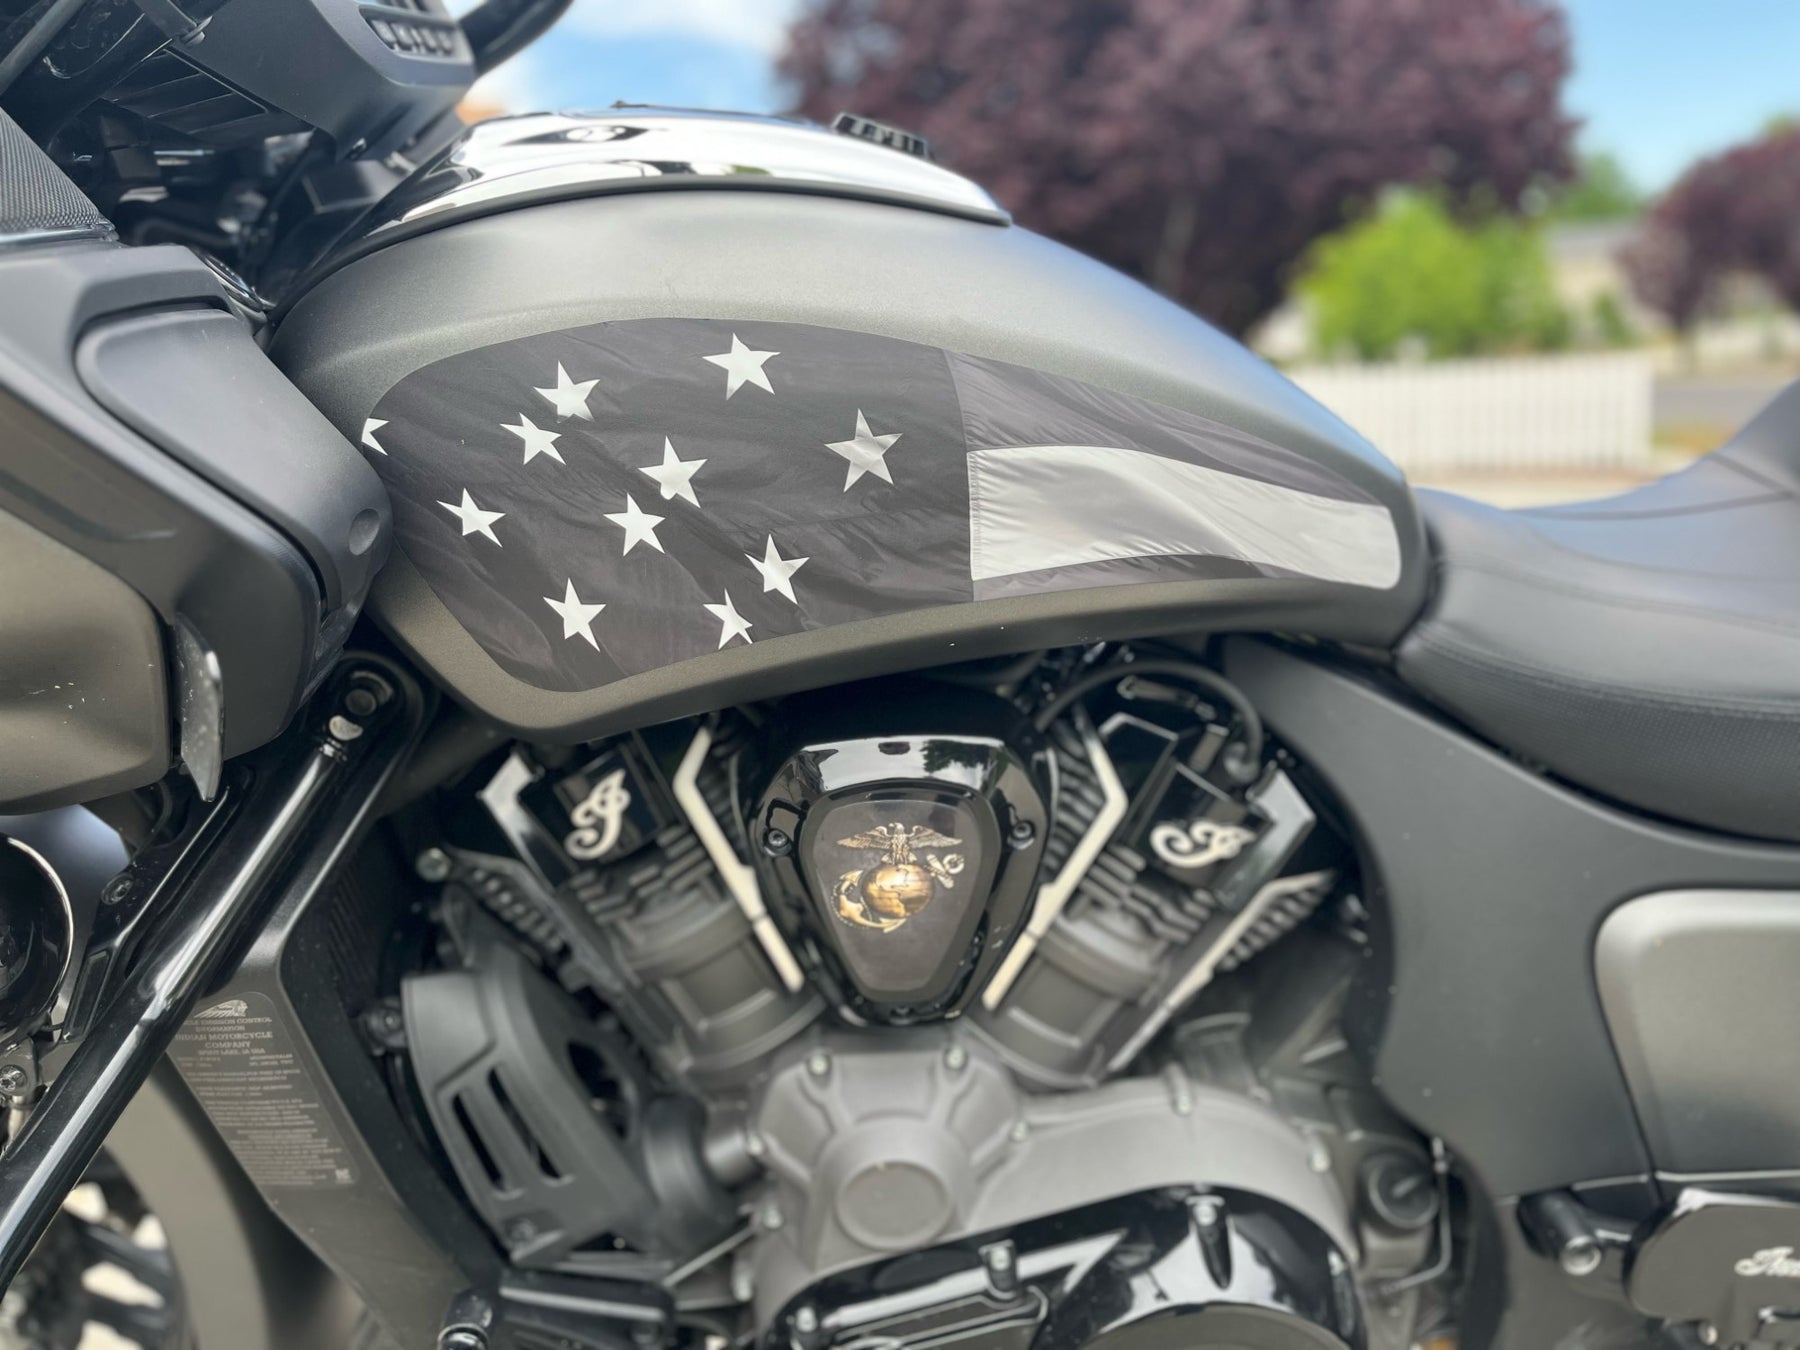
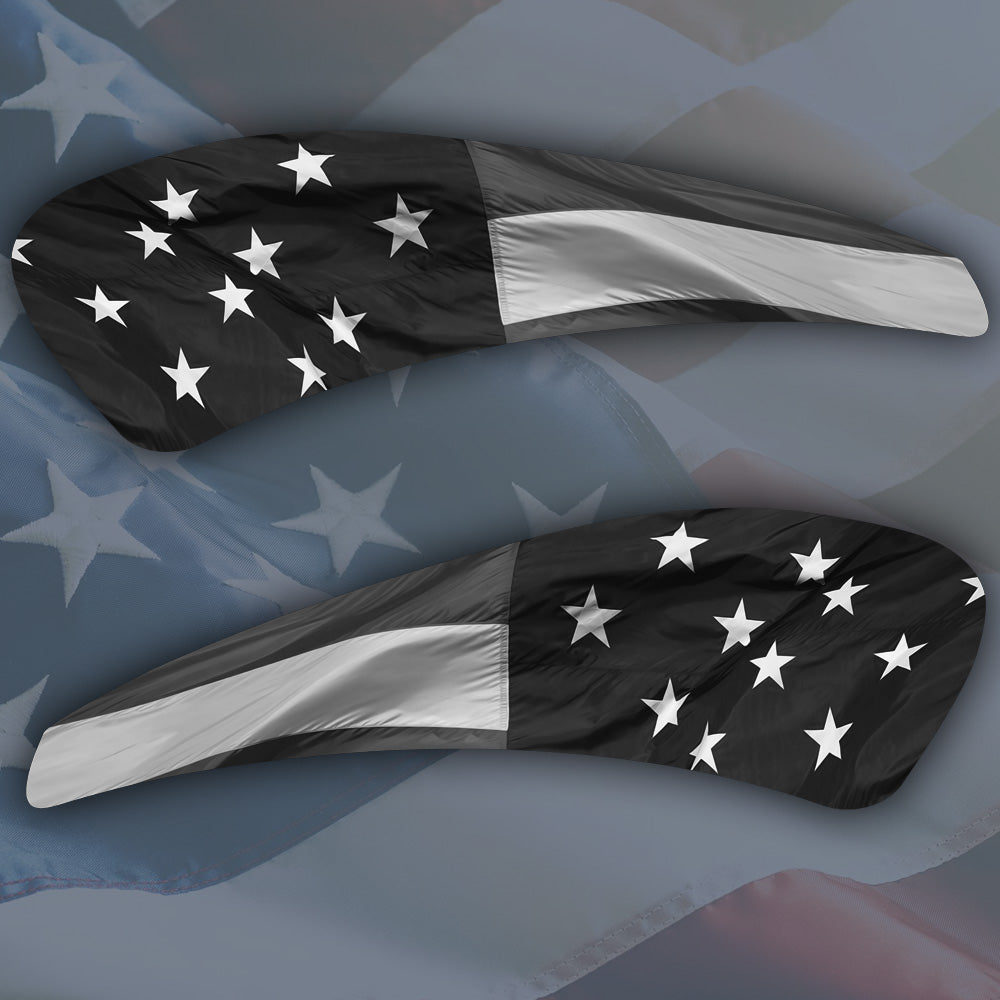
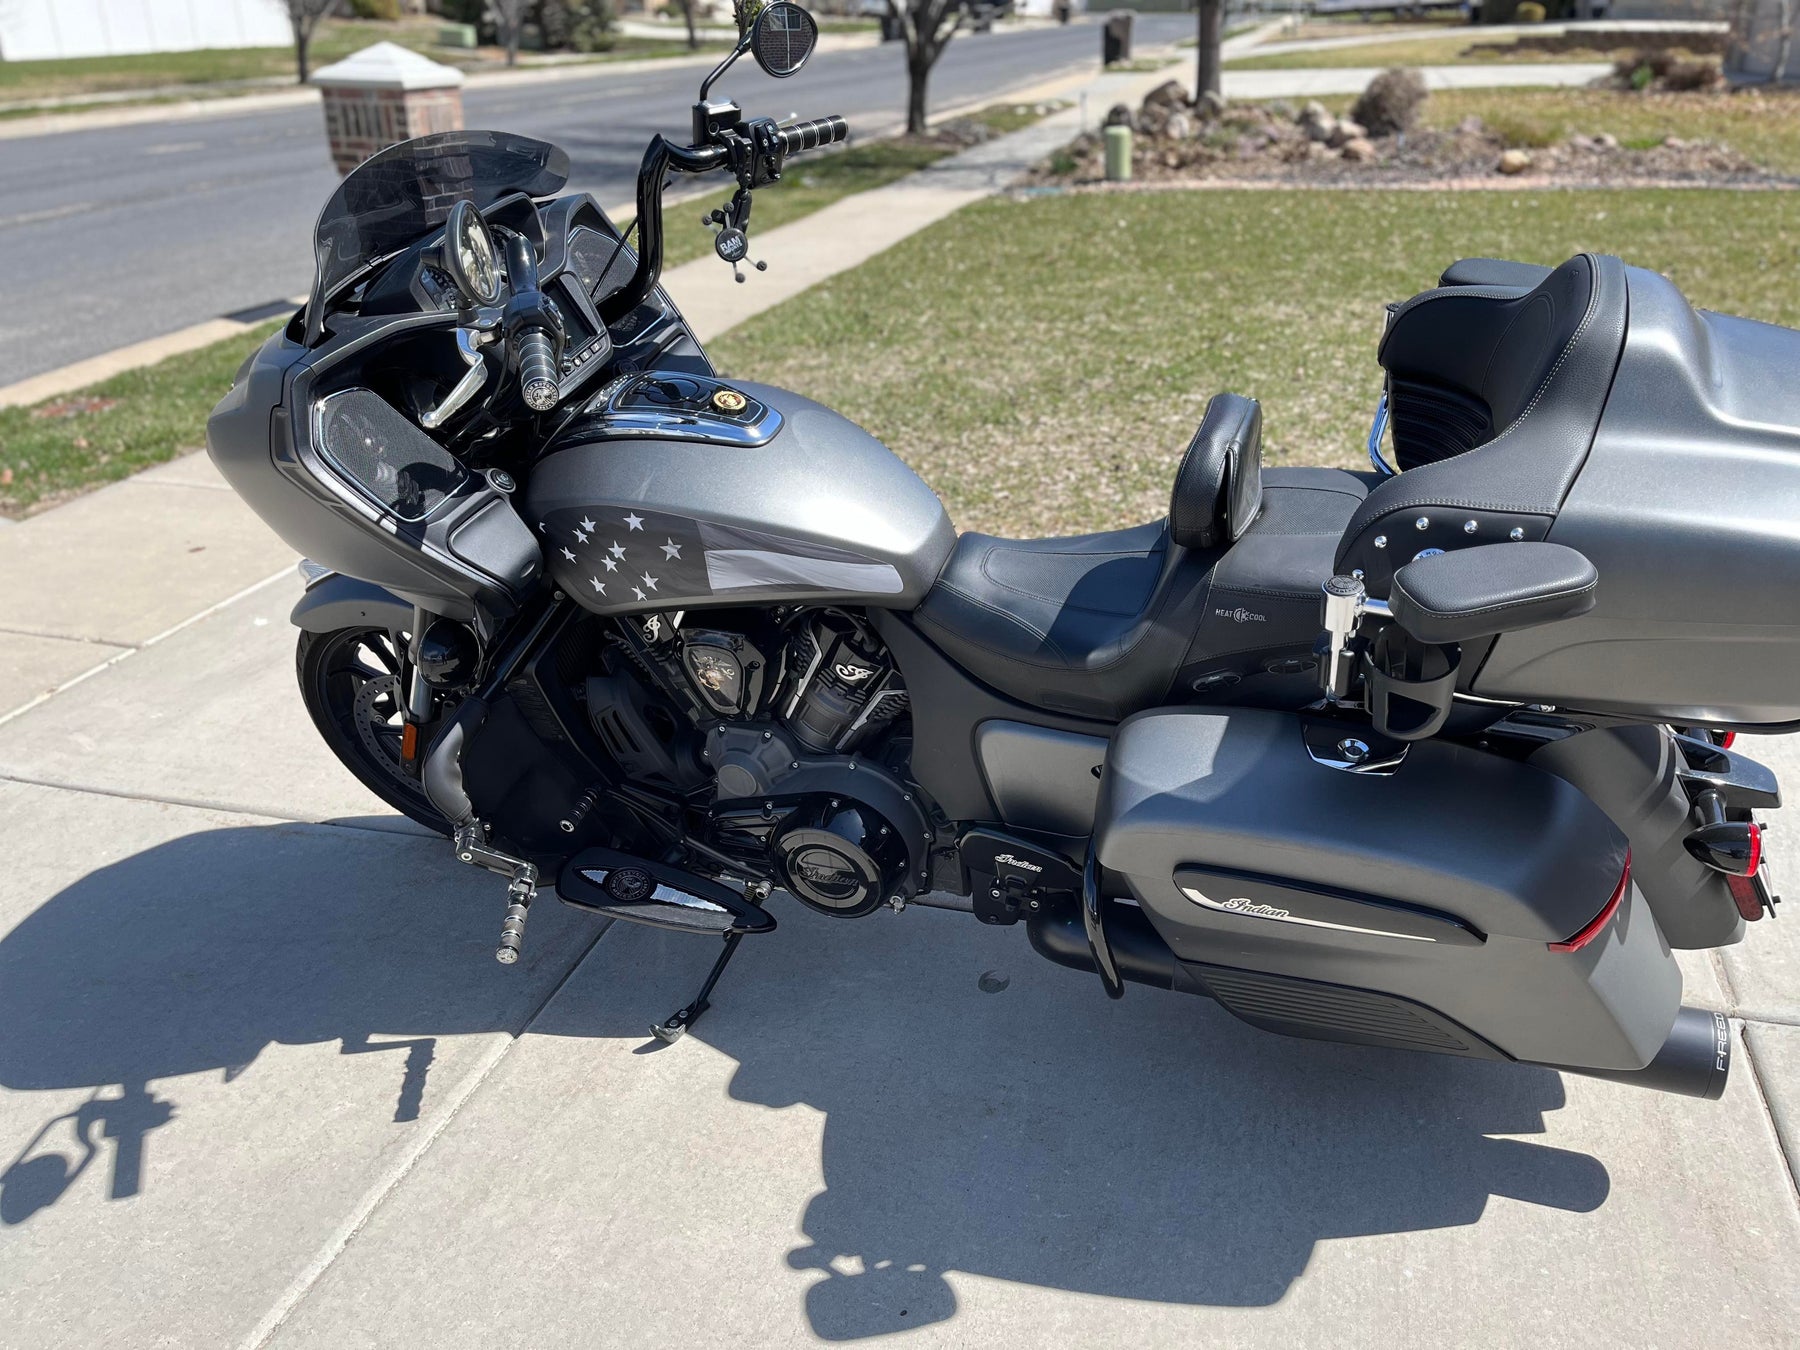
American Flag B&W - New Style Saddlebags
Regular price $150.00
Shipping calculated at checkout.
Special Order Item (may not always be in stock and could take approximately two weeks before shipping)
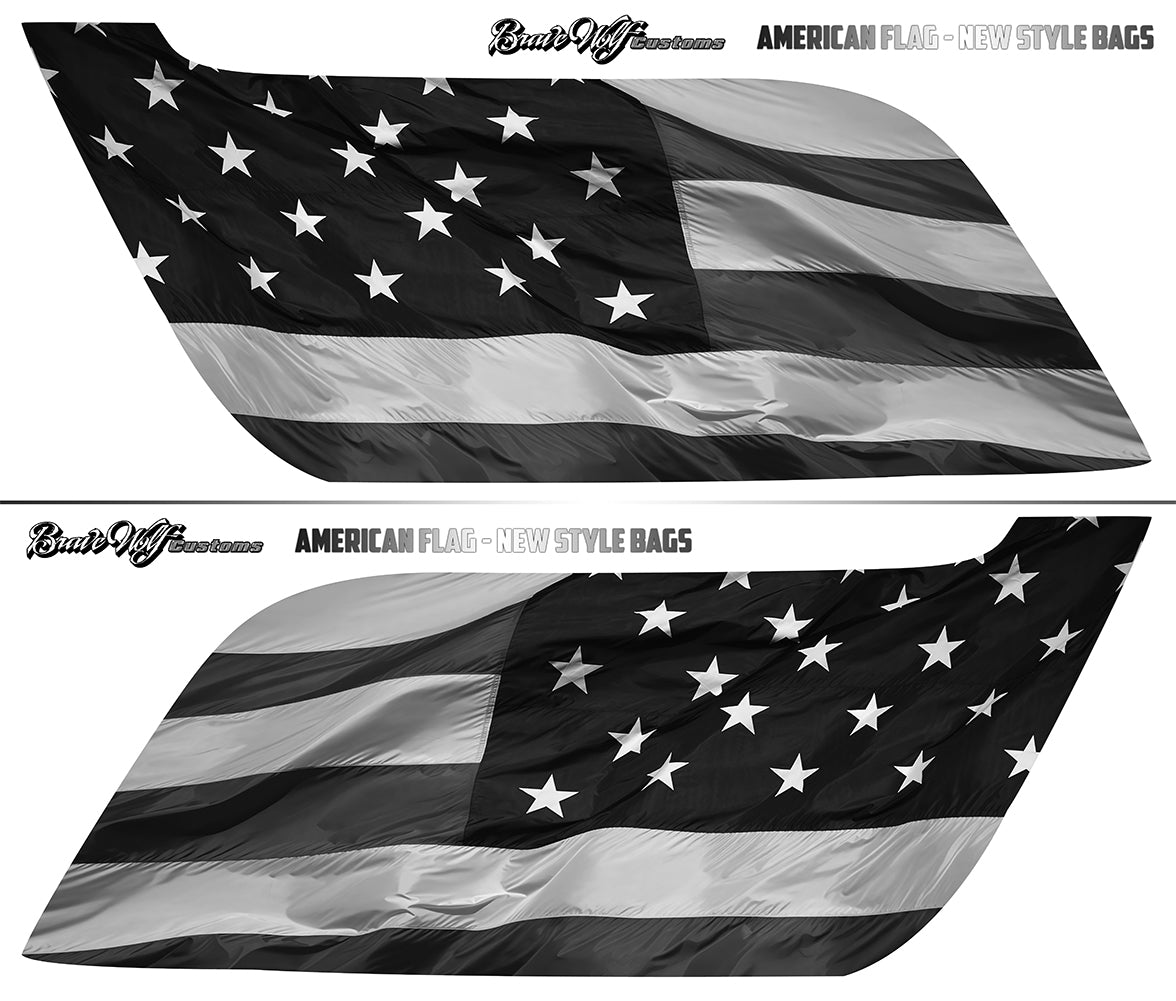
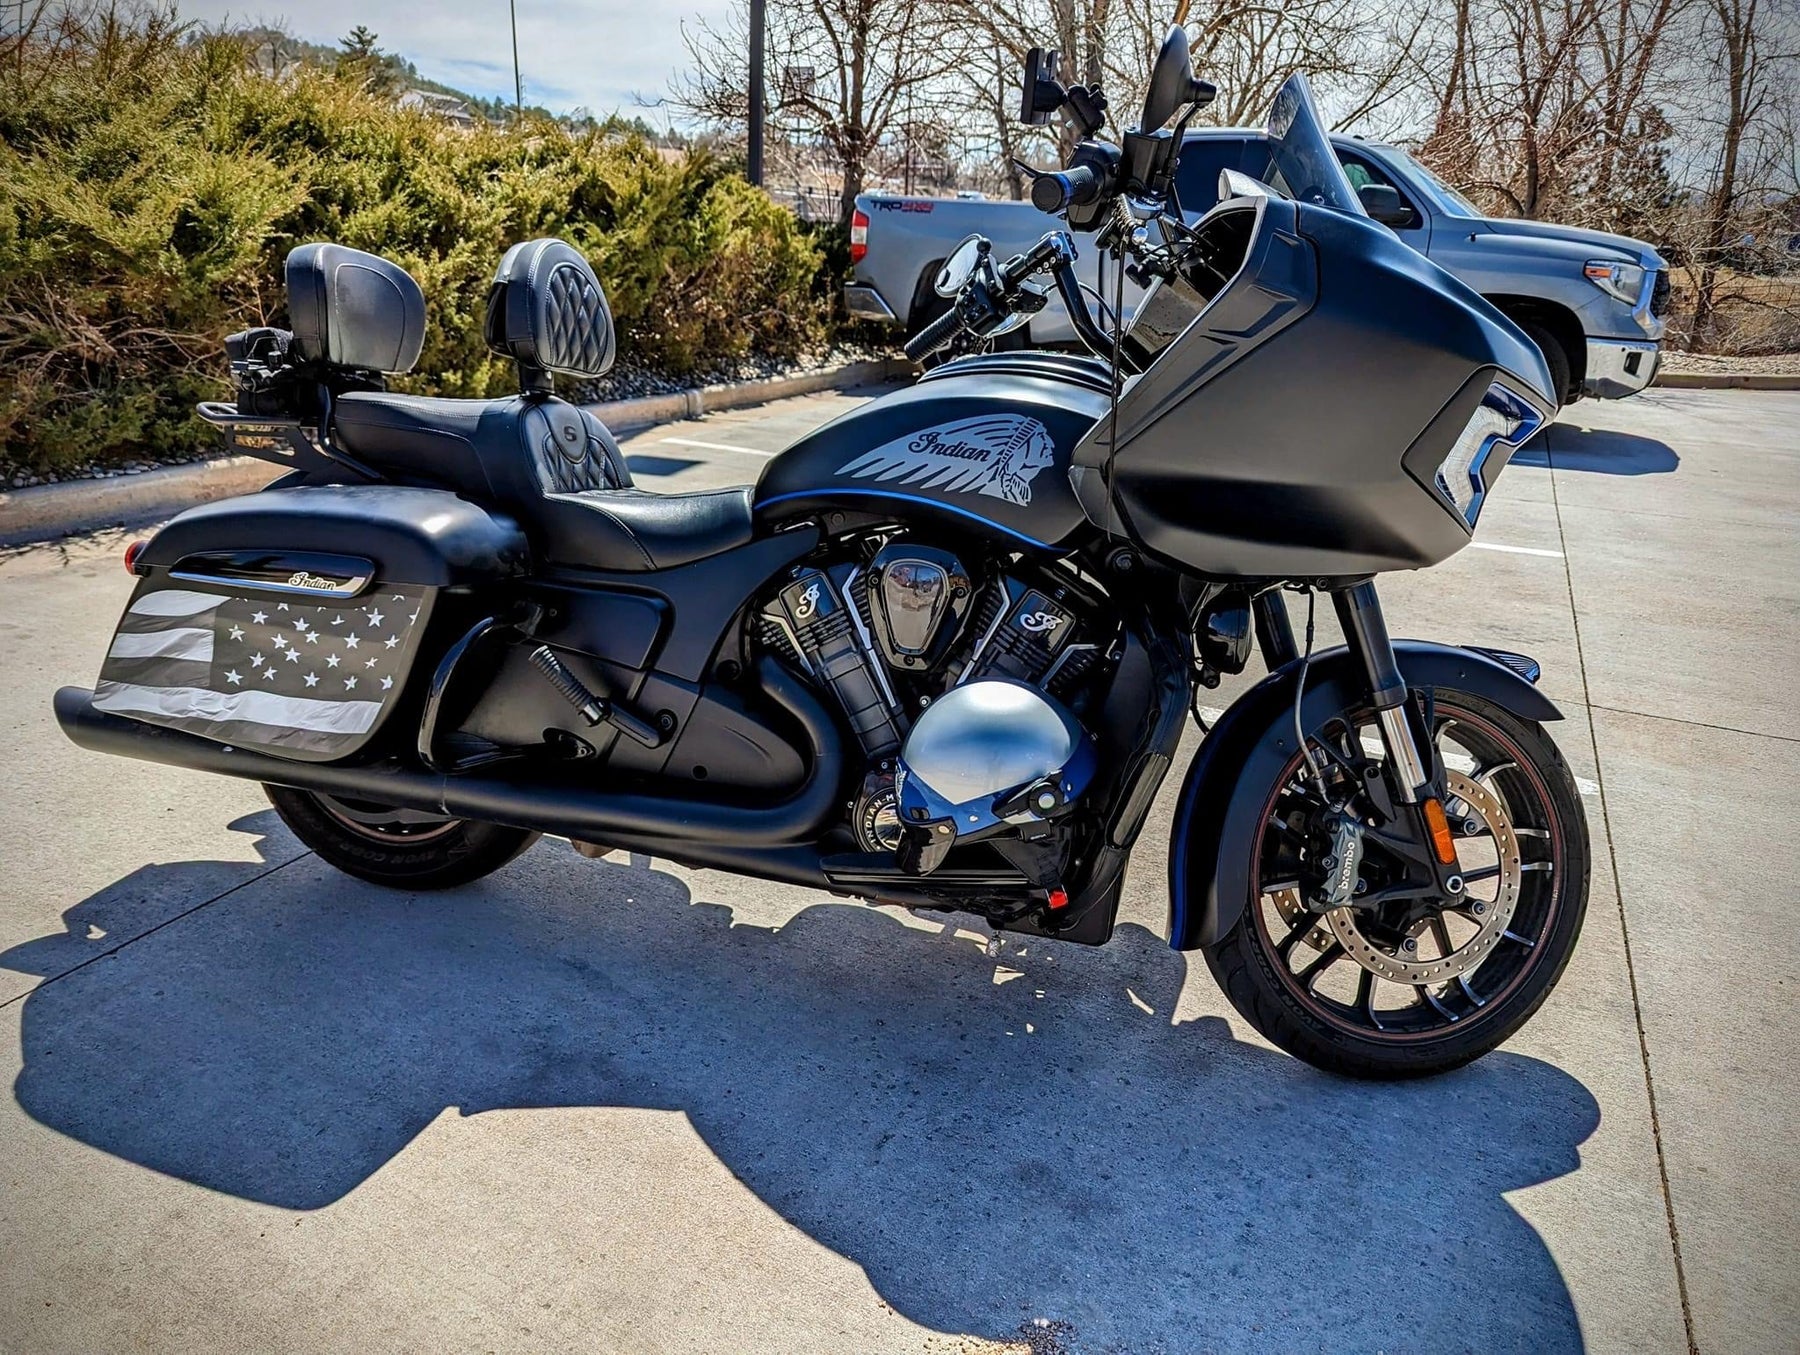
American Flag Decal Set for new style Indian Saddlebags
Size: Fits the side of the left and right saddlebag for the newer style (non-rounded) Indian hard bags. For models that have the plastic bag guard on the front/bottom corner, the guard must be removed to use these decals. (See Mock-up images)

Weatherproof laminated decals are self adhesive.
How To Install: <-Visit our How To page for videos
We recommend using the wet method to install larger decals: A spray bottle with water and dish soap can be used to wet the tank and the back of the decal, allowing you to slide the decal into place. To get the proper soap/water mix, start with a squirt of soap into your spray bottle. Shake it up and then spray it on your hand. Rub your finger tips together. You should feel the slipperiness of the soap. If it just feels like water, add more soap and try again. Once you have it aligned properly, use a squeegee or some non-abrasive tool (even your fingers) to push the moisture out from behind the decal and it will adhere to your tank. A plastic putty scraper with a thin cloth wrapped around it will work great and prevent scratching your decals.


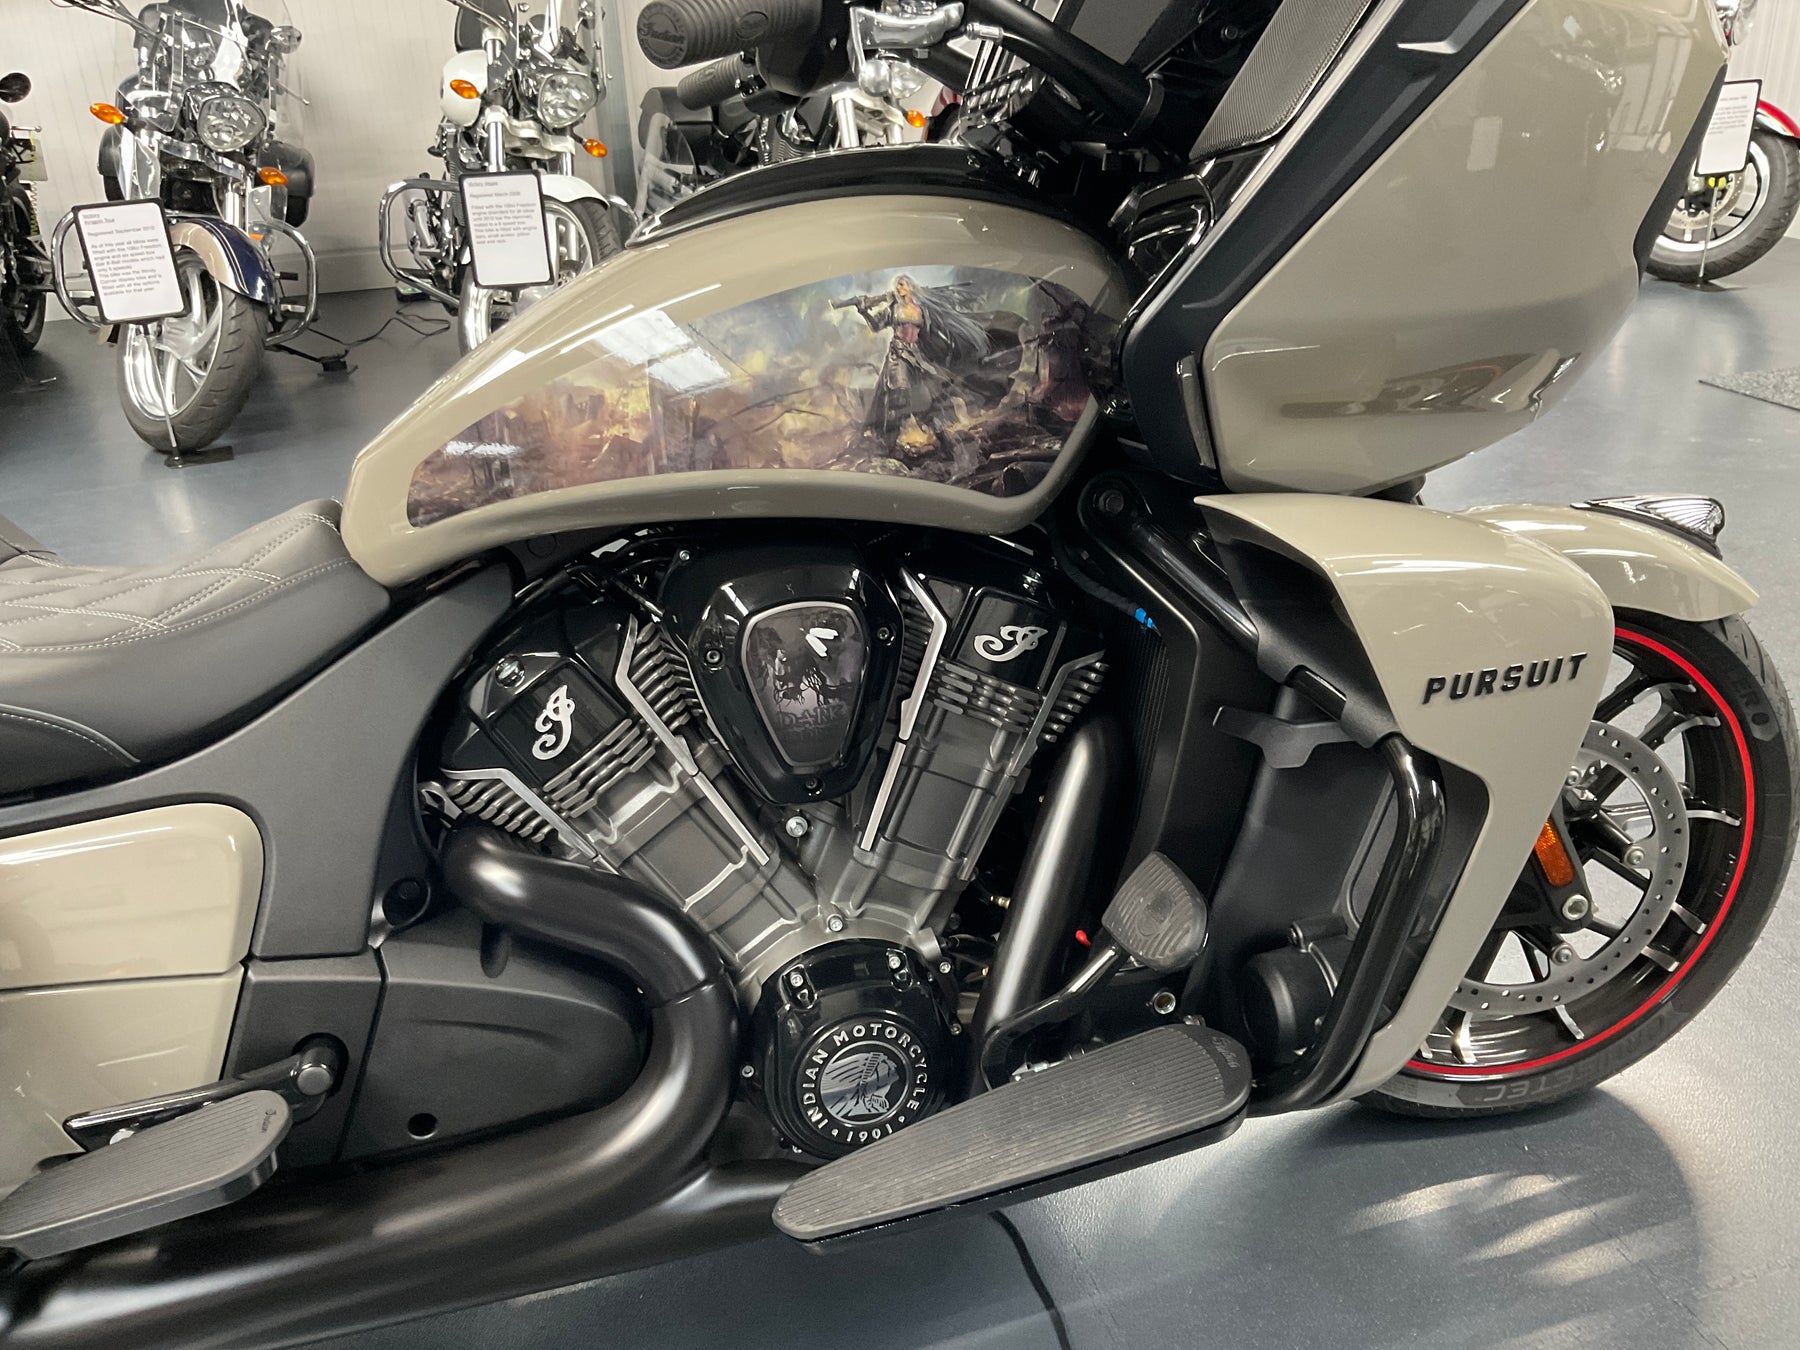
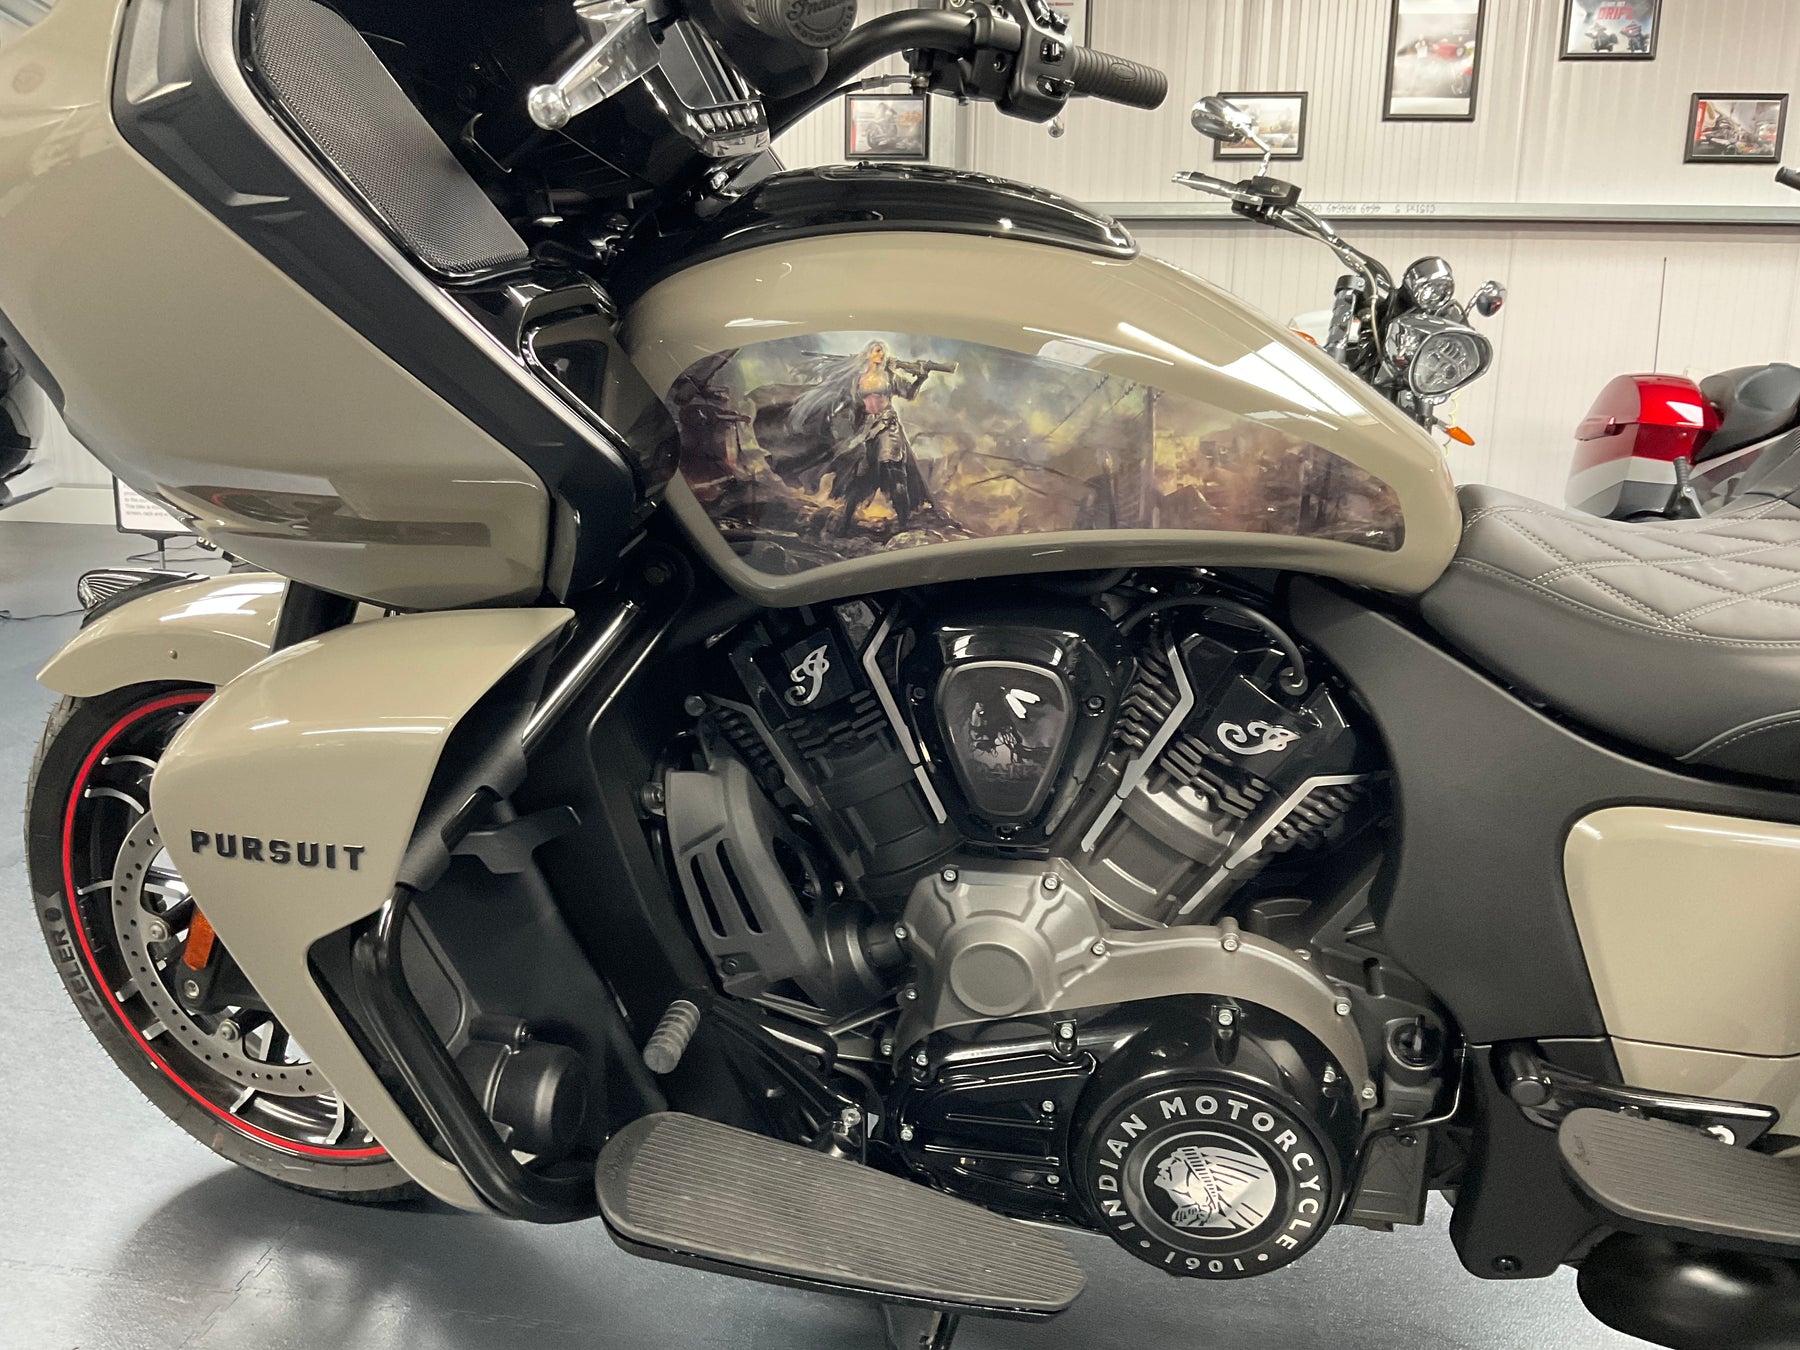
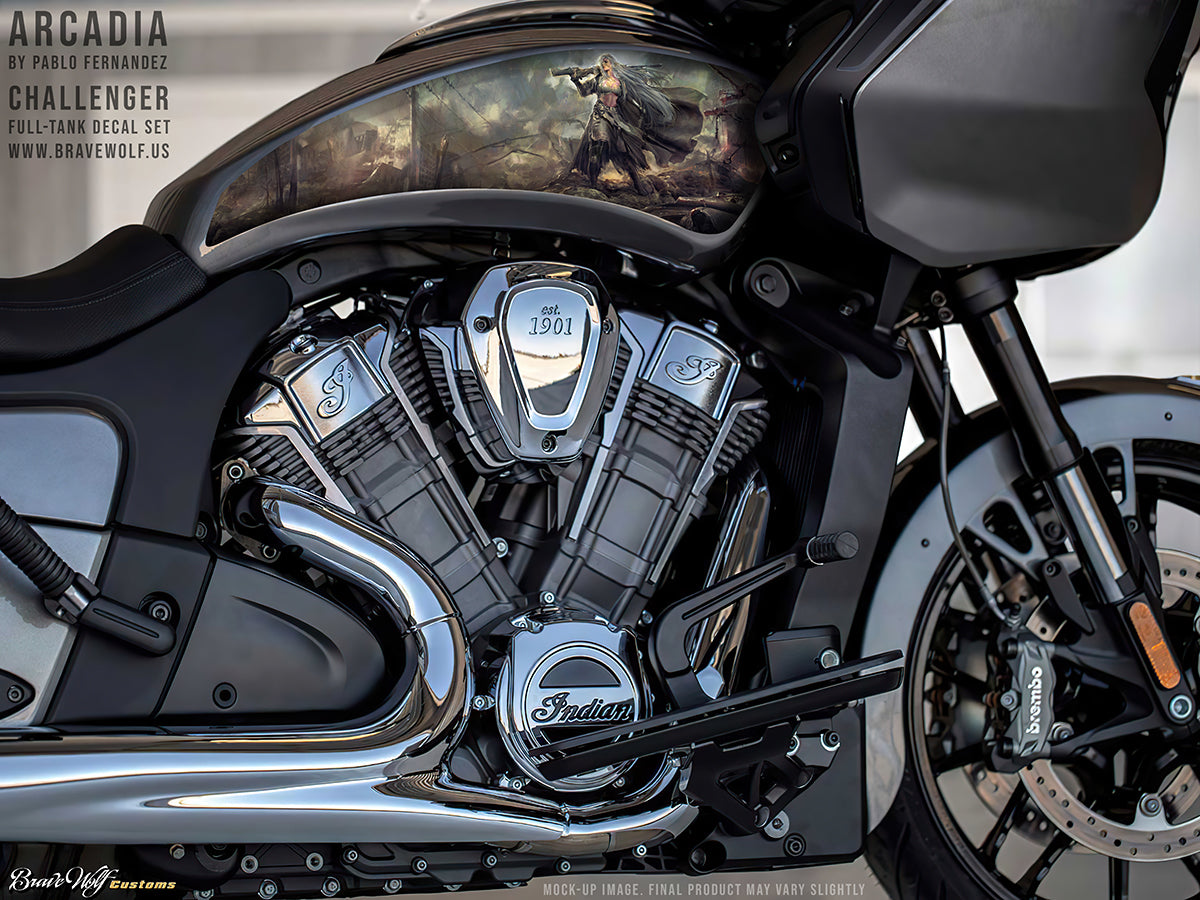
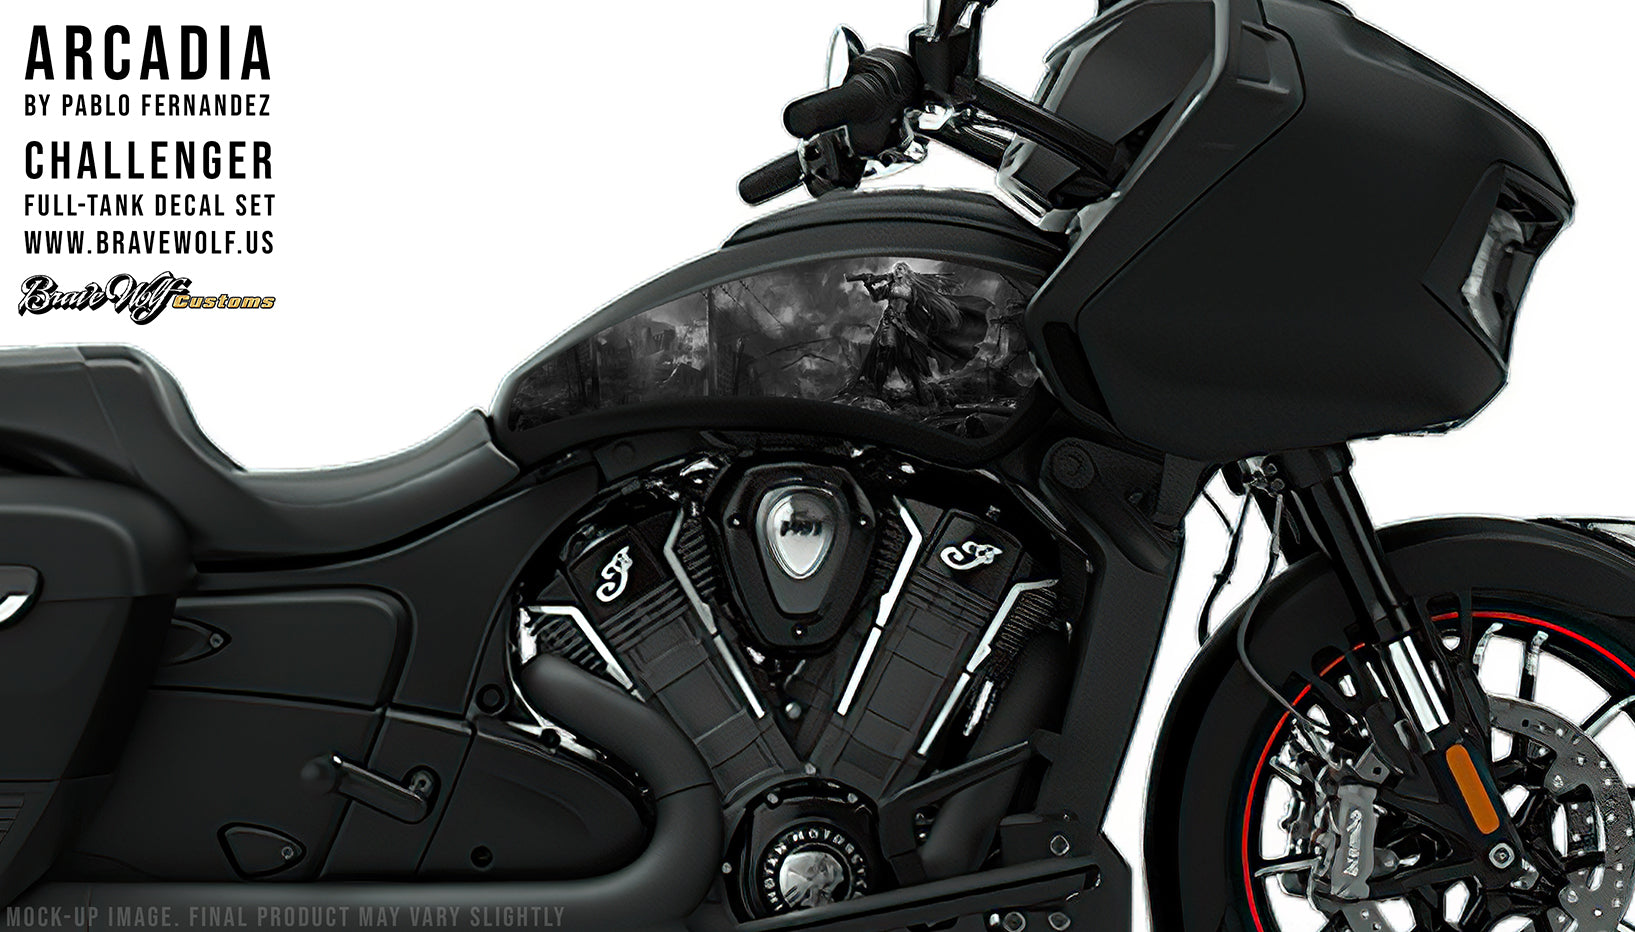
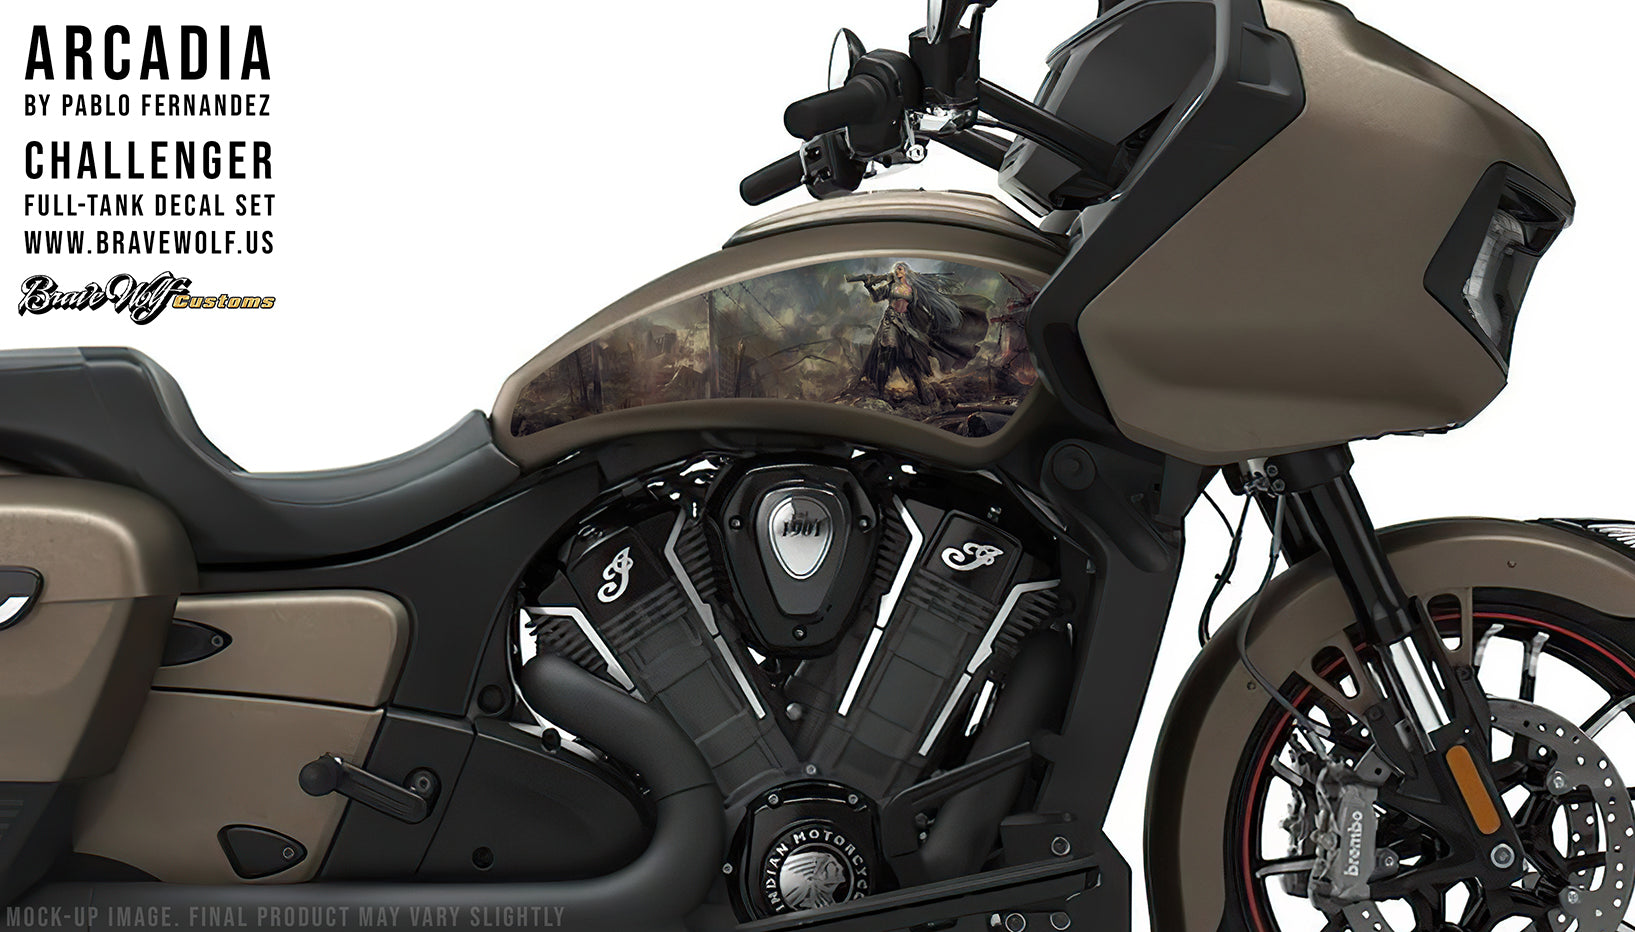


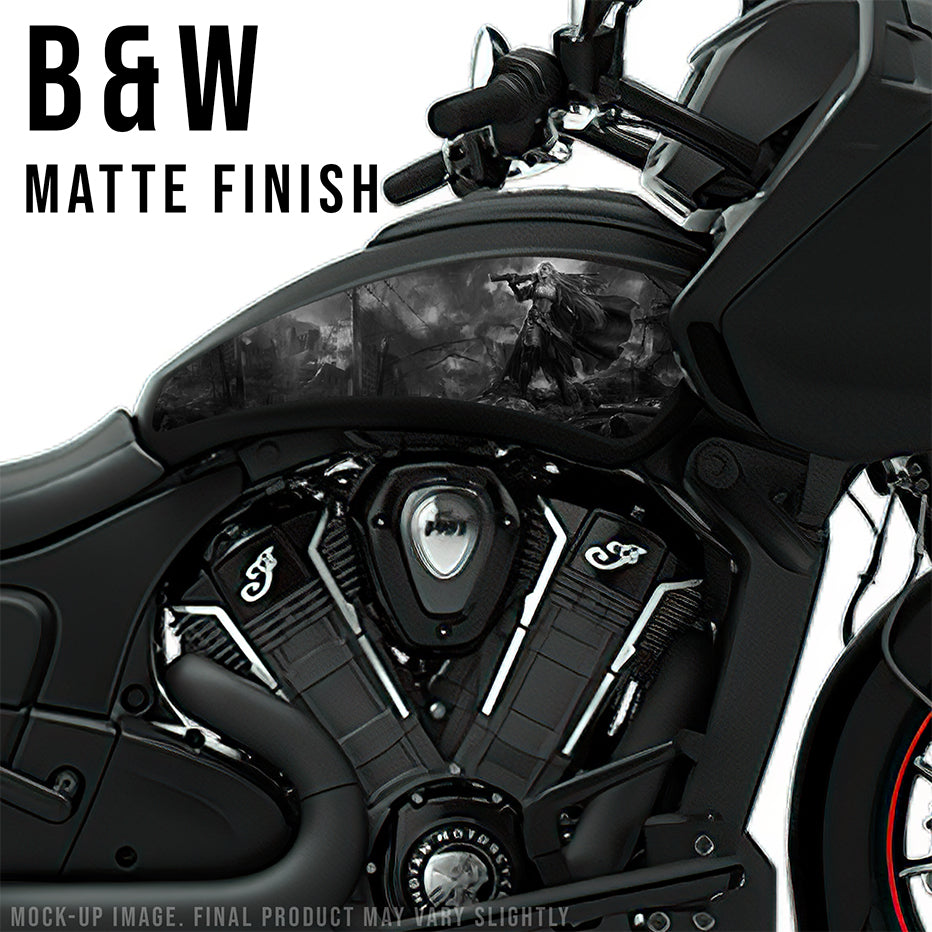
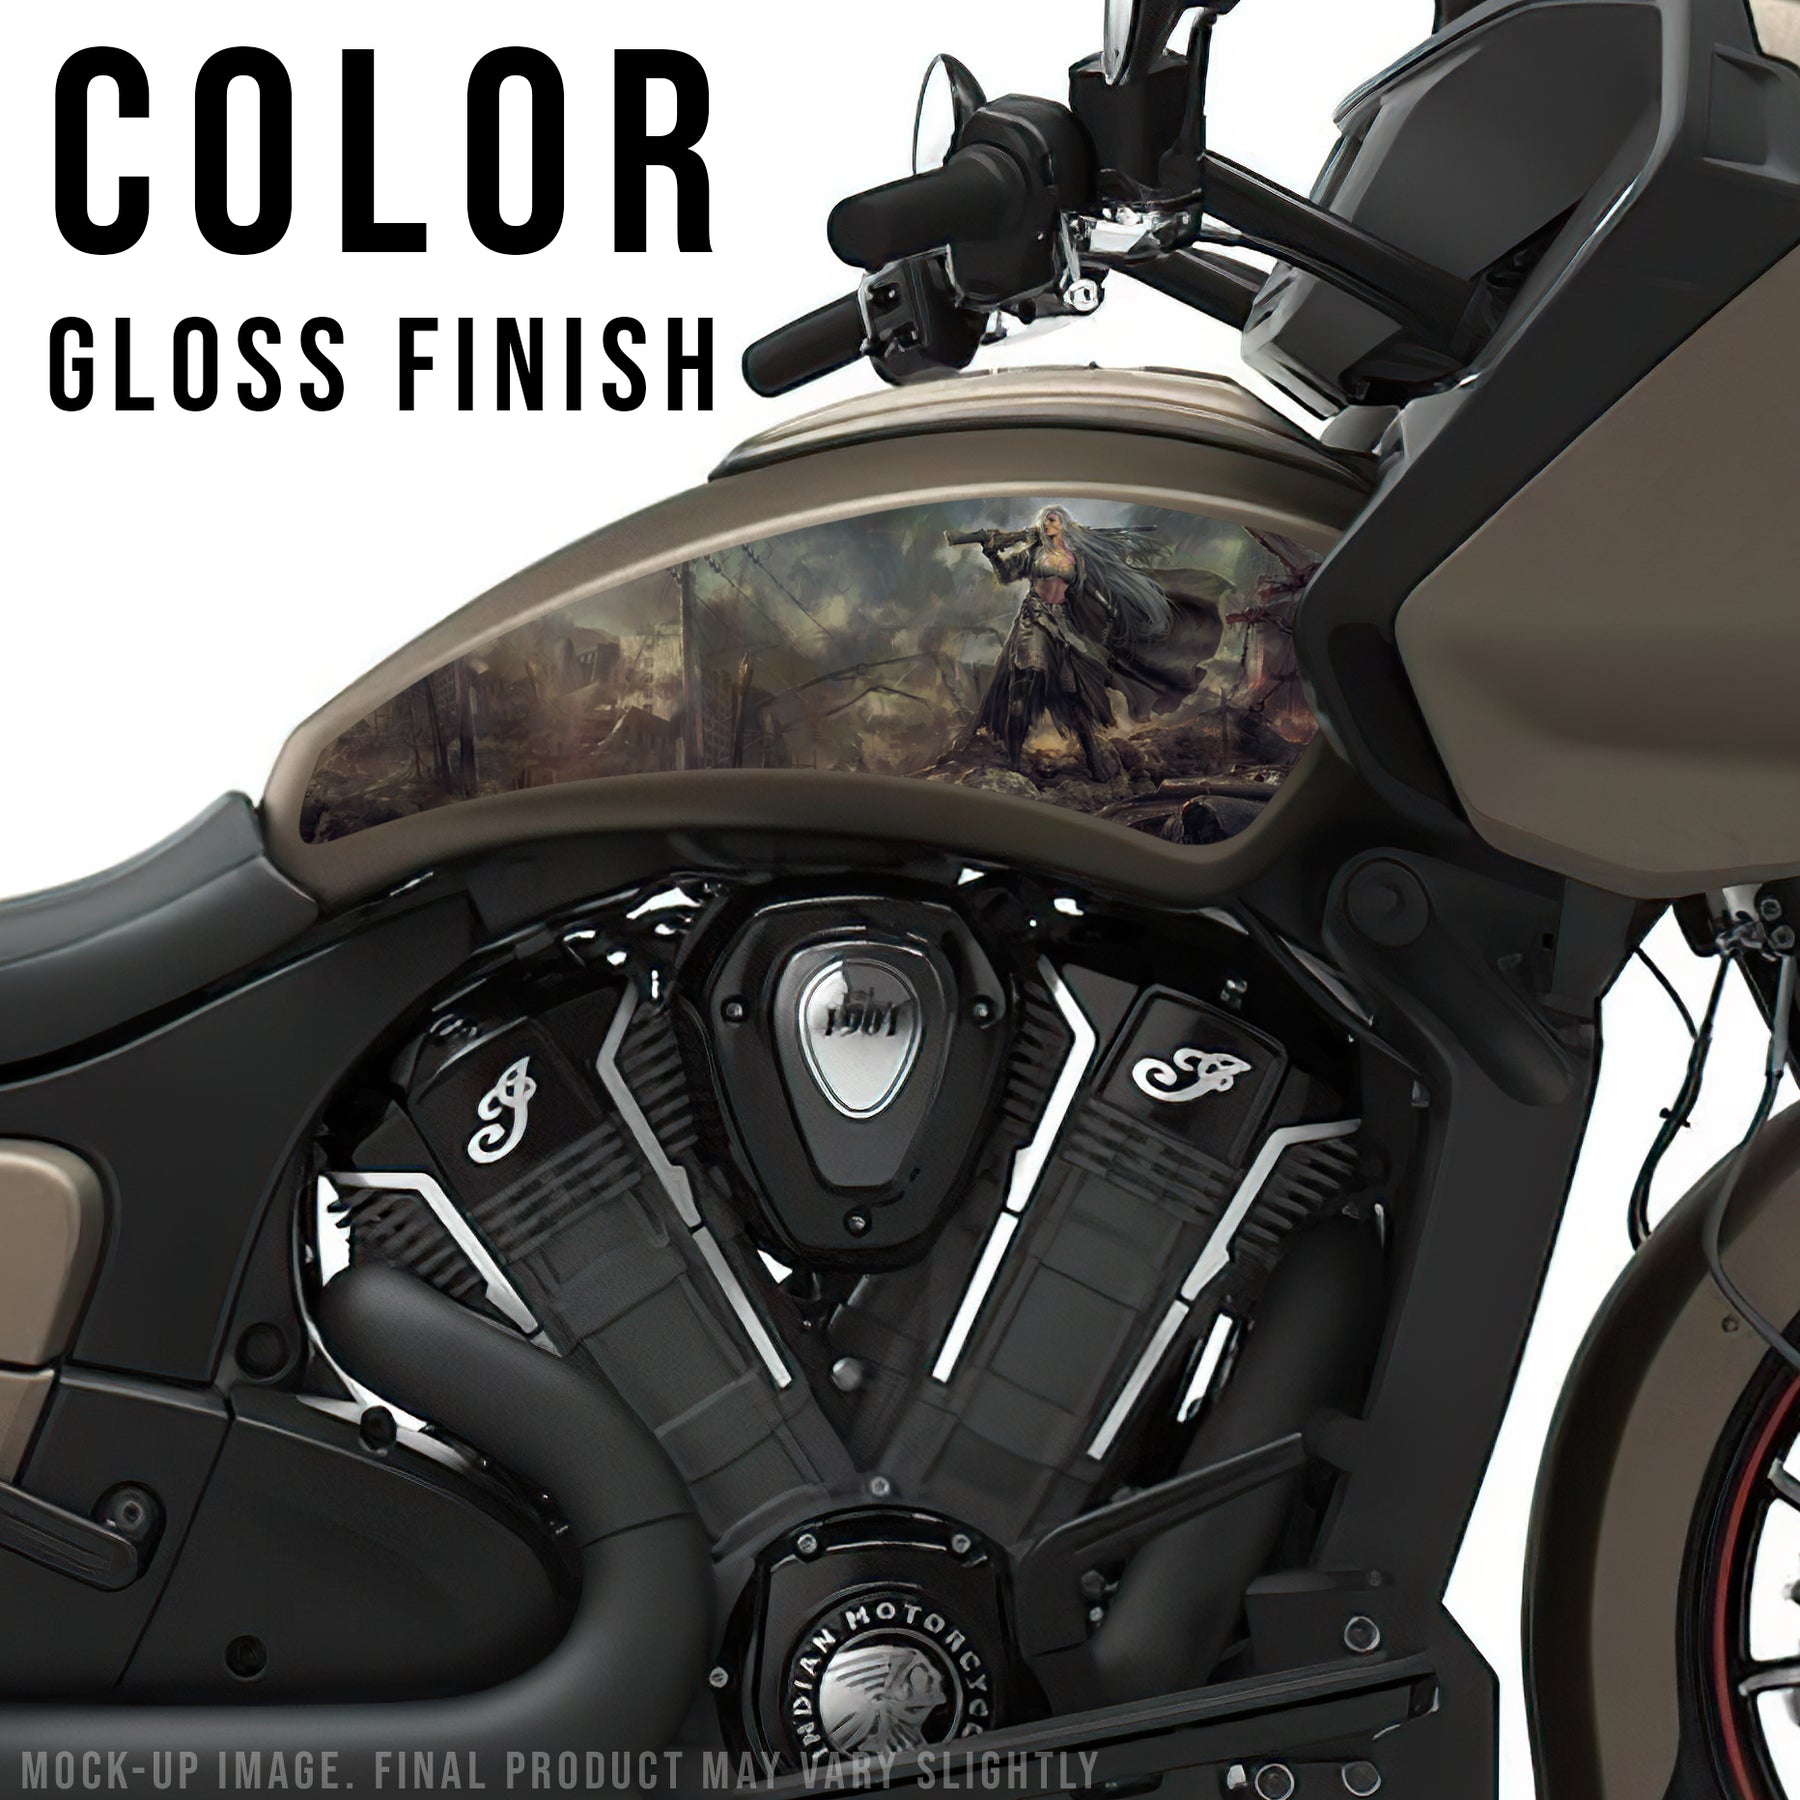
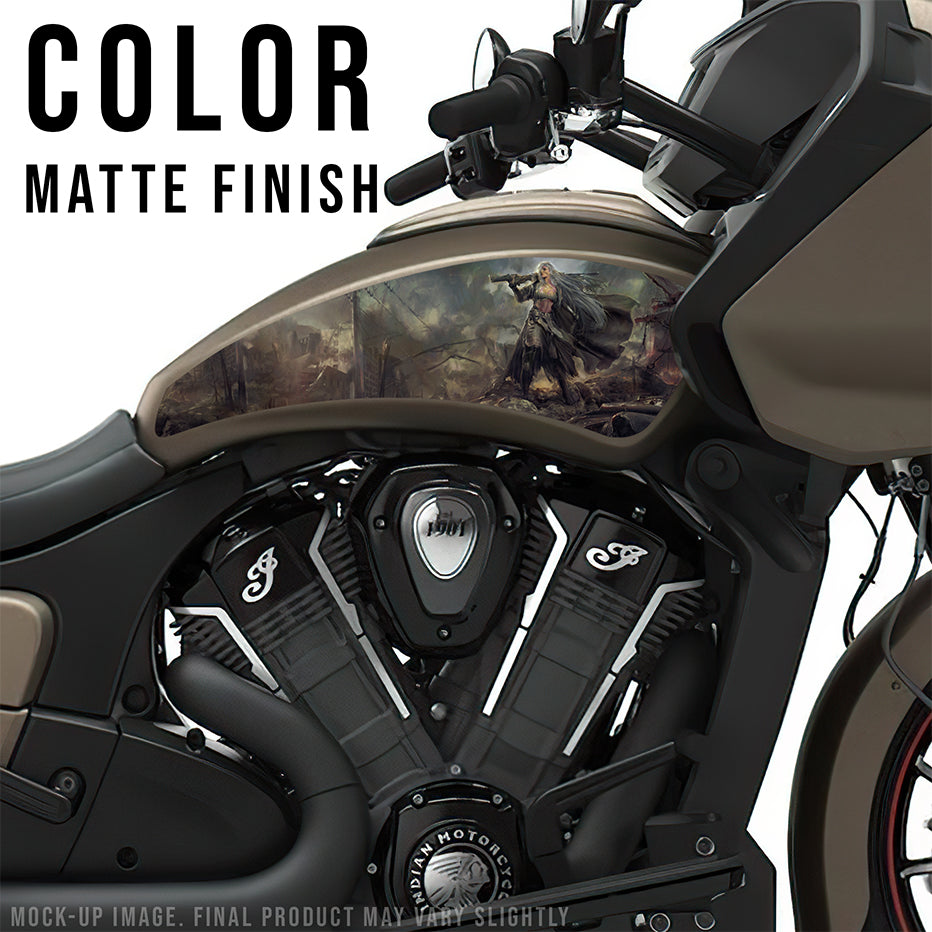
Arcadia - Challenger - Full Tank
Regular price $110.00
Shipping calculated at checkout.
SPECIAL ORDER ITEM: Our manufacturer produces the decals after you order and it takes about two weeks before we can ship to you.
This amazing artwork by Pablo Fernandez is officially licensed so that we can bring you more styles and options for your motorcycle. Available in color or black and white with your choice of gloss or matte finishes.
Size: Approximately 21.4 x 6.76 inches, designed specifically to fill the sides of the Challenger tank.

artwork by Pablo Fernandez | www.pablofdzart.com


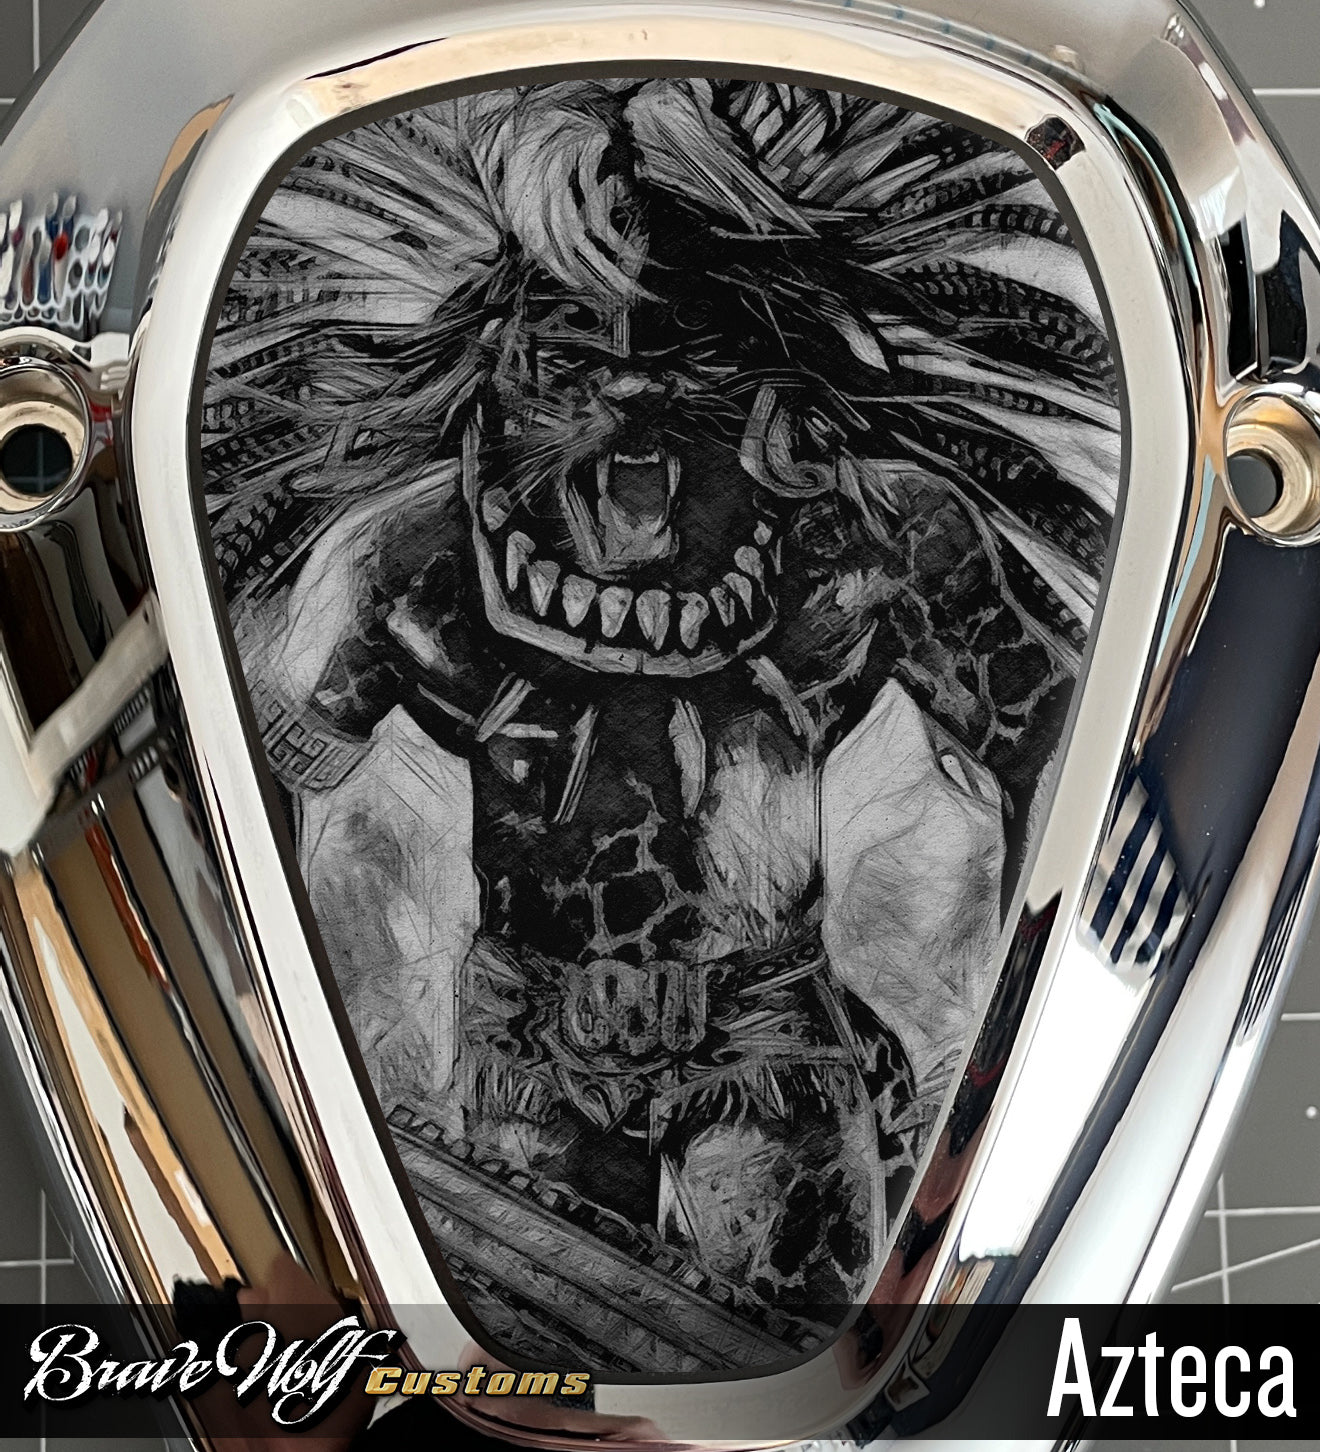
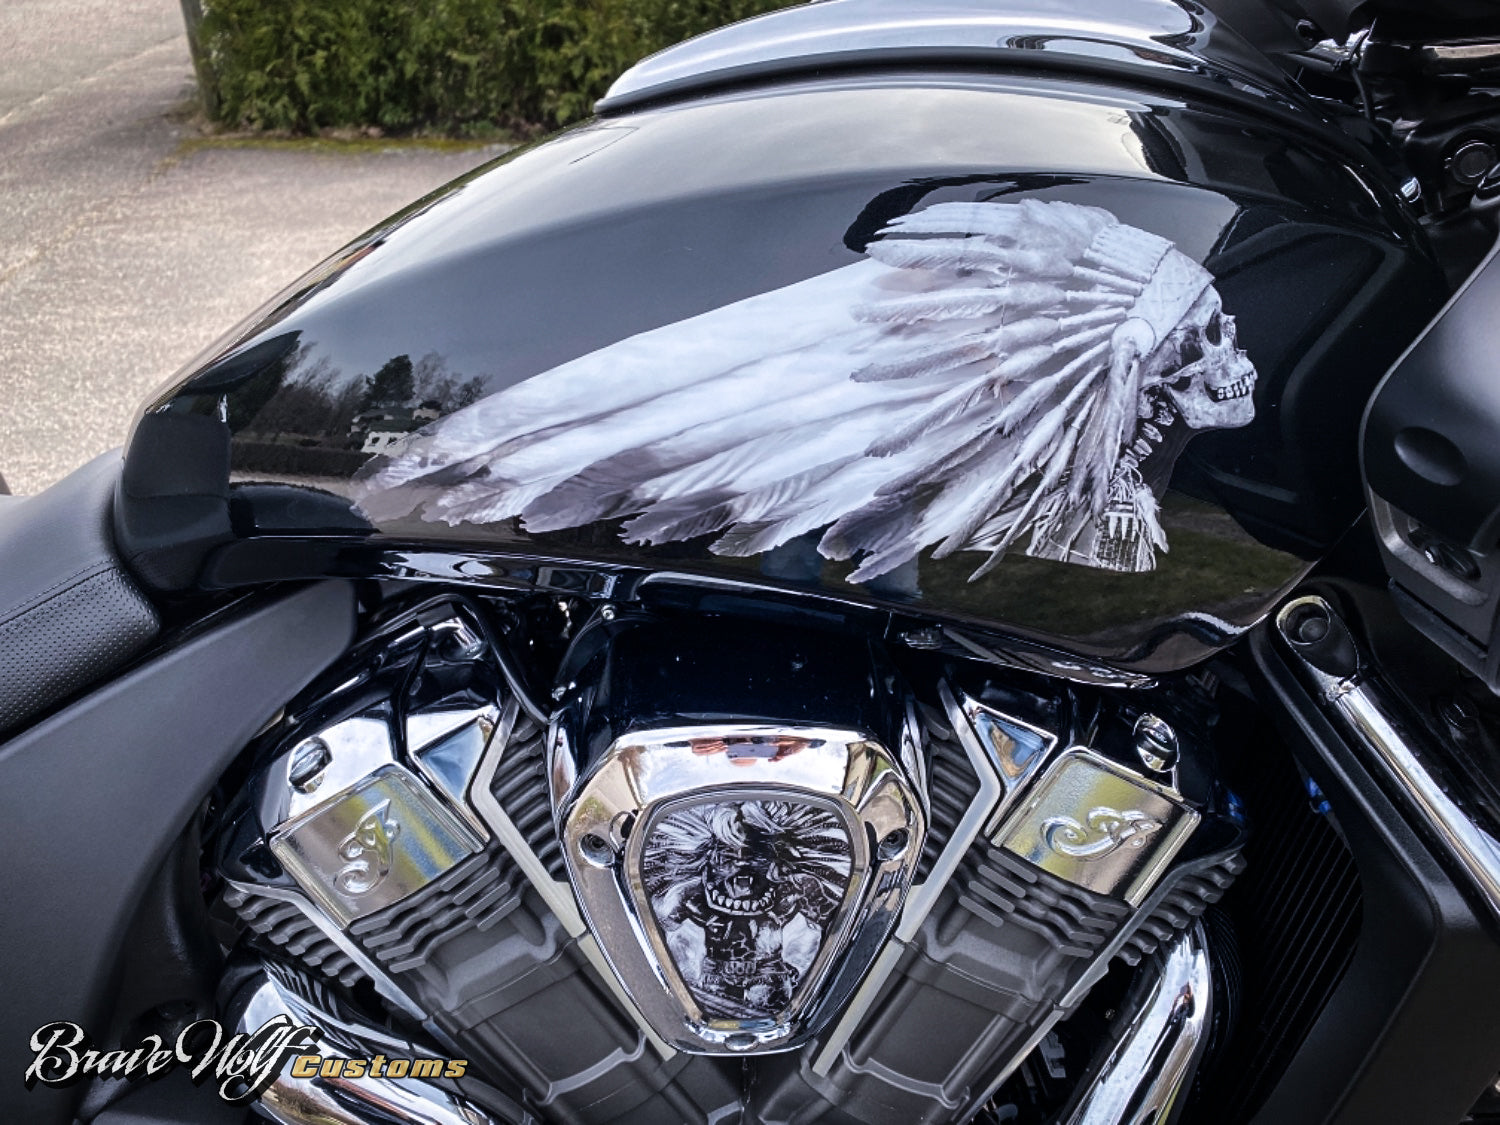
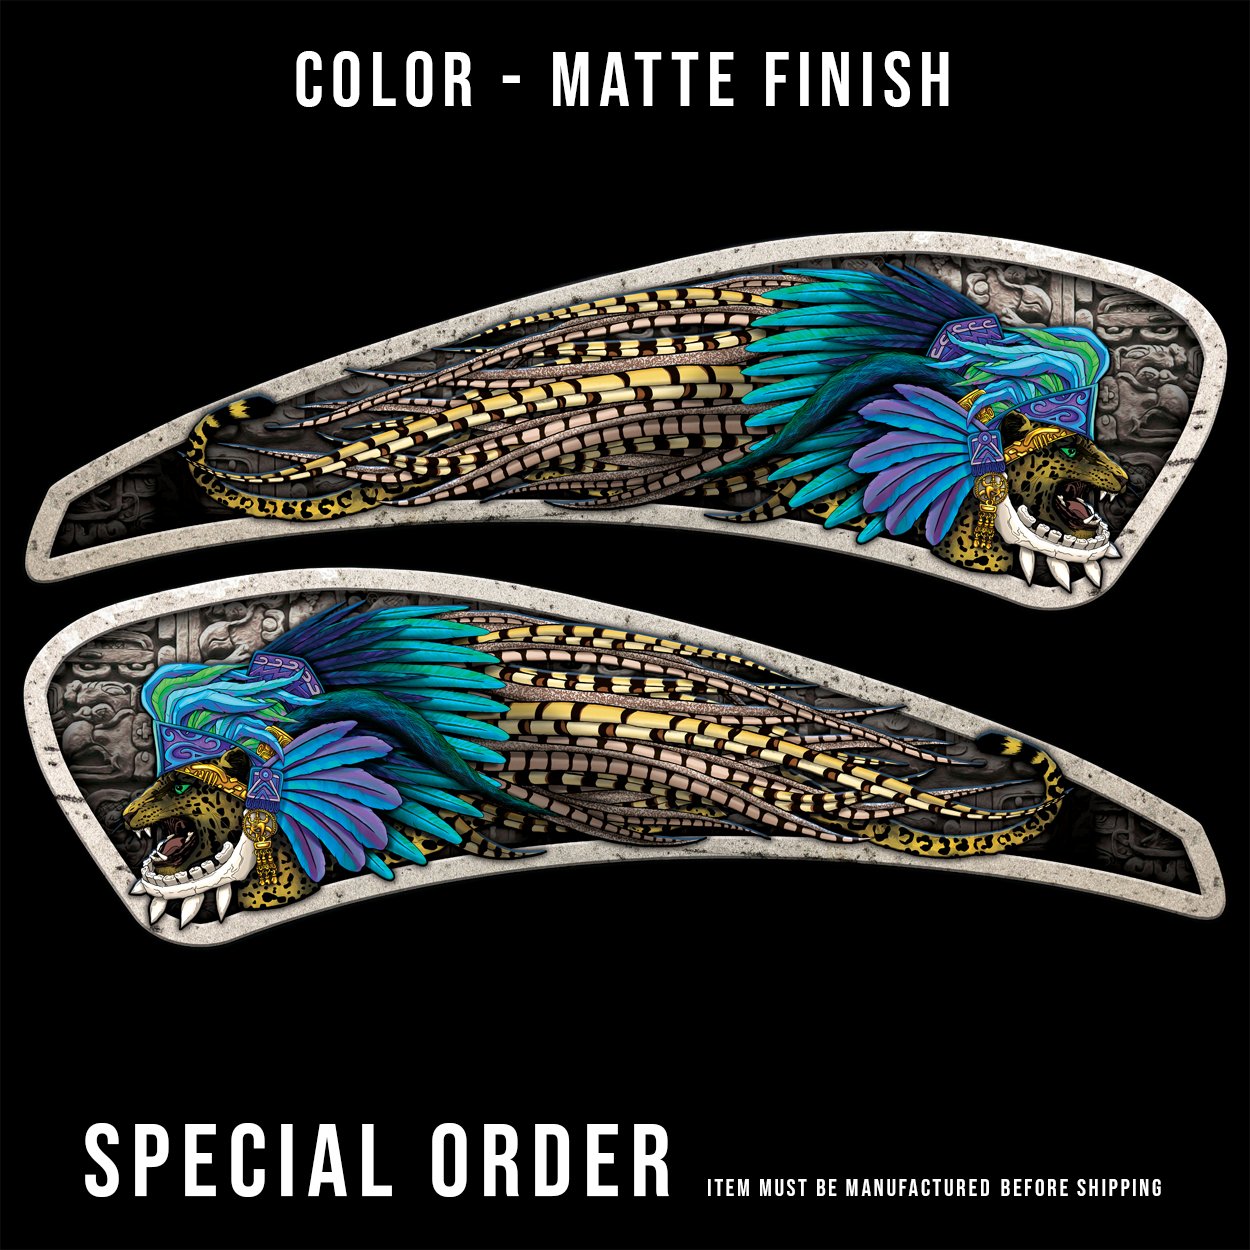
Azteca - Challenger - Black & White
Regular price $110.00
Shipping calculated at checkout.
SPECIAL ORDER ITEM
The Aztec Jaguar God of the Underworld is featured on our Azteca Challenger fuel tank decals! A unique Native Mesoamerican custom look for your bike starts with these left and right side Aztec/Mayan themed beauties.
Size: Approximately 21.4 x 6.76 inches, designed specifically to fill the sides of the Challenger tank.
Fits:
- Challenger (2020-Present)

Photo courtesy of Gary Hoffman


Blue/Carbon-Podium Finish for Challenger/Pursuit
Regular price $200.00
Shipping calculated at checkout.
Product is made to order: usually takes approximately 2 weeks for us to receive them from our manufacturer before shipping to you.

The first design in our new BWC Racing lineup of bagger-racing inspired livery for your Indian Challenger/Pursuit. "Podium Finish" features a checkered flag as a tribute to our winning performance on the track. This decal set is available in gloss or matte finish and includes fairing, tank, and saddlebag graphics with two additional BWC Racing decals. Install them all or just the ones you want, every set contains a total of 8 decals.

Installation:
Decal installation should be done using the wet method as explained in our "How-to" video.
Decal Placement:
The Fairing decals are meant to align with the front cutout section where the lights are and the back end matches up with the downward curve on fairing.

Mock Up: (gold/carbon shown here)